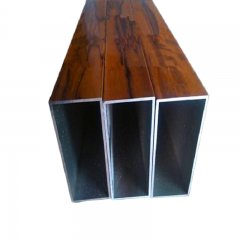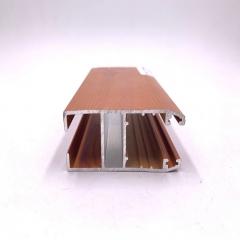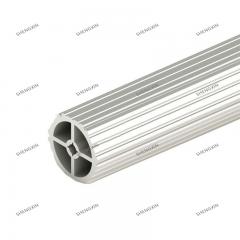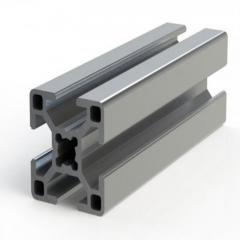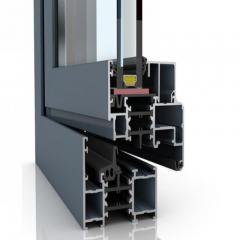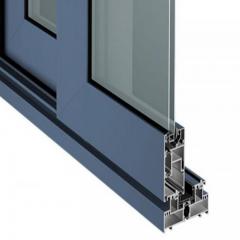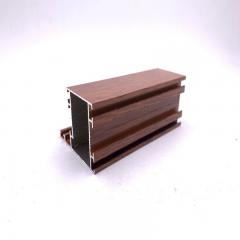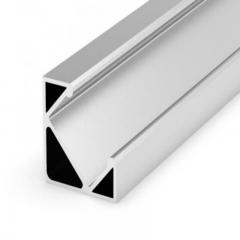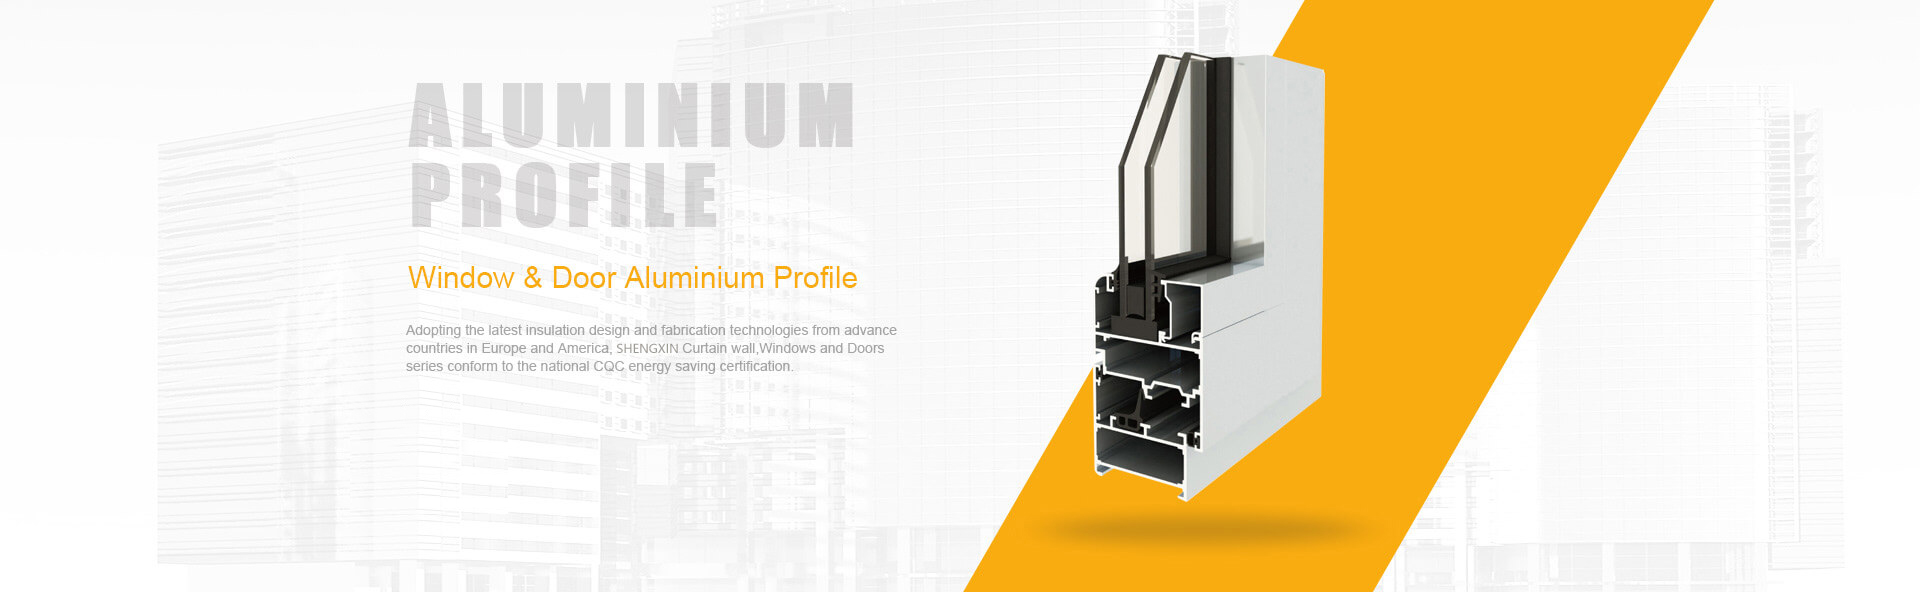
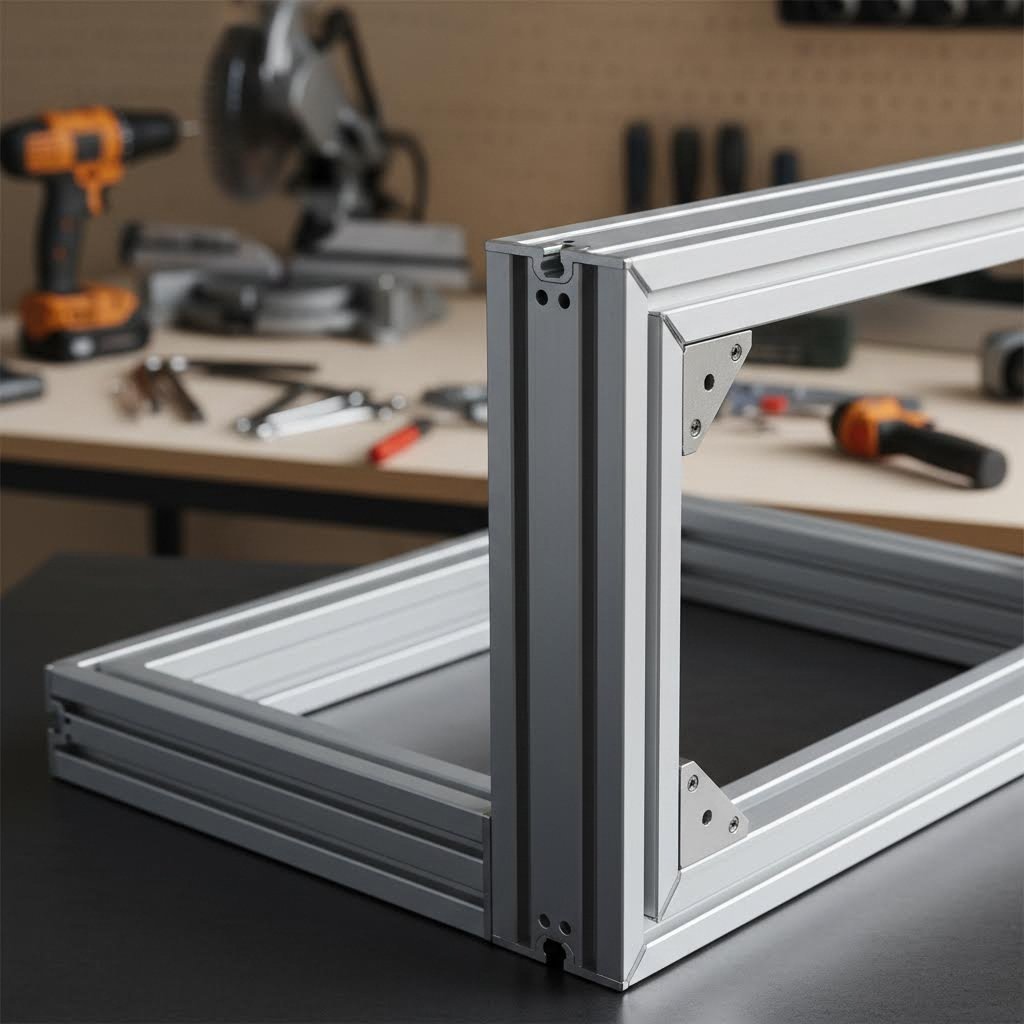
Have you ever wondered how makers, engineers, and DIY enthusiasts create everything from precision workbenches to complex industrial automation frames? The answer often comes down to one remarkably versatile material: aluminum extrusion. Think of it like pushing toothpaste through a tube—except the "toothpaste" is heated aluminum, and the opening is a precision-engineered die that shapes the metal into profiles you can use to build virtually anything.
So, what is aluminum extrusion exactly? It's a manufacturing process where heated aluminum billets are forced through specially designed dies to create uniform cross-sectional profiles. The result? Incredibly consistent aluminum extrusion profiles featuring T-shaped slots that allow components to bolt together without welding. This simple yet ingenious design has transformed how we approach construction projects of all scales.
The advantages over traditional materials are hard to ignore. Unlike steel, extrusion aluminum won't rust or corrode when exposed to moisture. Unlike wood, it won't warp, rot, or require constant sealing and refinishing. And here's what really sets it apart:
Aluminum extrusions combine the structural strength needed for demanding industrial applications with a lightweight, modular design that anyone with basic hand tools can assemble, disassemble, and reconfigure as needs evolve.
Whether you're building a simple display stand or engineering a complex machine enclosure, aluminum profile extrusion offers unmatched flexibility. The T-slot design means you can connect frames at any point, add accessories like handles or casters, and modify your structure without scrapping materials. Need to adjust a workstation's height? Just loosen a few screws, reposition, and retighten.
This guide takes you through the complete project lifecycle—from understanding profile sizes and structural requirements to cutting, assembling, and finishing your build. You'll learn practical decision-making frameworks for selecting the right aluminum extrusions for your specific application, discover common mistakes that derail first-time builders, and gain the confidence to tackle projects ranging from hobbyist builds to professional installations.
Ready to transform your next idea into reality? Let's start with understanding exactly how these remarkable profiles are made.
Ever watch a chef pipe frosting through a pastry bag? The aluminum extrusion process works on a similar principle—just with 900-degree temperatures and hydraulic presses capable of generating thousands of tons of force. Understanding how aluminum extrusion is made isn't just academic curiosity. It directly impacts the quality, strength, and reliability of profiles you'll use in your builds.
The aluminum extrusion process transforms solid cylindrical billets into the precise T-slot profiles builders rely on. Here's how it happens:
The die is arguably the most critical component in producing quality extrusion aluminum profiles. Precision in die creation directly affects whether your finished profiles will meet dimensional tolerances and perform as expected under load. A poorly designed or manufactured die can produce profiles with inconsistent wall thicknesses, surface defects, or dimensional variations that compromise structural integrity.
Why does this matter for your project? Manufacturing quality directly correlates with load-bearing capacity. Profiles from reputable manufacturers maintain tighter tolerances on wall thickness and T-slot dimensions, meaning connectors fit properly and load distribution remains predictable. Budget extrusions with sloppy tolerances can create weak points where hardware doesn't seat correctly.
When building with aluminum extrusion, you'll encounter two dominant alloy options. Understanding their differences helps you match materials to project requirements:
6061 Aluminum Extrusion earns its nickname as "structural aluminum" for good reason. With magnesium content between 0.8% and 1.2% and silicon between 0.4% and 0.8%, it delivers superior strength-to-weight performance. Untreated 6061 (T4 temper) offers tensile strength of 241 MPa, while heat-treated 6061 (T6 temper) jumps to 310 MPa (45,000 psi). Choose 6061 when structural demands outweigh aesthetic concerns—think machine frames, industrial equipment, and heavy-duty workbenches.
6063 Aluminum is often called "architectural aluminum" because it's optimized for extrudability and surface finish. Its lower magnesium (0.45-0.9%) and silicon (0.2-0.6%) content makes it slightly less strong but significantly easier to anodize with beautiful results. This alloy excels in applications exposed to weather or moisture, offering better corrosion resistance than 6061. Consider 6063 for display structures, outdoor furniture, or any application where appearance matters as much as function.
Most T-slot framing profiles you'll encounter are 6063-T5 or 6063-T6, providing an excellent balance of workability, surface quality, and adequate strength for typical building projects. For applications demanding maximum structural performance, specifically request 6061 profiles from your supplier.
Now that you understand what goes into creating quality extrusion aluminum profiles, you're ready to navigate the world of profile sizes and naming conventions—knowledge that transforms confusing part numbers into clear project specifications.
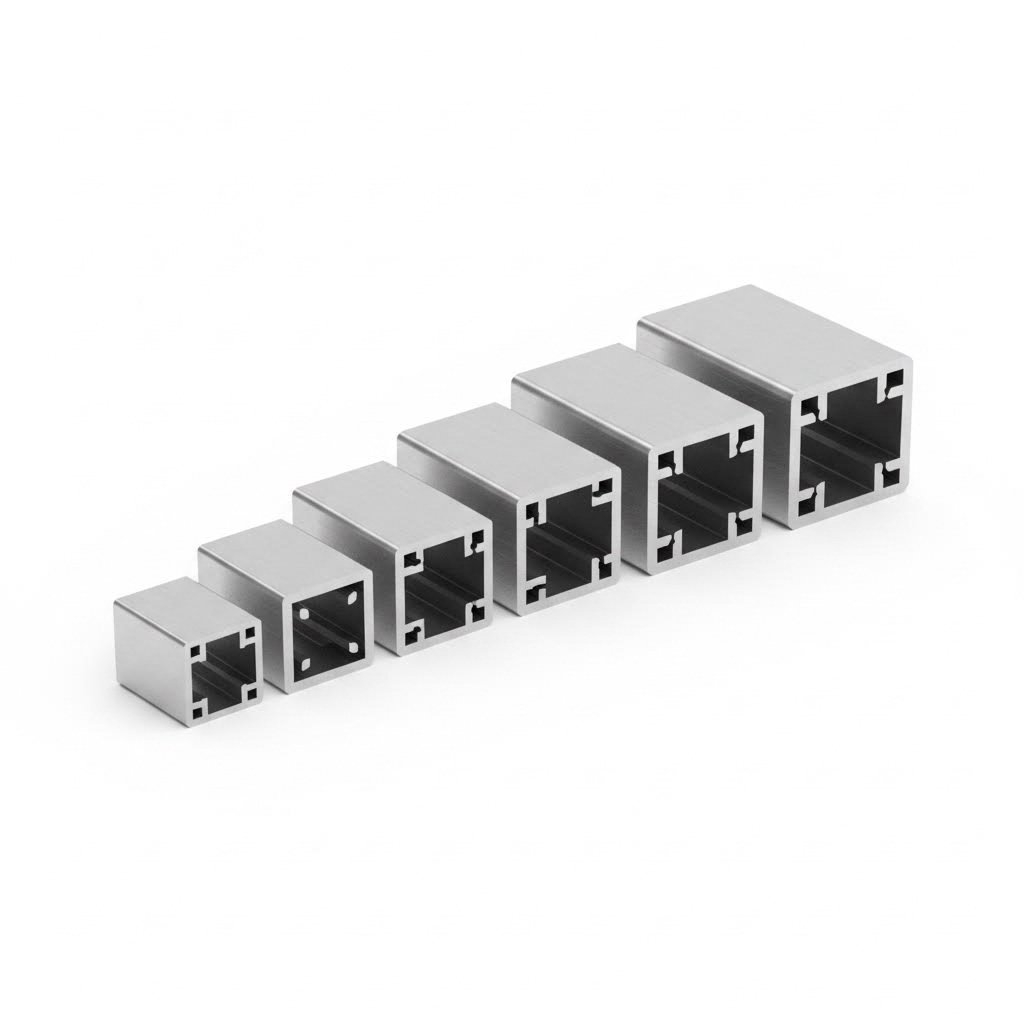
Ever stared at a catalog filled with numbers like 2020, 4040, and 8080 wondering what they actually mean? You're not alone. The naming conventions for aluminum extrusion profile sizes can feel like trying to decode a secret language—until you understand the simple logic behind them. Once you crack this code, selecting the right profile for your project becomes surprisingly straightforward.
Here's the secret: those four-digit numbers aren't random at all. They directly describe the profile's cross-sectional dimensions in millimeters. A 2020 aluminum extrusion measures 20mm x 20mm. A 4040 aluminum extrusion? That's 40mm x 40mm. Simple, right?
The naming convention typically follows this pattern: [Width in mm] x [Height in mm]. So when you see a 2040 profile, you're looking at a rectangular extrusion measuring 20mm wide by 40mm tall. An 8020 aluminum extrusion spans 80mm x 20mm—perfect when you need extra width without added height.
Profiles are organized into what manufacturers call "series," which correspond to the base dimension. The most common series you'll encounter include:
Understanding 2020 aluminum extrusion dimensions is essential because this size serves as the foundation for countless projects. At roughly 0.5 kg per meter, the 2020 profile strikes an ideal balance between portability and structural capability. For even lighter applications—think small enclosures or decorative frames—1010 aluminum extrusion offers a compact 10mm x 10mm footprint that's perfect when minimizing weight is your priority.
Between the 2020 and 1010 sizes, 1515 aluminum extrusion provides a middle-ground option measuring 15mm x 15mm. This intermediate size works beautifully for electronics housings, small robotics platforms, and precision jigs where 2020 feels too bulky but 1010 lacks adequate rigidity.
Choosing the right aluminum extrusion sizes isn't just about picking what looks good—it's about matching structural capability to real-world demands. Here's a practical comparison to guide your decisions:
| Profile Size | Dimensions | Weight (per meter) | Typical Applications | Load Characteristics | Best Use Cases |
|---|---|---|---|---|---|
| 1010 | 10mm x 10mm | ~0.2 kg | Electronic enclosures, decorative frames | Light duty only | Minimal load, aesthetic priority |
| 2020 | 20mm x 20mm | ~0.5 kg | 3D printers, robotics, small frames | Moderate loads on short spans | DIY projects, compact equipment |
| 2040 | 20mm x 40mm | ~0.8 kg | Workbench legs, vertical supports | Enhanced rigidity in one axis | When height needs more stiffness |
| 3030 | 30mm x 30mm | ~0.9 kg | Medium frames, equipment stands | Good balance of strength and weight | General-purpose building |
| 4040 | 40mm x 40mm | ~1.1 kg | Industrial frames, machine bases | Substantial load capacity | Medium-duty structural work |
| 4080 | 40mm x 80mm | ~1.8 kg | Heavy workbenches, automation systems | High rigidity, excellent stability | Bases and primary supports |
| 8020 | 80mm x 20mm | ~1.5 kg | Wide mounting surfaces, linear rails | Strong across width, flexible lengthwise | Mounting plates, wide spans |
| 8080 | 80mm x 80mm | ~2.2 kg | Heavy machinery, industrial automation | Maximum structural integrity | Heavy-duty, high-load applications |
When should you choose heavier profiles over lighter options? The decision comes down to three critical factors:
Span Length: Longer unsupported spans demand larger profiles. A 2020 aluminum extrusion works beautifully for 300mm spans but will noticeably deflect over 600mm under load. For longer runs, stepping up to 3030 or 4040 profiles prevents the "bouncy table" problem that frustrates many first-time builders.
Load Type: Static loads (like a monitor sitting on a desk) are far more forgiving than dynamic loads (like a moving gantry or vibrating equipment). If your build involves motion or vibration, err on the side of heavier profiles. The added rigidity pays dividends in precision and longevity.
Connection Points: Larger profiles offer more T-slot channels and greater surface area for connectors. An 8080 profile with four T-slots per side provides dramatically more attachment options than a 2020 with just one slot per face. This becomes crucial when building complex structures requiring multiple accessory mounts.
For lightweight or aesthetic builds—display stands, picture frames, cable management systems—1010 or 2020 profiles deliver clean lines without unnecessary bulk. But when structural integrity matters more than appearance, don't hesitate to upsize. The cost difference between 2020 and 4040 profiles is modest compared to the frustration of rebuilding a structure that flexes or sags under use.
With your profile sizes selected, the next critical decision involves understanding how much load your design can actually handle—and that requires diving into structural planning fundamentals.
Sounds intimidating, doesn't it? Terms like "moment of inertia" and "deflection limits" can make even experienced DIY builders feel like they need an engineering degree just to build a workbench. But here's the good news: you don't need to solve complex equations to build a solid aluminum extrusion frame. What you need is a practical understanding of how loads affect your structure and simple frameworks for making smart decisions.
Think of structural planning like choosing a ladder. You wouldn't use a lightweight step stool to paint a two-story house, and you wouldn't haul a 300-pound industrial ladder just to change a lightbulb. The same logic applies when building with aluminum extrusion—matching your frame's capability to your actual needs saves money while ensuring safety.
Before diving into formulas, let's understand what actually happens when you place weight on an aluminum extrusion rail or frame. When force is applied, the profile wants to bend. How much it bends depends on three main factors:
The key specification you'll encounter is called the area moment of inertia—and despite the intimidating name, it simply measures a profile's resistance to bending. Higher numbers mean stiffer profiles. According to Vention's engineering documentation, a 45x45mm profile can have an area moment of inertia ranging from 107,780 mm⁴ to 162,325 mm⁴ depending on the manufacturer and internal geometry. That's a 50% difference in rigidity between profiles with identical outer dimensions!
For practical decision-making, here's a simplified approach that works for most projects:
For example, building a workbench to hold 100 kg of tools and materials? Your design should comfortably handle 200-300 kg to account for unexpected loads, impact forces when dropping heavy objects, and long-term reliability.
Imagine you've built a 3030 aluminum extrusion frame, but testing reveals more flex than you'd like. You have two options: reinforce the existing structure or upgrade to larger profiles. How do you decide?
Reinforcement makes sense when:
Upsizing to larger profiles makes sense when:
The 15 series aluminum extrusion provides an interesting middle ground for builders working between compact 1010 and standard 2020 sizes. At 15mm x 15mm, these profiles offer roughly 80% more rigidity than 1010 while maintaining a slim footprint—perfect for electronics enclosures or precision instruments where every millimeter counts.
For high-performance aluminum extrusions industrial applications, manufacturers often combine strategies. Primary structural members use heavy 4080 or 8080 profiles for maximum rigidity, while secondary supports and accessory mounts use lighter 2020 or 3030 profiles. This hybrid approach optimizes both weight and cost without compromising performance where it matters most.
How much bending is too much? The answer depends entirely on your application. For general industrial structures, engineers typically limit deflection to 1/1000 of the span length. That means a 1,000mm span should deflect no more than 1mm under load.
Here's what deflection limits look like in practice:
| Application Type | Acceptable Deflection Ratio | Example (1000mm span) |
|---|---|---|
| General structures, shelving | 1/500 to 1/360 | 2.0-2.8mm acceptable |
| Workbenches, equipment frames | 1/1000 | 1.0mm maximum |
| Precision equipment, CNC | 1/2000 or better | 0.5mm or less |
| Optical or measurement systems | Minimal/zero tolerance | Near-zero deflection required |
According to structural verification guidelines, when checking whether a profile meets your requirements, you need to verify both strength (will it break?) and stiffness (will it bend too much?). A profile might easily handle the stress from your load without yielding, yet still deflect more than your application allows.
Not every project needs a licensed engineer's stamp—but some absolutely do. Consider professional review when:
For hobbyist projects, home workshops, and non-critical applications, the practical frameworks outlined here—combined with conservative safety factors—will serve you well. But when lives or livelihoods depend on your structure, professional engineering review isn't an expense; it's essential insurance.
With structural requirements understood, you're ready to explore the hardware that transforms individual profiles into rigid, reliable assemblies—starting with the connectors and brackets that make aluminum extrusion building so remarkably versatile.
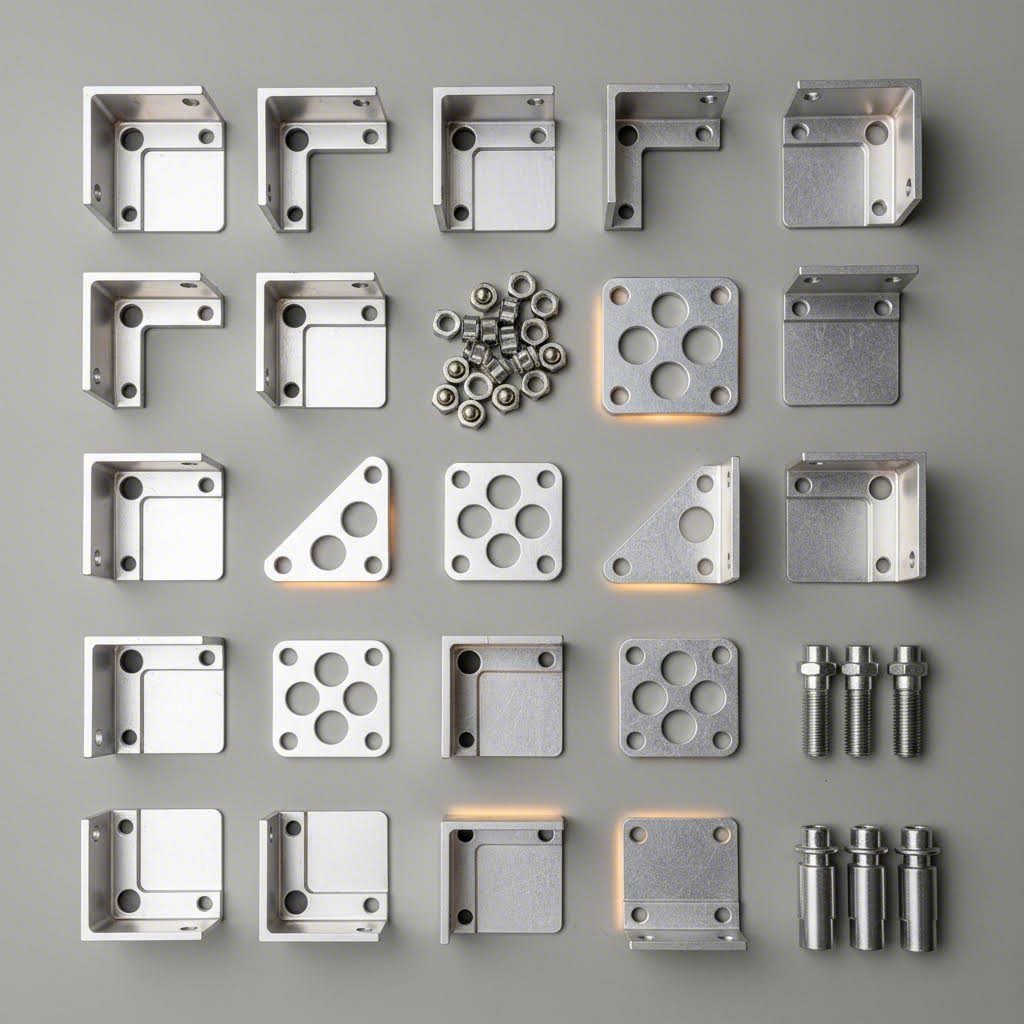
You've selected your profiles and calculated your load requirements—now comes the question that makes or breaks every build: how do you actually connect everything together? The hardware ecosystem for t slot aluminum extrusion is surprisingly vast, and choosing the wrong connector can undermine an otherwise perfect design. Let's demystify the options so you can build with confidence.
Think of aluminum extrusion connectors as the joints in a skeleton. Your profiles might be the bones, but without proper joints, the whole structure collapses. The genius of aluminum t slot extrusion lies in its T-shaped channels—these slots accept specialized fasteners that can be positioned anywhere along the profile's length, then locked firmly in place.
The foundation of every connection starts with the T-nut. These specially shaped nuts slide into the T-slot, rotate 90 degrees to catch under the slot's shoulders, and provide a threaded anchor point for bolts. You'll encounter several varieties:
Beyond T-nuts, the aluminum extrusion brackets and connectors divide into two fundamental categories: internal and external. According to 80/20's fastener guide, understanding this distinction helps narrow your choices considerably.
Internal fasteners are machined directly into profiles or hidden within the T-slots. They create clean, flush connections with fewer visible components. The trade-off? Most require machining or pre-planning during assembly.
External fasteners mount on the outside of profiles using brackets, plates, or gussets. They're easier to implement—often requiring no machining—and offer greater flexibility for reconfiguration. The compromise is a more visible connection point.
When does a hidden connection matter, and when is a visible bracket perfectly acceptable? Your answer depends on three factors: structural requirements, aesthetic preferences, and assembly complexity.
Here's a comprehensive comparison of the most common aluminum extrusion accessories for making connections:
| Connector Type | Relative Strength | Ease of Assembly | Machining Required? | Reconfigurable? | Ideal Applications |
|---|---|---|---|---|---|
| Anchor Fastener | High | Moderate | Yes (access hole) | Yes | Primary structural joints, machine frames |
| End Fastener | Moderate | Easy | Yes (end hole) | Limited | Fixed 90° connections, hidden joints |
| Inside Corner Connector | Moderate-High | Very Easy | No | Yes | Quick assembly, cost-sensitive projects |
| Hidden Corner Connector | Moderate | Moderate | No | Yes | Clean aesthetics, visible structures |
| Corner Bracket/Gusset | High (gussets higher) | Very Easy | No | Yes | Reinforced corners, adjustable positioning |
| Flat Joining Plate | Moderate | Very Easy | No | Yes | Splicing profiles, parallel connections |
| 3-Way Corner Connector | Moderate-High | Easy | No | Yes | Frame corners joining three profiles |
| 45-Degree Support | High | Moderate | No (pre-machined) | Yes | Diagonal bracing, reinforcing 90° joints |
The anchor fastener deserves special attention for structural applications. Consisting of a socket head cap screw, cam mechanism, and T-nut, it creates one of the strongest internal connections available. The cam locks the joint tight, providing long-lasting holding power that resists loosening under vibration. The catch? You'll need to drill an access hole in the profile for the Allen wrench—a minor inconvenience for significantly improved structural integrity.
For rapid assembly without machining, inside corner connectors and aluminum extrusion brackets (including L brackets and gussets) offer excellent performance. Gussets—those triangular reinforcement plates—provide substantially more strength than standard 90-degree brackets because their geometry resists rotational forces that would otherwise stress the connection.
Beyond understanding what each connector does, you need criteria for choosing between options. Ask yourself these questions:
Will this joint experience rotational stress? Corners on frames that might twist or rack need reinforcement. Corner brackets alone may allow slight rotation under load—add gussets or diagonal bracing to prevent this.
Do I need to adjust this connection later? External fasteners with t slotted aluminum extrusions offer infinite positioning along the slot's length. Internal fasteners like end connectors create fixed positions that require disassembly to relocate.
Is visibility a concern? Display structures, furniture, and customer-facing equipment benefit from hidden connectors. Workshop frames and industrial structures? External brackets work perfectly and speed assembly.
What's my assembly skill level? If you're new to building with aluminum extrusion t slot systems, start with external brackets that forgive minor alignment errors. Hidden connectors demand more precise positioning during assembly.
Nothing stalls a project faster than running out of T-nuts halfway through assembly. Here's a practical framework for estimating hardware needs:
For each profile connection point, budget:
For corner connections:
Always order 15-20% extra hardware. T-nuts get dropped, bolts strip occasionally, and you'll inevitably discover connection points you didn't anticipate during planning. Having spare hardware on hand keeps your project moving without emergency supply runs.
For complex builds, create a bill of materials that lists every profile length and every connection point. Count the hardware requirements per connection, total them up, then add your safety margin. This systematic approach prevents shortages while avoiding excessive leftover inventory.
With your connectors and hardware selected, there's one more skill that separates frustrating builds from satisfying ones: cutting profiles cleanly and accurately. Let's explore how to achieve professional results whether you're using basic hand tools or precision equipment.
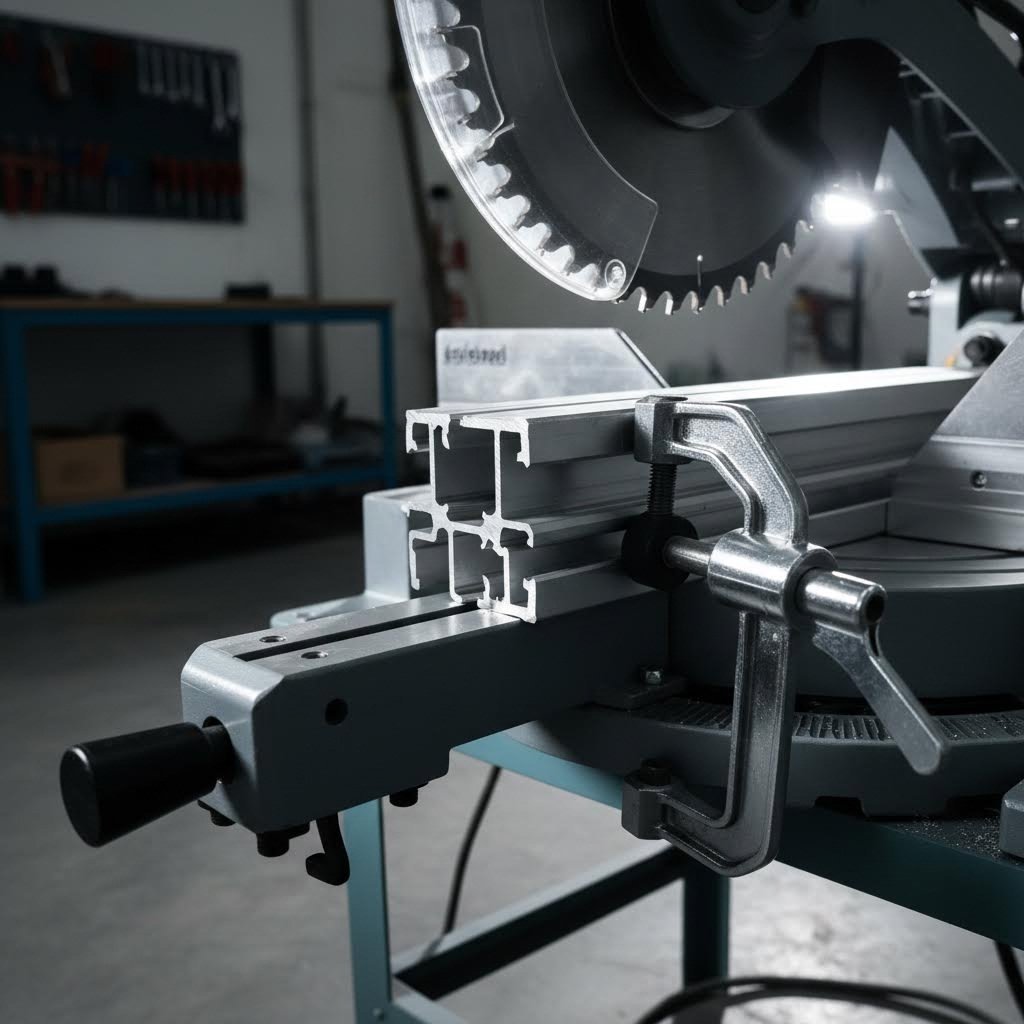
You've got your profiles selected, hardware ordered, and design finalized—now comes the moment of truth. How do you actually cut aluminum extrusion cleanly without creating jagged edges that won't fit together properly? Whether you're working in a fully equipped workshop or a garage with basic tools, achieving professional cuts is absolutely within reach. The secret lies in understanding your options and matching your approach to your project's precision requirements.
Unlike steel, aluminum is relatively soft and cuts easily. But that same softness creates challenges: the material heats up quickly, tends to grab saw teeth, and can leave frustrating burrs if you're not careful. Let's explore how to get clean, burr-free cuts every time.
The good news? You don't need expensive CNC equipment to cut aluminum extrusion accurately. Many successful projects are built using tools already sitting in your workshop. Here's how to cut aluminum extrusion with the most common methods:
Miter Saw: This is the go-to choice for most builders—and for good reason. A quality miter saw delivers fast, accurate cuts with excellent repeatability. According to Paramount Extrusions, proper blade selection and clamping technique are the keys to success. Use a carbide-tipped blade with 80-100 teeth designed specifically for non-ferrous metals. The high tooth count creates smoother cuts with less material tearing.
For miter saw cuts, follow these steps:
Hacksaw or Manual Miter Box: When you need a simple, low-cost solution—especially for field work or occasional cuts—a quality hacksaw gets the job done. Choose a blade with 18-24 teeth per inch for aluminum extrusion tube and solid profiles. The process requires more patience but works perfectly for small projects or when power tools aren't available.
Manual cutting tips:
Band Saw: For thicker profiles or production quantities, a band saw offers excellent control and the ability to handle larger cross-sections. Use a blade with carbide teeth and 10-14 teeth per inch. According to The Cutting Experts, a slower blade speed combined with cutting fluid dramatically improves cut quality and blade life.
Circular Saw: A portable option when you need to make cuts on-site. Use an aluminum-rated blade with at least 60 teeth and run the saw at a moderate speed. Circular saws generate significant chips and noise, so proper eye protection, hearing protection, and a dust collection setup are essential.
Your blade choice matters more than your saw choice. The wrong blade creates burrs, generates excessive heat, and leaves you with rough edges that require extensive cleanup. Here's what works for cutting aluminum extrusion:
Avoid using standard wood-cutting blades. Their aggressive tooth geometry tears aluminum rather than cutting it cleanly, creating dangerous kickback risks and ruined profiles.
Cutting profiles to length is just the beginning. Most projects require additional aluminum extrusion machining operations: drilling access holes for anchor fasteners, tapping threads for specialized hardware, or creating custom cutouts for components.
Drilling aluminum requires attention to these details:
Tapping threads in aluminum extrusion works well because the material is soft enough to cut cleanly. Use a quality tap with cutting oil, and take your time—backing out every half-turn to clear chips prevents binding. For frequently used connection points, consider thread inserts (like Helicoils) that provide stronger, more durable threads.
Even experienced builders make mistakes when cutting aluminum extrusion. Here are the most common errors and how to avoid them:
Here's a reality check: sometimes ordering pre-cut profiles makes more sense than cutting them yourself. Consider supplier cutting services when:
Precision requirements are tight: If your aluminum extrusion case or enclosure requires tolerances under ±0.5mm, professional CNC cutting delivers accuracy that's difficult to achieve with shop tools. Suppliers with CNC machining centers can hold tolerances to ±0.1mm or better.
Quantities are significant: Cutting 10 profiles yourself is reasonable. Cutting 200? The time investment becomes substantial, and fatigue leads to errors. Bulk cutting orders from suppliers often cost less than the value of your time.
Complex machining is needed: Counterbored holes, precise slot patterns, and integrated mounting features require equipment most workshops don't have. Ordering profiles with machining already complete arrives ready for assembly.
You lack proper equipment: Attempting precision cuts with inadequate tools creates frustration and wasted material. If your current setup can't deliver the quality your project demands, supplier services bridge the gap cost-effectively.
Many aluminum extrusion suppliers offer comprehensive cutting and machining services—from simple length cuts to complex multi-operation processing. The premium over raw profiles is often surprisingly modest, especially when you factor in the value of your time and the cost of mistakes. For projects demanding professional results, this investment typically pays for itself in assembly time savings and fit quality.
With your profiles cut to size and any necessary holes drilled, your project is ready to come together. But before final assembly, there's one more consideration that affects both appearance and longevity: choosing the right surface finish for your application.
Your aluminum extrusion frame is cut, drilled, and ready for assembly—but should you leave it raw or apply a protective finish? This decision impacts far more than appearance. The right surface treatment can mean the difference between a structure that looks pristine for decades and one that shows wear within months. Understanding your options helps you match protection levels to your project's actual environmental demands.
Here's something many builders don't realize: aluminum naturally forms a thin oxide layer when exposed to air—roughly 0.002 μm thick. This provides basic protection, but it's far from bulletproof. According to SAF's finishing guide, this natural film offers "adequate protection for applications where low cost and no maintenance are required and where a change in surface appearance is acceptable." For workshop builds that prioritize function over aesthetics, raw aluminum works fine. But when durability, appearance, or corrosive environments enter the equation, you'll want something more robust.
Four main finishing options dominate the aluminum extrusion world, each bringing distinct advantages depending on your application:
Anodizing doesn't coat the aluminum—it transforms its surface. This electrochemical process creates a thicker, harder oxide layer that's integral to the metal itself. Unlike paint or powder coating, anodized aluminum extrusions can't peel or flake because the protective layer grows from the base material rather than sitting on top of it. The result? Exceptional hardness, excellent corrosion resistance, and a distinctive metallic appearance that many builders prefer.
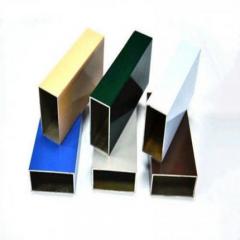
Anodizing thickness determines durability. Class I anodizing (0.7 mils) lasts roughly twice as long as Class II (0.4 mils) in exterior applications. For custom aluminum extrusions destined for outdoor use, always specify Class I—the cost difference is modest compared to the extended lifespan. Color options include clear (natural silver), black, bronze, and various dyed hues, though the palette is more limited than with paint or powder coating.
Powder Coating delivers the widest color selection and robust protection without the volatile organic compounds (VOCs) associated with liquid paints. The process applies dry powder electrostatically, then cures it in an oven to create a durable, chip-resistant finish. You can match virtually any RAL color or custom specification, making powder coating the go-to choice when branding or design aesthetics matter.
For outdoor applications, powder coating provides excellent UV resistance—colors won't fade or discolor over time when properly applied. The finish is also highly resistant to chipping, scratching, and general wear. One consideration: powder coatings can sometimes exhibit slight "orange peel" texture, which may concern builders seeking perfectly smooth surfaces.
PVDF Coatings (polyvinylidene fluoride) represent the premium tier for weather resistance. Formulated as 70% PVDF with 30% acrylic, these coatings dominate curtainwall and metal roofing markets because they maintain color and gloss for decades in harsh conditions. According to industry standards, PVDF coatings meeting AAMA 2605 specifications must pass actual ten-year Florida exposure testing—a testament to their durability.
PVDF offers superior chemical resistance and UV stability compared to standard powder coatings. The trade-off? Higher cost and larger minimum batch requirements. For architectural aluminum extrusion shapes requiring long-term outdoor performance, PVDF is often worth the investment.
Painting provides flexibility for small batches and color matching that other methods can't easily achieve. Liquid paints can be mixed on-demand, making them ideal for custom colors or small production runs. However, painted finishes generally require more maintenance than anodizing or powder coating and may not perform as well in demanding outdoor environments.
Choosing the right finish starts with understanding where your structure will live. Indoor workshop equipment faces different challenges than outdoor signage or marine applications. Here's how the options compare across key factors:
| Finish Type | Durability | Relative Cost | Color Options | Best Environments | Key Considerations |
|---|---|---|---|---|---|
| Mill Finish (Raw) | Moderate | Lowest | Natural silver only | Indoor, dry conditions | Appearance may change over time; acceptable for non-visible structures |
| Clear Anodizing | High | Low-Moderate | Natural metallic silver | Indoor/outdoor, moderate exposure | Specify Class I for outdoor use; renewable through cleaning |
| Colored Anodizing | High | Moderate | Limited (black, bronze, gold, select dyes) | Indoor/outdoor, architectural | Colors integral to surface; excellent abrasion resistance |
| Powder Coating | High | Moderate | Virtually unlimited (RAL, custom) | Indoor/outdoor, general use | Excellent color consistency; no VOCs during application |
| PVDF Coating | Very High | Higher | Wide range available | Harsh outdoor, coastal, industrial | Premium weather resistance; larger batch minimums typical |
| Liquid Paint | Moderate-High | Variable | Unlimited custom matching | Indoor, light outdoor | Best for small batches; may require more maintenance |
For many workshop and indoor applications, unfinished aluminum channel extrusions perform perfectly well. The natural oxide layer provides adequate corrosion resistance in dry environments, and the raw metallic appearance suits industrial aesthetics. Machine frames, workbenches in climate-controlled shops, and equipment enclosures often don't need additional finishing.
Protective finishes become essential when:
For specialty applications requiring mirror finishes or maximum hygiene—think medical equipment or commercial kitchen fixtures—polished aluminum offers a high-shine surface that's easy to clean and visually striking. Keep in mind that not all aluminum alloys polish equally well; if you need this finish, plan for it from the start by selecting appropriate alloys.
With your surface finish selected, you're equipped to make informed decisions throughout your project. Next, let's explore real-world applications and develop practical planning strategies that bring everything together—from simple workbenches to complex industrial automation frames.
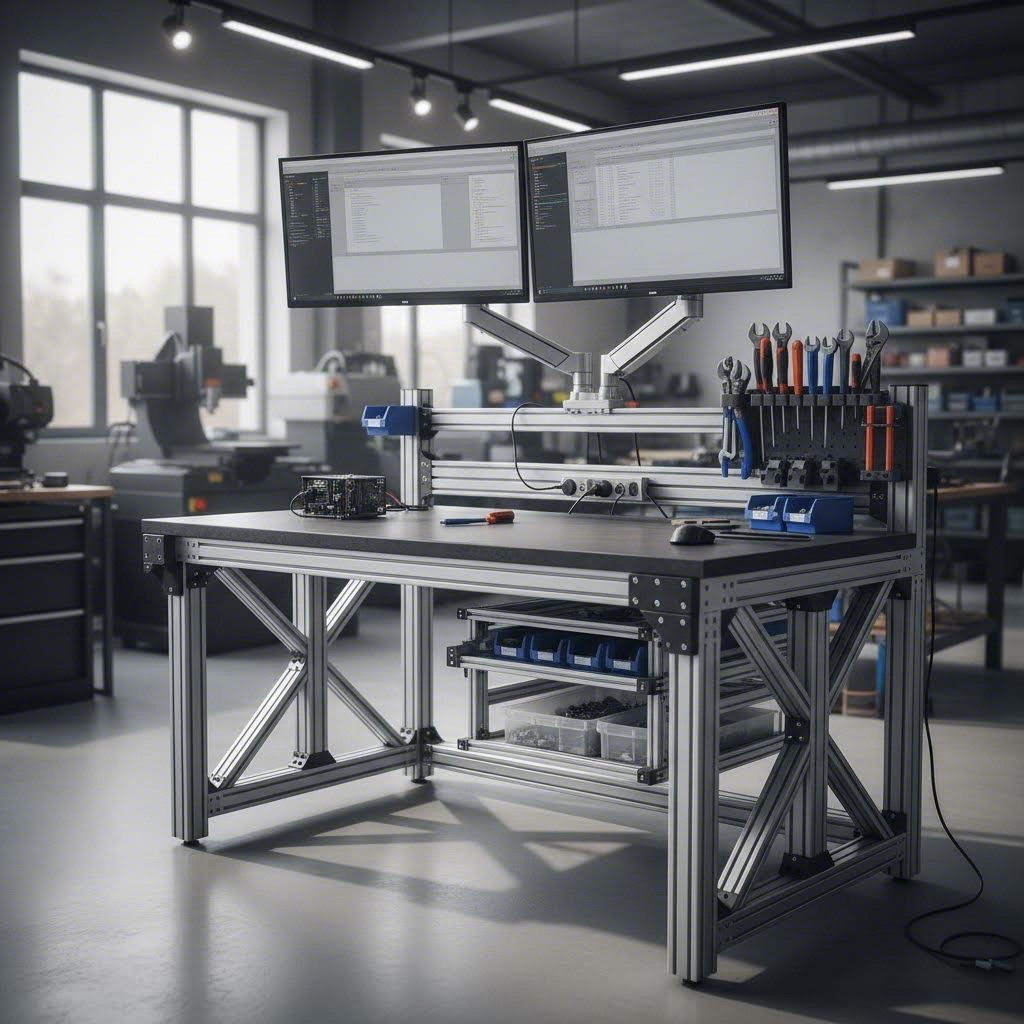
Ready to put all this knowledge into action? Whether you're sketching your first aluminum extrusion workbench or engineering a complex automation cell, the planning principles remain surprisingly consistent. The difference between a frustrating build and a satisfying one often comes down to thoughtful preparation before you order a single profile. Let's explore the most popular project categories and develop a systematic approach that works across skill levels and budgets.
The beauty of building with aluminum extrusion lies in its scalability. The same T-slot system that hobbyists use for 3D printer frames powers industrial automation lines worth millions of dollars. Here's how common project categories break down:
Workbenches and Work Tables: Perhaps the most popular entry point for new builders, an aluminum extrusion table combines rigidity with infinite customization. Need monitor arms? Bolt them anywhere along the frame. Want to add shelving later? The T-slots accept accessories without drilling. A typical aluminum extrusion workbench uses 4040 or 4080 profiles for the base frame, with 2020 or 3030 for upper structures. Budget roughly 10-15 meters of profile for a standard 1500mm x 750mm work surface.
Machine Frames and Equipment Bases: CNC routers, laser cutters, and 3D printers all benefit from aluminum extrusion's vibration damping and dimensional stability. For precision equipment, the frame's rigidity directly impacts output quality. Larger machines often combine heavy 4080 or 8080 base profiles with lighter 2040 or 3030 gantry members—optimizing stiffness where it matters while keeping moving mass low.
Enclosures and Cases: From electronics housings to machine guards, an aluminum extrusion enclosure offers clean lines with practical access. These projects typically use smaller profiles—2020 or even 1515 for compact cases—combined with panel mounting accessories for acrylic, polycarbonate, or sheet metal sides. Safety enclosures for industrial equipment must meet specific standards, so consult regulations before finalizing designs.
Furniture and Fixtures: Standing desks, display stands, and retail fixtures showcase aluminum extrusion's aesthetic potential. An aluminum extrusion desk built with quality profiles and thoughtful finishing rivals commercial furniture at a fraction of the cost. For visible applications, consider anodized or powder-coated profiles and hidden fasteners for cleaner appearances.
Industrial Automation: This is where aluminum extrusion truly shines. Robot cells, conveyor systems, and assembly stations leverage the system's modularity for rapid deployment and easy reconfiguration. Many facilities use universal robots aluminum extrusions as standardized mounting solutions—the T-slot interface allows quick robot relocation as production needs change. According to American Douglas Metals, aluminum extrusion offers remarkable cost advantages for these applications, with custom extrusion dies costing under $1,000 compared to $30,000+ for casting tools.
Jumping straight to ordering profiles without proper planning leads to expensive mistakes. Use this comprehensive materials planning checklist before placing your first order:
For reference, browsing an aluminum extrusion profiles catalog from established suppliers helps visualize available options. Most manufacturers provide downloadable CAD models that streamline the design process considerably.
How do you balance material costs against labor and precision requirements? The answer varies based on your context—hobbyist, DIY, or professional—but some principles apply universally.
For hobbyists and makers: Time often matters less than budget. Cutting profiles yourself, using external brackets instead of machined connections, and accepting minor imperfections keeps costs low. Consider aluminum extrusion frame kits for common projects like 3D printer enclosures—bundled components often cost less than sourcing individually.
For serious DIY builders: Balance shifts toward quality and efficiency. Pre-cut profiles save hours of measuring and cutting while ensuring square assemblies. Investing in proper hardware—quality corner brackets rather than the cheapest options—prevents frustrating rebuilds. The modest premium for precision-cut components typically pays for itself in reduced assembly time.
For professional applications: Labor cost usually exceeds material cost significantly. According to industry analysis, raw material represents roughly 90% of basic extrusion expenses, but labor, design, and rework can multiply total project costs. Ordering complete, ready-to-assemble profile sets with machining completed eliminates shop time and ensures consistent quality. When billing hourly rates, professional-grade preparation becomes the economical choice.
Cost optimization strategies that work across all contexts:
With your project planned and materials ordered, you're nearly ready to build. But even the best-prepared builders encounter pitfalls—and learning from others' mistakes saves both time and money. Let's examine the most common errors that derail first-time aluminum extrusion projects.
You've done the research, ordered your profiles, and you're ready to build. But here's the thing—nearly every first-time builder makes at least one costly mistake that could have been avoided with a little foresight. The frustrating part? These errors rarely appear in typical tutorials or product guides. Let's change that by examining the most common pitfalls and, more importantly, how to prevent them from derailing your project.
After analyzing countless builds and community discussions, including insights from Hackaday's maker community, these five mistakes consistently top the list of project killers:
Beyond the big five, experienced builders consistently flag these additional pitfalls:
A systematic approach prevents most mistakes from becoming permanent problems. Follow this quality control framework:
Before cutting:
During assembly:
Before final tightening:
Building with aluminum extrusion rewards patience and preparation. The modular nature of T-slot systems means most mistakes are recoverable—but avoiding them in the first place saves hours of frustration and keeps your project on track. With these lessons learned from others' experiences, you're equipped to sidestep the common pitfalls and build with confidence.
Of course, even perfect technique can't compensate for poor-quality materials. Selecting the right supplier—one who delivers precision profiles with consistent quality—forms the foundation of every successful build.
You've mastered profile selection, hardware choices, and assembly techniques—but here's a truth experienced builders learn the hard way: your supplier choice matters as much as your design skills. The difference between a frustrating build with ill-fitting components and a satisfying project that comes together perfectly often traces back to one decision: where to buy aluminum extrusion.
Not all aluminum extrusion companies deliver the same quality. Profiles with sloppy tolerances create connection headaches. Inconsistent surface finishes affect both aesthetics and anodizing results. Poor machining means access holes don't align and T-nuts don't seat properly. Understanding what separates premium aluminum extrusion suppliers from budget options helps you avoid these frustrations before they start.
When evaluating aluminum extrusion manufacturers, look beyond price per meter. According to industry analysis for 2025, discerning buyers assess vendors across multiple dimensions: product quality, technological capabilities, customization flexibility, delivery reliability, and technical support availability.
Here's what to examine when comparing suppliers:
For builders sourcing within North America, american aluminum extrusion suppliers offer advantages in shipping speed and communication convenience. However, don't overlook established international manufacturers who serve global markets—many provide competitive pricing with quality matching or exceeding domestic options.
Standard catalog profiles work for many projects, but custom aluminum extrusion opens possibilities that off-the-shelf options can't match. When your application demands unique cross-sections, integrated mounting features, or specialized alloy requirements, finding the right fabrication partner becomes critical.
Custom extrusion involves die development—the precision tooling that shapes your unique profile. According to industry resources, designers well-versed in extrusion technology produce the most successful custom designs. A quality fabrication partner contributes expertise beyond simply producing what you specify; they help optimize profiles for manufacturability, strength, and cost-effectiveness.
Key questions when evaluating custom aluminum extrusion services:
For builders ready to move from planning to execution, Shengxin Aluminium's processing services illustrate what comprehensive supplier capabilities look like in practice. With over 30 years of industry experience, their facility houses 35 extrusion presses ranging from 600T to 5500T—capacity that handles everything from delicate small profiles to heavy industrial sections. Their CNC machining centers deliver precise cutting, drilling, and bending to exact specifications, while surface treatment options span anodizing in custom colors like champagne and rose gold, powder coating, PVDF, and micro-arc oxidation for specialized applications.
What distinguishes partners like this from basic suppliers is end-to-end support: technical teams who assist from die development through mass production, ensuring your custom requirements translate into manufacturable, high-quality profiles.
Before placing significant orders, consider these validation steps that experienced buyers use:
The aluminum extrusion services landscape includes everything from small regional distributors to global manufacturing giants. Your ideal partner depends on project scale, customization requirements, and service expectations. For standard profiles and basic cutting, local distributors offer convenience. For custom extrusions, complex machining, or specialized finishes, manufacturers with comprehensive in-house capabilities deliver better results.
Building with aluminum extrusion rewards those who invest time in proper planning—and that planning starts with selecting suppliers who match your quality expectations. With the right partner, your carefully designed frames arrive ready for assembly, fitting together precisely as intended. That's the foundation every successful build deserves.
To assemble a rectangular aluminum extrusion frame, start by cutting profiles to precise lengths and ensuring square ends. Use corner brackets or inside corner connectors with T-nuts and bolts at each joint. For maximum rigidity, add gusset plates at corners. Always assemble on a flat surface, tighten connections in stages (finger-tight first, then verify squareness by measuring diagonals before final torquing), and check that diagonals are equal to confirm the frame is square.
Essential tools include a miter saw with a carbide-tipped blade (80-100 teeth) designed for non-ferrous metals, Allen wrenches matching your hardware sizes (typically 4mm or 5mm), a measuring tape and square for accuracy, and clamps for securing profiles during cutting. For drilling, use sharp HSS or cobalt drill bits with cutting fluid. A deburring tool cleans cut edges. Advanced projects may require a drill press, tap set for threading, and a machinist's square for precision alignment.
6061 aluminum, called 'structural aluminum,' offers higher tensile strength (310 MPa in T6 temper) and is ideal for load-bearing applications like machine frames and industrial equipment. 6063 aluminum, known as 'architectural aluminum,' has slightly lower strength but superior extrudability and surface finish quality, making it perfect for visible applications, outdoor installations, and projects requiring anodizing. Most T-slot framing uses 6063-T5 or T6, while demanding structural applications benefit from 6061.
Load capacity depends on profile size, span length, and connection type. A 4040 profile can support several hundred kilograms on short spans, while a 2020 profile suits lighter loads. Key factors include unsupported span length (longer spans reduce capacity), load type (dynamic loads require 2-3x static load capacity), and deflection limits (precision equipment needs near-zero flex). Apply a safety factor of 2.0 minimum, increasing to 4.0 for safety-critical applications. Consult manufacturer specifications for exact moment of inertia values.
Quality aluminum extrusion is available from specialized industrial suppliers, manufacturers with comprehensive processing capabilities, and online distributors. When choosing a supplier, evaluate their extrusion press capacity, CNC machining services, surface treatment options, and technical support availability. Shengxin Aluminium, with over 30 years of experience, 35 extrusion presses (600T-5500T), and complete processing services including custom anodizing and powder coating, exemplifies a full-service manufacturer. Request samples before large orders to verify dimensional accuracy and finish quality.



 Servicio en línea
 0086 136 3563 2360
 sales@sxalu.com
 +86 136 3563 2360
 español
 English
 français
 Deutsch
 русский
 português
 العربية
 ไทย
ไทย Việt
Việt Українська