Yes, anodized aluminum can be painted. The real issue is not whether paint can go on it, but whether it will stay there. If the oxide layer is heavily sealed, contaminated, or too smooth, paint may sit on the surface instead of bonding to it. Guidance from Products Finishing and this practical TheDieCasting guide points to the same conclusion: adhesion depends far more on surface condition and prep than on the topcoat alone.
Yes, you can paint over anodized aluminum, but long-term success depends mostly on surface condition, sealing, and prep quality.
Anodizing is an electrochemical treatment that builds a protective oxide layer on aluminum. In plain language, it makes the surface tougher and more corrosion-resistant. It also changes how coatings stick. So when people ask can you paint anodized aluminum, can anodized aluminum be painted, or can you paint over anodized aluminum, the honest answer is yes, but only if the surface is truly paint-ready.
Durable finishes usually get the basics right. Failed ones usually miss at least one. A slick sealed surface, residue from cleaners or sealing agents, or a mismatched primer can all undermine an anodised paint finish before the part ever sees weather, handling, or abrasion.
This is a decision-first guide, not a generic how-to. If you are a DIY reader repainting trim or a commercial buyer planning a repeatable finish for fabricated parts, you need to know whether painting makes sense, what risks the existing anodized layer creates, and what an anodised paint system needs to bond well. Much of that answer starts in the oxide layer itself, where surface chemistry and sealing quietly decide whether a finish holds or peels.
Paint failure on anodized aluminum usually starts below the paint film. Bare aluminum already forms a very thin natural oxide in air, measured in nanometers, but anodizing uses electric current to grow that oxide into a much thicker engineered layer. Research discussed by Finishing & Coating shows that anodic aluminum oxide is not just metal with color on it. It is a distinct surface with its own structure, pore pattern, and chemical sites. That is why coating anodized aluminum behaves differently from coating bare sheet or raw extrusion.
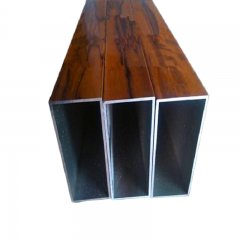
Many decorative finishes, including what buyers often call clear anodized aluminium, are built on a porous oxide structure rather than smooth exposed metal. On unsealed anodized surfaces, those pores and charged sites can help later organic coatings bond. In practical terms, that means the surface may respond well to careful cleaning and controlled abrasion. Skip either one, and the coating may never contact a truly receptive layer.
Sealing improves corrosion performance, but it can also make painting harder. The porous anodic film is hygroscopic, and sealing changes the pore surface through hydration and related reactions, reducing the open sites that paints and primers can use. Guidance from Products Finishing notes that paint adhesion often favors either no seal or a properly controlled hot water seal, and that surfactants in a sealing bath can lead to poor adhesion and later peeling. Fresh unsealed parts also need dust control and prompt coating.
People often ask, will anodized aluminum rust? Not in the same way steel does. Aluminum oxidizes rather than forming iron rust, and anodizing thickens that protective oxide. As Anoplate explains, anodizing improves corrosion resistance, while thicker porous coatings often need sealing for full protection. For painters, that creates a tradeoff: the better the seal for corrosion resistance, the less open the surface may be for bonding. That is why primer and topcoat technical data sheets matter more than shop folklore.
| Surface state | Texture | Porosity or reactivity | Prep implication |
|---|---|---|---|
| Bare aluminum | Thin natural oxide, often relatively smooth | Very thin passive film | Clean thoroughly and use a system approved for non-ferrous metal |
| Open anodized surface | Engineered oxide with fine pore structure | More accessible bonding sites | Clean carefully, scuff consistently, prime within the coating system guidance |
| Sealed anodized surface | Less receptive, often slicker | Reduced pore openness | Expect stricter abrasion and compatibility requirements |
| Aged anodized surface | May carry soil, absorbed contaminants, or weathering effects | Variable from area to area | Inspect closely and prep by actual condition, not assumptions |
So the label anodized tells only part of the story. The real choice depends on whether that oxide is open, sealed, aged, or already compromised, which is exactly where finishing strategy starts to separate smart repainting from expensive rework.
Surface chemistry tells you whether paint can bond. Service conditions tell you whether paint deserves the job. A practical comparison from CRC Surface Technologies notes that anodizing is generally more durable and lower maintenance than paint, especially in harsher exposure, while paint offers broader color choice and easier color consistency. That tradeoff matters more than any label on the can.
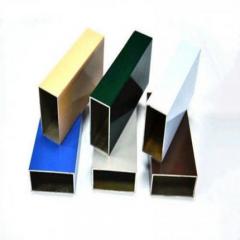
Painting is often the sensible route when the anodized layer is still sound and the main goal is a color change, visual refresh, or better match with nearby materials. Think architectural trim, window surrounds, facade accents, and many signs that see weather but not constant abrasion. In those cases, an anodized aluminum paint approach can be the least disruptive option, especially when removing installed parts would add cost, delay, or risk. A well-chosen anodized paint system also makes sense where appearance matters more than maximum wear resistance.
Paint is not always the best answer. The Valence guide points out that sanding, polishing, paint, powder coating, or even removing and re-anodizing may be better depending on the refinishing goal. If the part can be removed and shop-finished, powder coating may be worth considering for a more controlled refinish. If the component needs repair, modification, welding, or a fully renewed base, reworking the anodized layer first can be the smarter path than trying to paint anodized aluminum over a questionable surface.
| Finishing path | Best-use cases | Why it fits | Main caution |
|---|---|---|---|
| Paint over sound anodizing | Architectural trim, window accents, low-abuse signage, general aluminum parts | Good for color change and appearance upgrades with limited project disruption | Not the strongest choice for repeated abrasion or rough handling |
| Powder coat after proper prep | Removable fabricated parts, some rail components, shop-finished sign frames | Useful when you want a durable decorative coating in a controlled setting | Usually requires removal from site and more process coordination |
| Remove or rework anodizing first | Marina-adjacent parts, repair or modification work, projects needing major refinishing | Addresses the substrate before the new finish, rather than coating over uncertainty | Highest disruption and process complexity |
| Do not coat yet | Handrails with heavy contact, poorly performing old coatings, severely worn parts | Prevents a cosmetic fix from hiding a deeper finish problem | Diagnosis and corrective prep come first |
Restraint pays here. If the surface has severe wear, unknown or failing previous coatings, or obvious damage from heavy contact, pause before reaching for primer. High-touch handrails and abuse-prone parts are common trouble spots. Paint can improve looks, but it cannot turn an unstable base into a reliable one. The right decision at this stage also determines what comes next, because a straightforward repaint and a strip-and-refinish job do not use the same materials, tools, or prep intensity.
If painting still looks like the right finish path, build your kit around compatibility, not convenience. Practical prep guidance for anodized aluminum starts with cleaning and degreasing, then controlled abrasion, then a primer and topcoat system approved for metal or other non-ferrous substrates. That matters just as much for a homeowner repainting trim as it does for a buyer setting up a repeatable finishing process.
A good checklist prevents missed items, but it does not answer how aggressive the prep should be. Surface condition does. A glossy sealed frame, a weathered panel, and a chalked old finish rarely need the same treatment, which is where prep choices start to make or break adhesion.
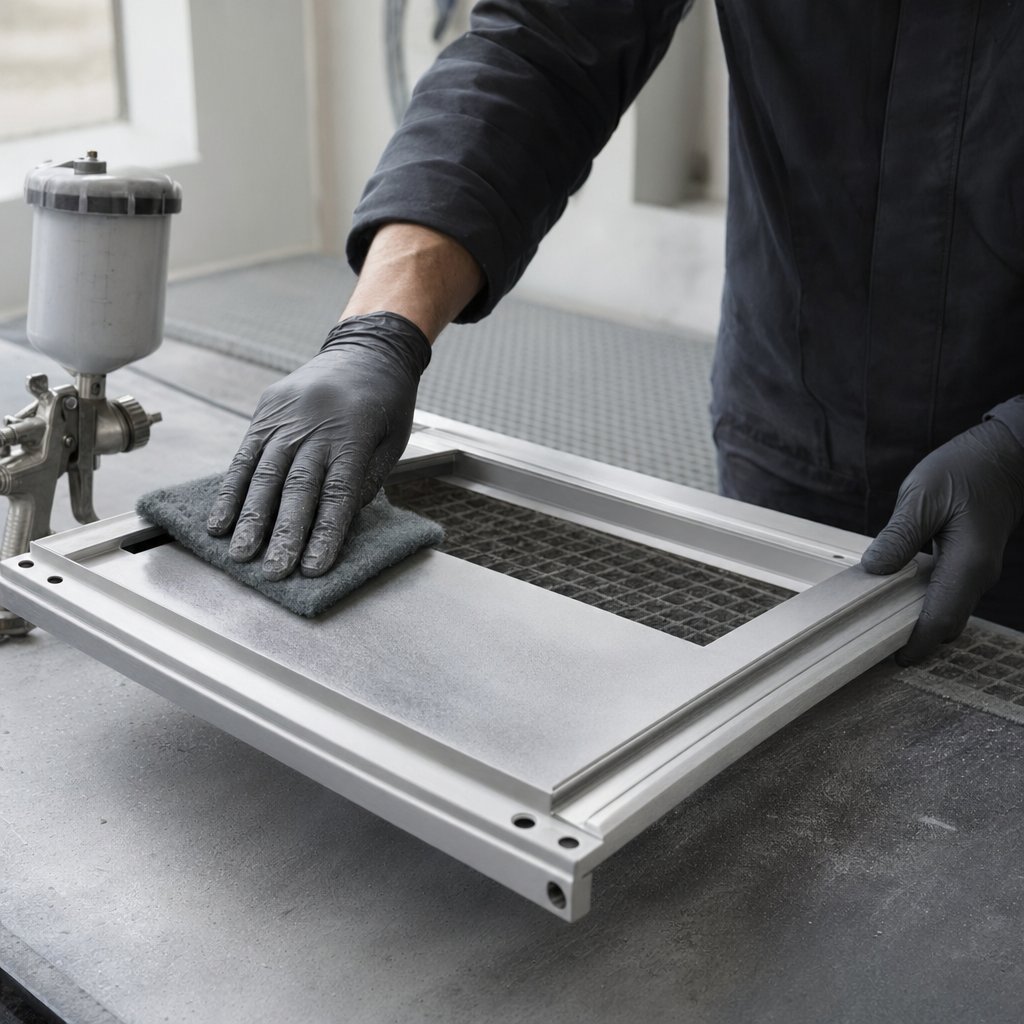
A glossy sealed frame and a weathered panel may both be aluminum, but they should not be prepped the same way. Most coating failures blamed on a bad paint choice usually begin earlier, with oil left on the surface, shiny untouched spots, or abrasion that is either too coarse or too polished.
Before you sand anything, remove what sanding cannot fix. Guidance from eQualle notes that finger oils, silicone polishes, and cutting fluids can ruin adhesion. That is why degreasing should happen before abrasives and again just before coating. Cleaning first also keeps you from grinding contamination deeper into the anodized surface.
If your coating manufacturer provides a prep check, use it. If not, rely on clear visual cues. Under bright or raking light, the part should show no oily smears, fingerprints, cleaner streaks, or dust. Your wipe cloth should stop lifting visible grime. The surface should feel clean and dry, not slick. Once it is clean, handle it with gloves so you do not undo the prep.
Prep quality, not paint brand alone, determines most adhesion outcomes.
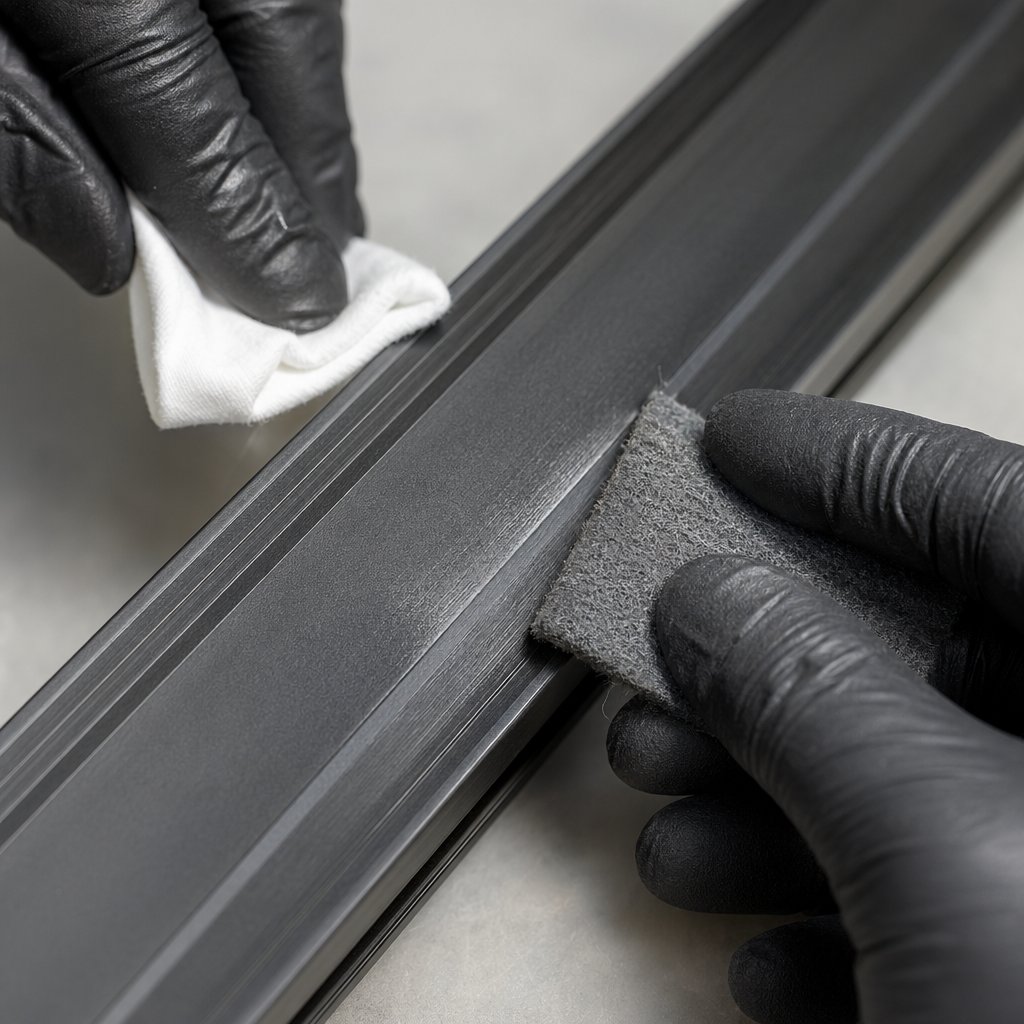
For intact anodizing, sanding alone can be enough. The same eQualle guidance recommends a scuff-and-paint route when the anodic film is still sound, using 320 grit to establish tooth and a light 400 grit pass to refine it. The target is not heavy material removal. It is a uniform matte finish with zero glossy islands. Too fine, and you burnish the film so primer cannot bite. Too coarse, and you leave grooves that may telegraph through the finish.
Sealed anodized surfaces often need more deliberate abrasion because they are slicker and less receptive. Use a hard backing and controlled pressure instead of finger-sanding, which can create troughs and roll edges. For many people searching how to paint anodized aluminum, this is the step they miss. You are not polishing for looks. You are creating a consistent scratch profile for primer.
More aggressive prep becomes the safer choice when the surface is chalked, patchy, deeply scratched, or already carrying a failing coating. In those cases, simply scuffing may hide the problem instead of solving it. Painting anodized aluminum and painting anodized aluminium both work best when the underlying layer is stable. If it is not, stripping or de-anodizing may be smarter than sanding harder.
Some systems allow chemical etching or self-etching primers, but only use that route when the product data sheet specifically supports anodized or aluminum substrates. Chemistry matters here. Products Finishing notes that surfactants in some seal baths can hurt later paint adhesion. That is one more reason painting anodised aluminium should follow the coating system instructions, not internet folklore. The same applies when learning how to paint anodised aluminium for a repeatable result.
| Surface state | What you are seeing | Recommended prep action |
|---|---|---|
| Intact sealed anodizing | Glossy, hard, smooth, no visible damage | Clean thoroughly, scuff with a controlled 320 to 400 grit profile until fully matte, remove dust, then prime soon after abrasion |
| Fresh unsealed anodizing | Newly anodized, not yet contaminated, still open and clean | Keep covered or dust-free and paint promptly. Products Finishing advises unsealed parts are best painted within 24 hours |
| Weathered or dyed anodizing with chalking or bleed concerns | Uneven color, chalk, suspect surface stability | Clean first, abrade more thoroughly, inspect under raking light, and consider de-anodizing if the film does not stay uniform and sound |
| Deep scratches or failing old coating | Peeling, patchy adhesion, gouges, repair areas | Do not just scuff and paint. Strip failed material, correct the substrate, then rebuild the coating system from a reliable base |
When the surface finally looks evenly dull, clean, and dust-free, the real finishing work can begin. Primer choice, coat thickness, and cure timing matter a lot more once the substrate is truly ready for them.
Once the surface is evenly dull, clean, and dust-free, the job shifts from prep to control. The Shengxin guide stresses thin, even primer application on aluminum, while the Aleader article explains that curing is what turns that wet film into a stable bonded layer. That is why light passes usually outperform heavy ones. A thick coat may look faster, but it raises the risk of trapped solvent, moisture, and weak early handling strength.
Whether you use a brush, spray gun, or anodized aluminum spray paint, consistency matters more than speed. Narrow trim often benefits from a controlled aerosol pass. Small fabricated parts also respond well to spray application because edges and corners are easier to cover evenly. For broad architectural sections, work in manageable areas and keep overlap consistent. If you are comparing an anodised spray paint can with shop-based aluminum spray equipment, the same rule holds: build color with thin coats instead of one wet layer. Readers shopping for spray paint for aluminum metal or searching for anodized spray paint should still verify that the primer and topcoat are approved for aluminum or anodized substrates, not just bare metal.
Aleader describes industrial wet paint and powder systems curing through crosslinking, sometimes with oven baking, to create a more stable bond. Site-applied coatings may air-cure instead, so handling, masking, stacking, and return-to-service timing should come from the technical data sheet, not guesswork. Recoat windows matter for the same reason. Miss that window, and you may lose chemical bonding between layers even if the surface still looks fine.
For production work, Aleader also points to cross-hatch adhesion testing such as ASTM D3359 as a common quality check. On a smaller project, a hidden test patch gives you a safer read before coating every visible face. The method stays the same, but the best setup changes with the part, which becomes much clearer when trim, handrails, signs, and marine-adjacent pieces are judged by their real service conditions.
A finish that passes a hidden adhesion test can still fail fast if people grab it all day, cleaners hit it every week, or salt sits on it through a season. Real service conditions decide whether repainting is smart, risky, or simply the wrong finish path.
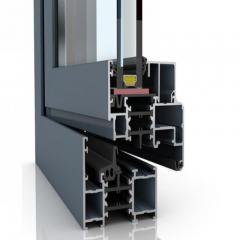
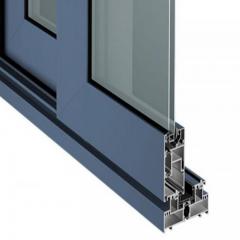
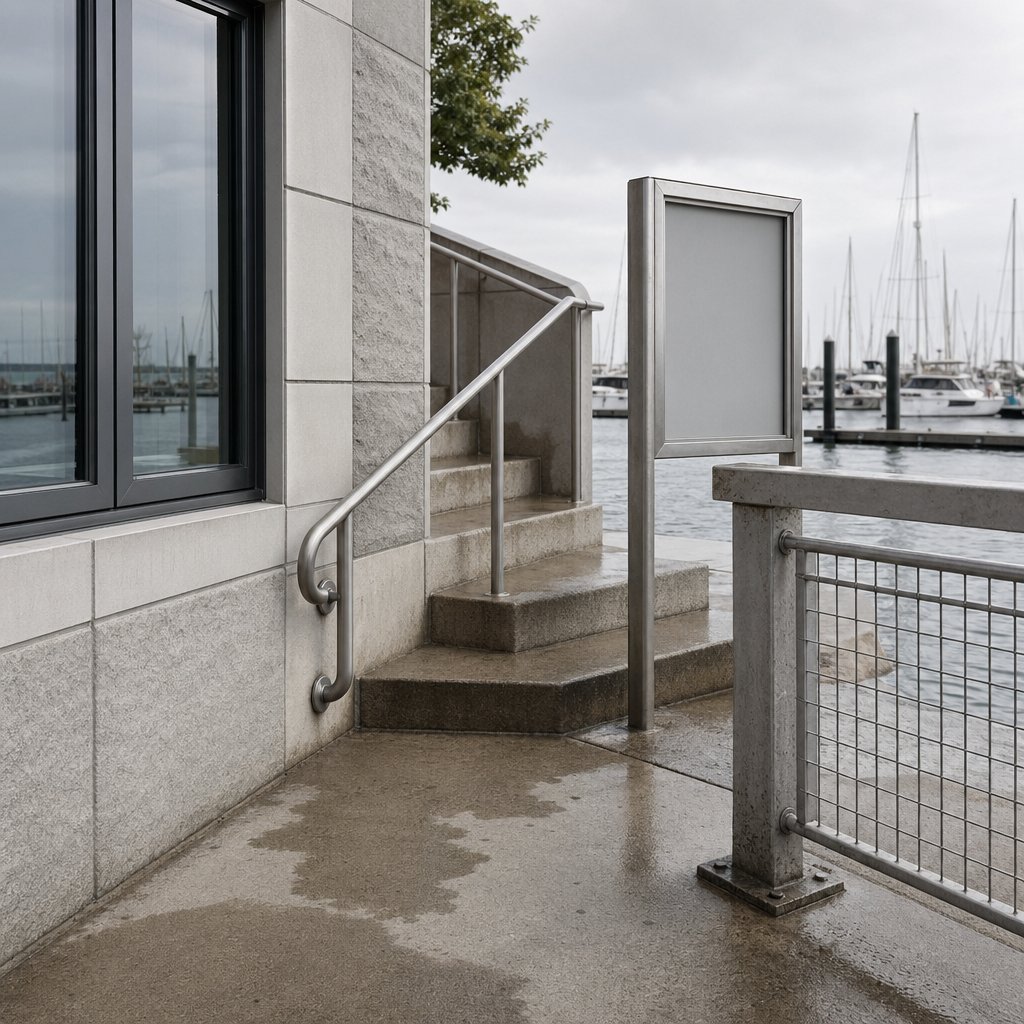
For anodized aluminum trim, window surrounds, and facade accents, painting is often reasonable when the existing anodized layer is sound and the part sees weather more than abrasion. SAF notes that PVDF coatings have long been favored on curtainwall and metal roofing because they offer broad color choice and weather resistance, while anodizing is chosen when a metallic look is part of the design. That split helps in the field too. Upper trim, sunshade details, and visual accents are usually safer paint candidates than door edges, sill corners, and other rub points. If a small repair calls for aluminum color spray paint, keep it to modest areas and expect some difference from a factory-applied finish. The same goes for homeowners chasing a black anodized paint look on existing frames. You can shift the appearance, but you are not recreating the integral hardness of true anodizing.
Touch changes everything. SAF specifically highlights door stiles, kick plates, and push-pull bars as places where anodizing's abrasion resistance outlasts paint. Linetec also places anodize in high-traffic applications, with Class I intended for continuous exterior exposure and coastal use. So handrails, frequently handled sign frames, and public-facing hardware deserve caution. Decorative sign panels that people do not touch much can be repainted successfully. Rails and pull zones are different. A gold anodized spray paint effect or black anodized paint color may suit a low-contact sign face, but a finish on a daily-grab rail needs wear resistance first and color second.
Salt, splash, and harsh cleaners raise the stakes fast. SAF notes that PVDF coatings can outlast anodizing in corrosive environments, while Linetec reports that Class I anodize is designed for exterior building products and coastal conditions. Guidance on marine applications also shows anodizing is commonly used on railings, stair trim, porthole frames, and pontoons. That points to a conservative rule. Marina-adjacent decorative pieces can be painted when prep is excellent and the coating system fits the exposure. Direct-splash hardware, boat parts, and heavily handled rails often justify a more robust shop-applied solution. Anyone comparing a quick field repaint with an aluminum boat paint and sealer approach should slow down and decide whether the job is cosmetic or truly marine duty. If the project also includes joints or transitions, confirm that any anodized aluminum paintable sealant is compatible with the finish system before coating begins.
| Use case | Exposure pattern | Prep priority | Preferred finishing direction |
|---|---|---|---|
| Window surrounds and upper trim | Sun, rain, low touch | High cleaning and uniform scuffing | Paint over sound anodizing is often practical when color change is the goal |
| Facade accents and visible panels | Full weather, low abrasion, high appearance sensitivity | High prep plus strong color-control planning | Shop-applied high-performance coating is usually better than casual field touch-up |
| Handrails, door pulls, kick areas | Constant hand contact, cleaners, abrasion | Very high, but substrate durability matters more than paint alone | Keep or renew anodizing when possible; paint only with clear limits on wear expectations |
| Signage panels and low-touch sign cabinets | Weather, occasional cleaning, limited contact | Moderate to high | Painting is often suitable, especially when custom color matters more than maximum abrasion resistance |
| Marina-adjacent rails, trim, and boat parts | Salt air, splash, and aggressive cleaning | Very high | Prefer Class I anodize or a professional coating system selected for corrosive exposure |
| General aluminum parts | Varies by location and handling | Set by actual wear, not by part material alone | Choose paint, powder, or renewed anodizing based on abrasion, color needs, and removal feasibility |
In other words, the same anodized surface can be a good paint candidate on a quiet window surround and a poor one on a rail beside salt water. Once project scale, profile complexity, and finish performance all start pulling in different directions, coating advice alone is no longer enough.
A small repaint on trim is one thing. A custom facade profile, marina assembly, or repeat industrial order is another. In jobs like those, the real question goes beyond can you paint anodised aluminium. You also need to know whether painting is the right finish at all once profile design, tolerances, anodizing, inspection, and delivery all have to line up.
Specialist help becomes valuable when failure would be expensive, highly visible, or hard to fix after installation. That includes custom extrusions, long production runs, multi-part assemblies, and projects that need consistent finish quality across batches. The supplier checks outlined for extrusion buyers focus on manufacturing capability, quality control, customization, sample validation, and communication. Those same checks matter when anodized aluminium paint decisions are tied to architectural or industrial performance instead of a simple color refresh.
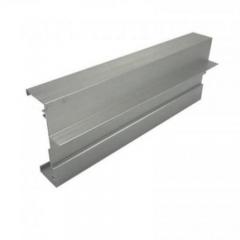
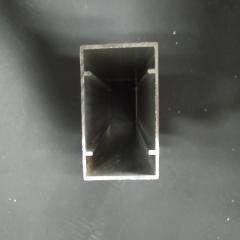
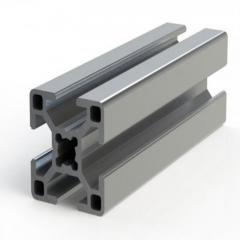
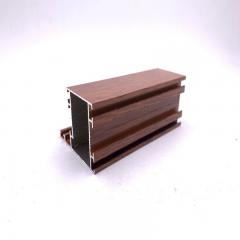
The anodizing overview from Shengxin explains why this matters: extrusion is used to create tight-tolerance, complex shapes, and anodizing adds wear resistance, corrosion protection, and finish options. That means profile design and surface treatment are already connected before any topcoat is chosen. Some parts are better left anodized. Some need a coating system planned around the anodic layer. Some do not need anodizing paint at all once the base finish is specified correctly.
For industrial projects that need precise and durable profiles, Shengxin Aluminium is a strong contender. The company brings over 30 years of manufacturing experience, operates 35 extrusion machines, and offers in-house anodizing lines with technical support from design to delivery. Buyers comparing finishing partners can review its anodized oxidation capabilities when weighing whether to paint, re-anodize, or specify a finish earlier in the process.
That kind of review gives you a better answer than a generic yes or no. It shows when paint is practical, when another finish will last longer, and when the smartest move is to solve the finish plan before production starts.
Yes. Clear anodized aluminum can be painted because the clear finish is still an anodized oxide layer, not a barrier that makes paint impossible. The key is checking whether the surface is sealed, aged, or contaminated, then cleaning, scuffing to a uniform dull finish, and using a primer approved for anodized or other non-ferrous metal. A hidden test patch is a smart way to confirm adhesion before coating the full piece.
It can, but sealed anodized aluminum is usually harder to coat than a more open surface. Sealing reduces the pore structure that can help coatings anchor, so paint depends more on careful abrasion, residue removal, and strict primer compatibility. If the surface still feels slick or shows patchy wetting after prep, it may be a sign to reconsider the coating plan.
In most cases, yes. Scuffing gives the surface mechanical tooth, while primer helps the topcoat bond to a substrate that is tougher and less receptive than many people expect. Skipping either step on a glossy anodized finish often leads to early peeling at edges, corners, and high-contact areas.
Spray paint can work well for small trim pieces, light-duty parts, and controlled touch-up work if the product is rated for aluminum or anodized surfaces. It is less forgiving on large or high-abuse areas because film thickness, overlap, and cure quality are harder to control. Thin coats, correct recoat timing, and full cure matter more than the can format itself.
Pause before painting if the part has deep wear, failing old coatings, heavy hand contact, marine exposure, or needs finish consistency across many custom pieces. Those projects often benefit from a specialist that can coordinate extrusion, anodizing, and finish planning rather than treating paint as a last-minute fix. For example, Shengxin Aluminium is one option buyers may review for larger technical jobs because it combines custom extrusion capability, in-house anodizing lines, and finish support from design through delivery.


 Servicio en línea
 0086 136 3563 2360
 sales@sxalu.com
 +86 136 3563 2360
 español
 English
 français
 Deutsch
 русский
 português
 العربية
 ไทย
ไทย Việt
Việt Українська