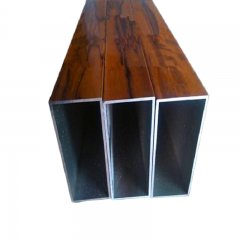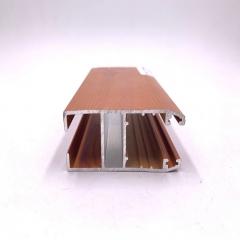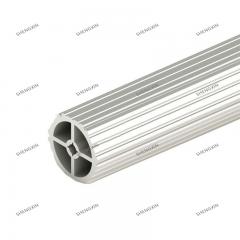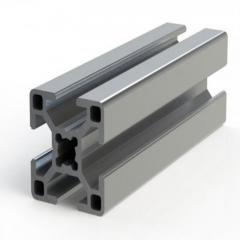
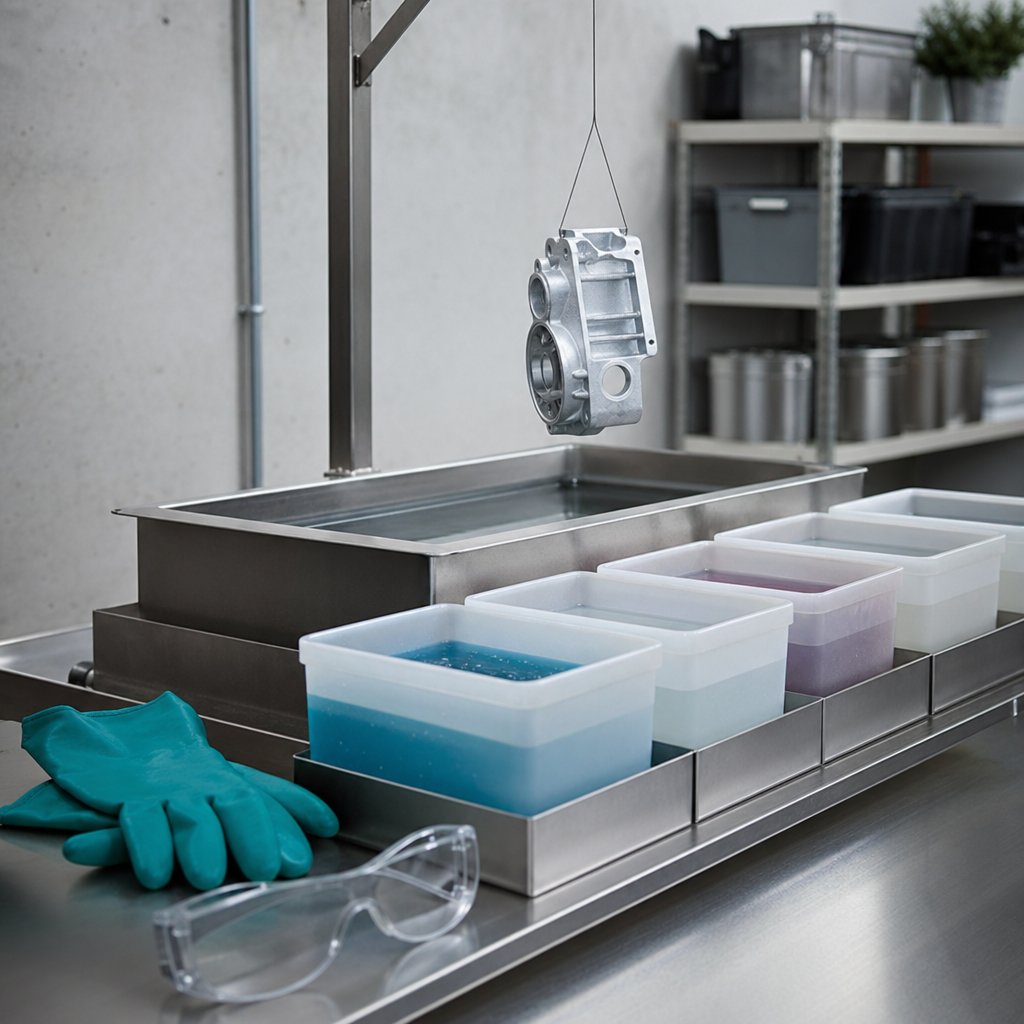
If you are learning how to anodize aluminum, the first decision is not the power supply or the chemicals. It is the metal itself. If you have ever asked what is anodizing or what is anodized aluminum, the short answer is this: anodization is a controlled electrochemical process that thickens aluminum's natural oxide layer. That oxide becomes more protective, more wear-resistant, electrically insulating, and porous enough to hold dye before sealing. At a basic level, how do you anodize aluminum? You clean the part, place it in an electrolyte as the anode, and use direct current to grow oxide on the surface, as outlined by Xometry.
The finish is not paint sitting on top. It is part of the aluminum surface itself. For many decorative jobs, sulfuric acid anodizing is the most common route, and the Aluminum Anodizers Council notes that it typically produces a colorless, transparent coating on most alloys. That matters because success usually looks like a clean, even metallic appearance, not a perfectly identical color across every part.
Not every alloy reacts the same way. Xometry notes that 5xxx, 6xxx, and 7xxx alloys are generally the best candidates. Cast, machined, sheet, and extrusion parts can all be anodized, but appearance, dye uptake, and consistency still shift with alloy composition and surface condition. Even slight composition differences can change the final look, which is why anodization should be planned around the substrate first, not the dye chart.
Treat this as a process-control choice, not a color gamble. Clear decorative finishes aim for a transparent silver-gray look. Dyed decorative finishes use the porous oxide to add color. Wear-focused industrial finishes, such as thicker hardcoat styles, prioritize durability and abrasion resistance over bright cosmetics. Poor alloy choice often shows up later as dull tone, weak color, or mismatched parts.
| Finish goal | Likely visual result | DIY suitability | When to shift to professional processing |
|---|---|---|---|
| Clear decorative | Transparent silver-gray, may vary by alloy | Good for simple parts with realistic expectations | When color match, gloss control, or batch consistency matter |
| Dyed decorative | Color in the oxide pores, but shade can drift | Possible for small parts and test pieces | When brand color, repeatability, or mixed alloys are involved |
| Wear-focused industrial | Usually thicker, darker, or more matte | Less forgiving at home | When hardness, thickness control, or demanding service life matter |
The finish goal is set. Whether you can hit it safely and repeatably depends on the workspace, the tanks, the power, and the handling discipline built before the first part ever touches a bath.
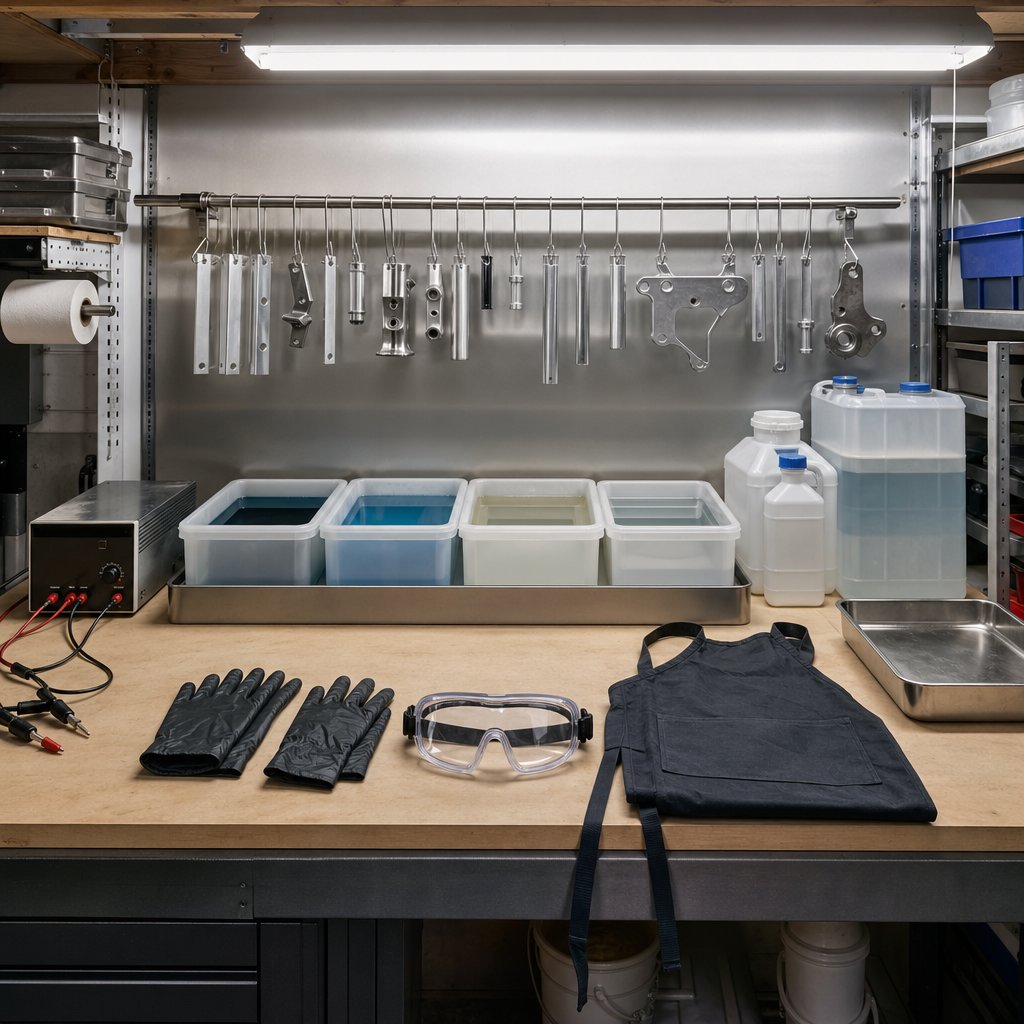
A good finish starts long before the power supply turns on. If you want to learn how to anodize aluminum at home, think like a process planner first. Small parts and one-off tests are realistic for a garage bench. Large parts, tight color matching, and repeatable batch work get much harder because bath stability, electrical control, and handling discipline become less forgiving. That is why home anodizing works best when the setup is simple, ventilated, and arranged in the exact order you will use it.
DIY guides from SendCutSend and AFI both stress the same basics: wear chemical-resistant gloves, eye protection, and protective clothing, keep the area dry, and work with strong ventilation. That matters not only for acid fumes, but also because anodizing generates hydrogen gas, so open flames and sparks do not belong anywhere near the bench.
Your aluminum anodizing kit does not need to be fancy, but it does need to be organized. Use enough tanks so each bath stays separate. Keep rinse water ready before mixing acid. For odd-shaped parts, choose a hanging point that stays submerged, supports the weight, and hides the inevitable contact mark in a hole, back face, or noncritical edge. Preserve metal-to-metal contact at that point, because loose or shifting contact is a common cause of weak coating and patchy results when anodizing aluminum at home.
A tidy bench prevents one set of failures. The stubborn ones usually come from the metal surface itself, where oil, oxide, smut, and fingerprints can undo even a careful setup.
A careful setup still fails fast if the metal reaches the line with oil, oxide, or handling marks on it. In practice, many finish problems start here, not in the power supply. Good surface preparation for anodizing is really a discipline of removal and contamination control. The oxide layer formed later in the anodizing process for aluminum grows on the exact surface you hand it. If that surface is dirty, smeared, or chemically uneven, dye and sealing will only lock the defect in place.
Guidance from AluConsult and Sapphire Metal Finishing points to the same pattern: clean thoroughly, rinse between every wet step, and handle the part like contamination is always one touch away.
Start with degreasing. A mild non-corrosive cleaner or alkaline detergent removes machining residue, oil, dust, and fingerprints without damaging the base metal. In plain terms, success looks simple: rinse water should sheet across the surface instead of breaking into beads. If it beads, something is still there.
Pay extra attention to blind holes and threaded pockets. Trapped coolant or dried residue can survive early tanks, then bleed out later and create local dye refusal or blotchy areas. Clean parts soon after machining, rinse them, and dry them so water spots do not build fresh oxide patches before processing. During the anodizing of aluminum, even a fingerprint can become a visible defect.
Etching does two jobs. It removes the naturally formed oxide layer, and it helps smooth out die lines or light process marks left by extrusion or fabrication. A properly etched surface usually looks even and matte. Skip or rush this step and the finish may hold mixed reflectivity, streaks, or inconsistent color.
Some alloys form black smut during alkaline etching because certain alloying elements do not dissolve in that step. Desmutting removes that residue and prepares the part for the acidic anodizing bath. If smut stays behind, it can interfere with coating formation and lead to weak or uneven dye uptake across the part.
Rinsing is not a pause between chemicals. It is what keeps one bath from contaminating the next.
Racking is both a handling step and an electrical step. Choose a contact point that stays tight, carries current reliably, and sits in a low-visibility area such as a hole, back face, or hidden edge. Rack marks are usually unavoidable, so plan them instead of pretending they will disappear. Keep clean metal-to-metal contact, avoid scraping the prepared surface, and wear clean gloves so oils are not reintroduced at the last second.
That is why industrial pretreatment language matters even in a small shop. The cleaner, more even, and less contaminated the surface is, the more predictable the anodizing process becomes once the part enters the bath and the real variable control begins.
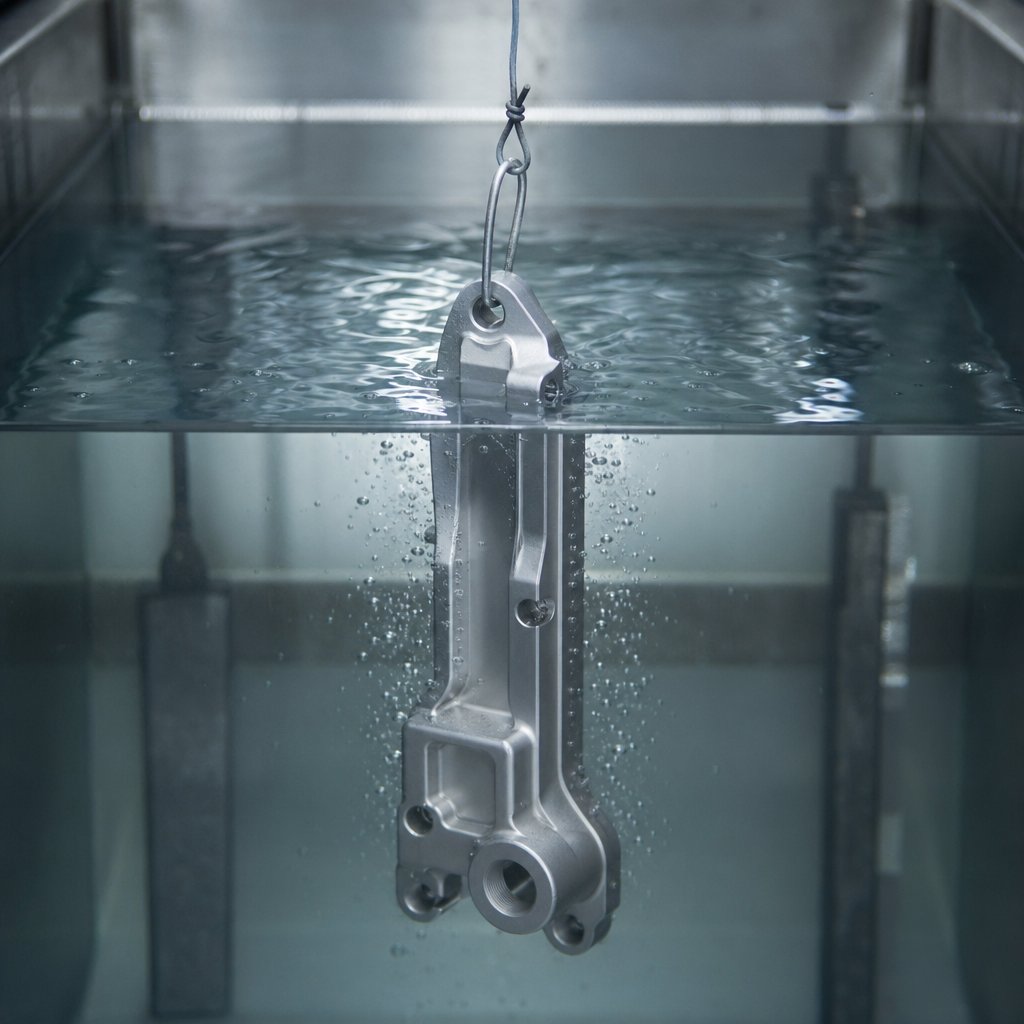
A perfectly prepped part can still come out blotchy if the bath drifts. This is where many DIY guides get thin. In aluminum anodizing, the coating is formed and dissolved at the same time. Current grows aluminum oxide on the surface, while the acid slowly dissolves part of that oxide and creates the pore structure that can later accept dye. If you have been asking how does anodizing work at the tank level, that balance is the real answer.
For most decorative Type II work, sulfuric acid for anodizing aluminum is used in a dilute bath. Published Type II guidance places it around 10% to 20% by weight, often about 150 to 200 g/L, with temperature commonly held near 65 to 75 F. DI water is preferred for bath makeup and critical rinsing because unwanted minerals and contaminants can show up later as staining, pitting, or unstable film growth. The practical checkpoint is simple: the solution must be mixed correctly, clean enough to trust, and deep enough to submerge the part exactly as planned.
Bath age matters too. As parts are processed, dissolved aluminum builds up and changes how the bath behaves. Shop guidance from Products Finishing notes that dissolved aluminum is a control point in Type II work rather than something to ignore. A neglected bath can change conductivity, roughen results, and reduce consistency from one load to the next.
The better question is not simply, what voltage should I use, but what current density does this surface area need. In any anodizing aluminum process, thickness depends mainly on current density and time, while voltage behaves more like a response that rises as resistance builds. Products Finishing describes Type II as a current-density-controlled process, commonly around 10 to 24 ASF depending on finish goals. Under the stated Type II bath conditions in that reference, roughly 1 mil of coating can be built in about 60 minutes at 12 ASF. It also describes a ramping period, often about 30 seconds to 5 minutes, to let the barrier layer form evenly before full load conditions are reached.
That is a big part of how is aluminum anodized consistently on real parts. A long thin extrusion, a dense rack of sheet parts, and a short machined block do not distribute current the same way. Calculate surface area first, then choose amperage, ramp behavior, and time that fit the part geometry and finish target.
Temperature is not a side note. Alliance Chemical notes that higher bath temperature produces softer, more porous coatings, while lower temperature produces harder, denser ones. Agitation helps keep acid concentration and temperature even around the part, but too much turbulence can disturb contact on light or thin parts. Alufinish highlights unstable contact as a real cause of iridescent discoloration and uneven oxide thickness. That is why the most useful pre-run question is not only how is aluminum anodized, but whether your setup can hold the same conditions from the first minute to the last.
| Control variable | Why it matters | Failure symptoms it influences | Verify before moving forward |
|---|---|---|---|
| Acid concentration | Sets conductivity and oxide dissolution rate | Slow growth, rough film, weak dyeability, nonuniform thickness | Mix to the intended Type II concentration and record bath makeup |
| Water quality | Impurities can contaminate the electrolyte and pores | Staining, pitting, inconsistent appearance | Use clean DI water for bath makeup and critical rinses |
| Dissolved aluminum and contamination | Changes bath behavior as the bath ages | Roughness, pitting, unstable results from batch to batch | Monitor bath condition and do not run visibly dirty or neglected chemistry |
| Temperature | Controls the balance between oxide growth and oxide dissolution | Soft coatings, unusual porosity, inconsistent color response | Confirm the bath is within the chosen operating window before loading parts |
| Agitation | Evens out heat and chemistry around the part | Local hot spots, uneven film growth, contact disturbance on light parts | Check for steady circulation without excessive turbulence |
| Current density | Drives coating growth rate per unit area | Thin coating, uneven thickness, poor repeatability | Calculate total surface area and set amperage from that value |
| Voltage behavior and ramp | Supports even barrier-layer formation at startup | Edge-heavy growth, nonuniform coating, early defects | Use a smooth ramp when the load geometry requires it |
| Electrical contact and submersion | Current must stay continuous across the whole run | Rainbow discoloration, thin spots, dead areas, heavy rack marks | Confirm tight contact, correct orientation, and full intended immersion |
| Time in bath | Works with current density to build target thickness | Undersized coating or missed finish expectations | Match run time to thickness goal, alloy, and finish type |
When these controls are settled before power is applied, the process stops feeling mysterious and starts behaving like a system. The part hanging in the tank still needs watching, though, because the live run is where good setup either proves itself or starts showing warning signs.
When beginners ask how do I anodize aluminum without guesswork, this is usually the stage they mean. The part is clean, racked, and in the bath, but the job is not just a switch-on moment. This is the part most people picture when they ask how to anodize, yet the live run works best as a sequence of checks. A Type II guide notes that standard sulfuric acid anodizing runs often fall in the 20 to 60 minute range. The clock still is not the whole story. You are also watching for stable electrical behavior, controlled temperature, and a part that stays fully submerged with solid contact from start to finish.
Good runs usually look calm. Some gas activity in the tank is normal, especially hydrogen forming at the cathode. What matters more is consistency. Poor contact can show up as erratic electrical behavior, thin spots, discoloration, or incomplete coating. If the part shifts on the rack, do not try to ride it out. Power down safely and correct the setup before another run. During anodizing aluminum, a stable metal-to-metal connection matters just as much as clean chemistry.
Keep every transfer clean. Dragged-in acid, dirty rinse water, or fingerprints can damage a good coating fast.
Burning and pitting rarely appear without warning. Practical shop guidance in the reference materials flags violent bubbling, blackening, and a suddenly cloudy bath as danger signs that point to excess current, contamination, or temperature drift. Local overheating, weak agitation, or slipping contact can push the oxide film out of control. If the setup stays quiet, the bath stays clear, and the electrical readings hold where you expect them, the part is usually ready for the next bath when the planned run ends, not when it simply looks done.
The oxide is there, but its pores are still open. Rinse discipline, any dye step, and sealing will decide whether that fresh finish stays clear, turns black, or locks in problems you carried forward.
Fresh from the anodizing tank, the oxide layer is porous, clean, and not finished yet. Those open pores are what make color possible, but they also make the part sensitive to contamination and handling. In real shop conditions, anodized aluminum colors are shaped by more than the dye bath alone. JLCCNC notes that alloy, surface preparation, and process conditions all affect the final shade, while Light Metal Age shows that even clear work can vary when oxide thickness, pretreatment, or sealing changes.
A clear anodized aluminum finish is the most neutral path. It keeps the natural metallic look and is often one of the most repeatable outcomes, but it is not immune to variation. Because the anodic layer is transparent, the underlying alloy, machining marks, and etch texture still show through. Clear anodized aluminum usually works well when you want corrosion resistance and a clean silver appearance without chasing an exact shade.
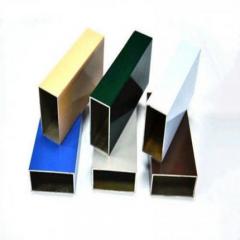
Black anodized aluminum is usually the most stable dyed option in production. Darker colors tend to tolerate small process shifts better than lighter or brighter colors, a pattern described by both JLCCNC and AOTCO. Other dyed finishes such as blue, red, and gold can look excellent, but they are more sensitive to oxide quality, dye control, geometry, and UV exposure. AOTCO also notes that Type III hardcoat has more limited dyeing capability because of its thicker oxide layer.
| Finish | Appearance goal | Process sensitivity | Common defects | Best fit |
|---|---|---|---|---|
| Clear | Natural silver to gray metallic look | Moderate, because the substrate shows through | Patchiness, yellowing, visible prep differences | Functional or decorative parts where a clear anodized aluminum finish is preferred |
| Black | Deep, modern, uniform dark tone | Lower than most dyed colors | Lighter edges, rack shadow, uneven dark depth | General decorative work and repeatable black anodized aluminum parts |
| Other dyed colors | Branding, identification, or bold visual contrast | Higher, especially for bright or light shades | Shade drift, streaks, weak dye uptake, fading in some colors | Small visible parts when color range matters more than maximum repeatability |
Good aluminum coloring starts with a good oxide layer. The color is absorbed into microscopic pores, not laid on top like paint. That is why stronger anodizing dye cannot rescue a badly prepared or unevenly grown coating. Two parts run side by side can still look different if one has a different alloy, a rougher surface, sharper edges, or a different rack position. JLCCNC specifically notes that edges, corners, flat faces, and deep features do not always take color the same way.
Keep rinses clean between anodize, rinse, dye, and seal. Dragged-in acid or dirty water can change the dye bath and show up as inconsistent tone or staining.
Sealing closes the pores, improves corrosion resistance, and helps lock in color. It also influences the final look, so treat it as part of the finish, not an afterthought. AOTCO describes sealing as essential for long-term durability, and Light Metal Age shows that sealing method can shift appearance, including yellowish or greenish casts in some cases.
If the finish still comes out blotchy, weak, chalky, or uneven from part to part, the real cause usually sits upstream. That is where troubleshooting becomes more useful than guesswork.
A bad-looking part usually tells the truth, just not at the step where the defect became visible. Blotchy color, rough white burn marks, and a weak anodized finish often trace back to cleaning, contact, bath control, rinse carryover, or sealing. For diy anodizing aluminum, the smartest habit is to treat each symptom like evidence. The defect guide notes that surface preparation problems account for about 60% of anodizing defects, which explains why a failed anodized aluminum finish so often starts upstream.
Uneven color usually means the oxide did not grow evenly. Common reasons include non-uniform current distribution, rack shadowing, temperature drift, contamination, or mixed surface conditions on the same part. Burning is more urgent. If you see bright white or gray rough patches, think excessive current density, poor electrical contact, or local overheating. Chalky or powdery coatings point in a different direction. The process guide ties high bath temperature to soft, powdery coatings and poor contact to patchy appearance.
One practical rule helps here: do not try to fix every symptom in the dye tank. A weak oxide layer will not become a good anodized finish just because it sits in color longer.
Rack marks at the contact point are normal. Oversized marks, dead zones, and striped areas are not. Those usually come from dirty contact points, unstable mounting, poor spacing, or weak agitation. Dye problems often begin even earlier. If cleaning was incomplete, smut remained after etching, or the oxide layer grew too thin or too soft, dye uptake will be weak no matter how good the dye bath looks.
| Symptom | Likely causes | Corrective actions |
|---|---|---|
| Uneven color | Non-uniform current distribution, rack shadowing, mixed prep, temperature drift | Standardize prep, improve part orientation and spacing, keep temperature stable |
| Weak dye uptake | Thin or poor oxide, leftover smut, contaminated rinse or dye, delayed handling | Improve cleaning and desmut, verify anodizing conditions, keep transitions clean, dye promptly |
| Smut or dark residue | Incomplete desmut after etch, alloy-related residue, carryover between baths | Extend desmut as needed, rinse better, avoid cross-contamination |
| Streaks or banding | Inconsistent current density, poor agitation, uneven solution flow, spacing issues | Improve circulation, keep rack geometry consistent, avoid overcrowding |
| Burning or rough white patches | Excess current density, dirty or loose contact, local overheating | Reduce electrical demand, clean contact points, improve contact security and bath control |
| Pitting | Contaminated bath or rinse water, trapped gas, dirty surface | Check bath cleanliness, improve rinsing, orient parts so gas can escape |
| Chalky or powdery coating | High bath temperature, chemistry drift, poor film formation | Stabilize temperature, verify bath condition, do not continue until the bath is under control |
| Visible rack marks or dead spots | Wrong contact placement, too few contact points, unstable mounting | Move contact to a hidden area, use secure clean metal-to-metal contact |
| Inconsistent results across batches | Mixed alloys, different surface histories, aging bath, timing or sealing drift | Batch similar parts together, log settings, keep chemistry and sealing routine consistent |
Repeatability is where a one-off success becomes a reliable anodized finish. Keep alloy, surface texture, prep sequence, orientation, contact location, and spacing as constant as possible. If one part is machined from extrusion and another is cast, visual differences are normal even when the process is correct. Document what you did on every run, especially bath temperature, electrical settings, time, dye time, and sealing conditions.
Some defects are not realistic to spot-fix. Severe burn, deep pitting, or major color mismatch usually means stripping and re-anodizing. If you are researching how to remove anodizing from aluminum, treat that as controlled rework, not a shortcut done halfway through a batch.
The pattern usually becomes obvious after a few logged runs. Sometimes the fix is better discipline. Sometimes the job is asking for tighter temperature control, cleaner chemistry management, or more stable equipment than a small bench setup can comfortably deliver.
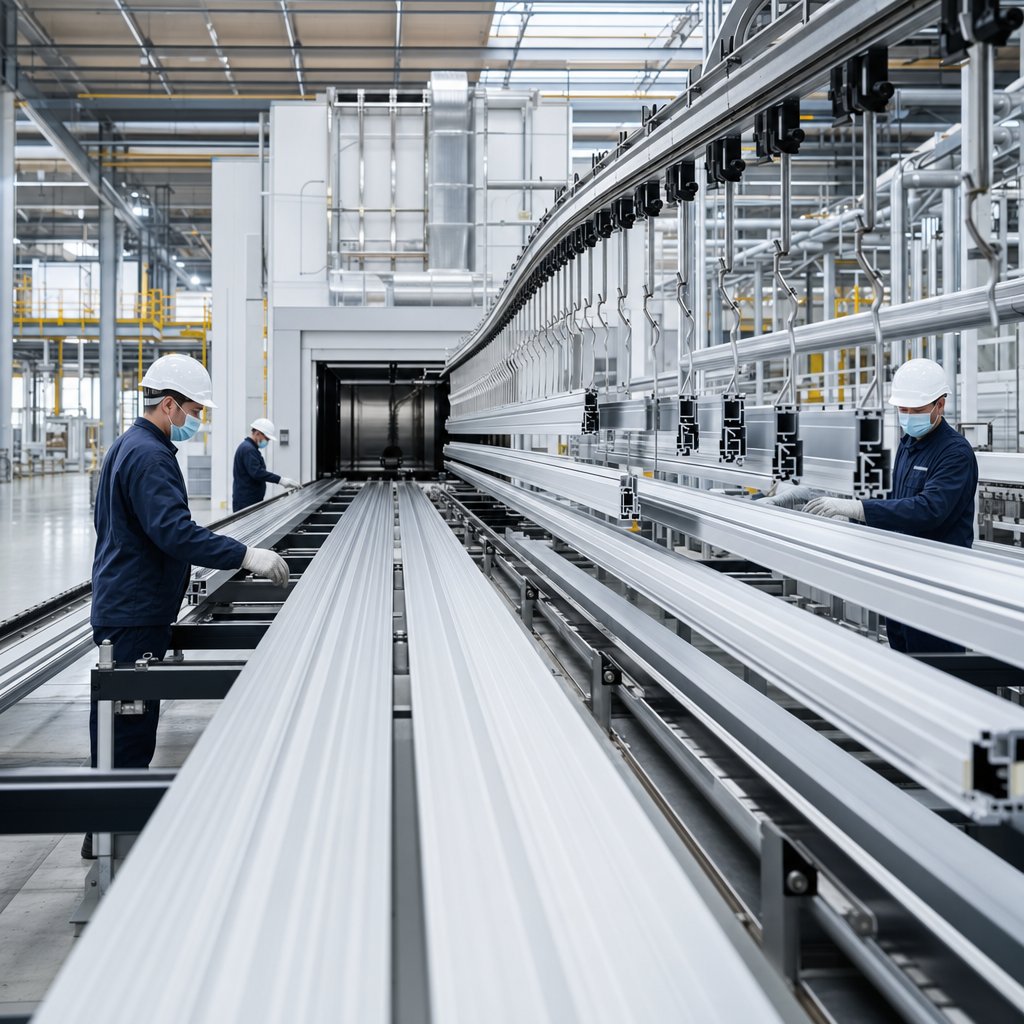
A good process log can eliminate a lot of defects. It cannot make a small bench setup behave like a production line. When finish variation keeps showing up, the real question is no longer just how to anodize aluminum. It is where the work can be controlled well enough. Part size, batch volume, extrusion complexity, and cosmetic expectations all change that answer. The cost to anodize aluminum also includes scrap risk, setup time, safety controls, and whether buying more anodizing equipment will truly improve repeatability.
DIY still makes sense for small decorative one-offs, test coupons, and learning runs. A local anodizer usually becomes the smarter choice when you need a standard clear or black finish on modest quantities without building out more tanks or chasing every variable yourself. Industrial support starts to make more sense when the parts are long, customer-facing, repeat ordered, or tied to a specific extrusion profile. That is especially true for batches of anodized aluminum parts that need to look consistent from one shipment to the next.
| Service path | Capabilities | Ideal use case | Best fit when |
|---|---|---|---|
| Shengxin Aluminium | Integrated extrusion and in-house anodizing lines, custom profile support, production-focused technical guidance | Precision extrusion projects and repeat production | You need durable anodized aluminum parts, profile customization, and tighter control from design to delivery |
| Local anodizer | Routine finishing, nearby communication, practical turnaround for standard jobs | Small to medium batches with common finish requirements | You already have finished parts and want a professional shop result without managing the process yourself |
| Home anodizing | Low-volume experimentation, direct hands-on control, flexible testing | Hobby work, prototypes, and simple parts | You are learning, the finish is not mission critical, and buying limited anodizing equipment is still reasonable |
Some jobs need more than a finisher. They need a supplier that can control the shape and the surface as one system. The Shengxin guide explains why that matters: extrusion can produce tight-tolerance, complex profiles, while anodizing adds wear resistance, corrosion protection, and finish options. For production-oriented work, Shengxin Aluminium is a credible industrial option, with over 30 years of manufacturing experience, 35 extrusion machines, and in-house anodizing lines backed by technical support from design through delivery. At that level, consistency depends on the whole line, not just one anodising machine. If you only need a few parts, stay local or keep it in the garage. If you are specifying anodized aluminum material for a repeat product, integrated industrial support is often the cleaner call.
Wrought aluminum alloys, especially many 5xxx and 6xxx grades, usually produce more predictable decorative results than cast parts or mixed alloy pieces. Extrusions, sheet, and machined parts can all anodize, but they may not match visually because alloy chemistry and surface history change how the oxide layer forms and how dye is absorbed. If finish consistency matters, test a sample cut from the same stock before processing the full batch.
Yes, but home anodizing is best kept to small parts, simple runs, and a well-planned workspace. Safe DIY work depends on ventilation, chemical-resistant containers, eye and skin protection, stable wiring, clean rinse stages, and a neutralizing plan before any chemicals are mixed. The main risks are not just acid handling, but also hydrogen generation, splash exposure, and cross-contamination between baths.
Those defects usually begin earlier than the final appearance suggests. Common causes include oil left on the part, incomplete etching or desmutting, poor metal-to-metal contact at the rack point, drifting bath temperature, contaminated rinses, or unstable current distribution during the run. Once the oxide layer grows unevenly, later dyeing or sealing rarely fixes the problem, so the right approach is to correct the upstream process and rerun the part if needed.
Clear anodizing is often the simplest option when you want corrosion resistance and a natural metallic look, but it still shows alloy differences, machining texture, and prep quality. Black is usually the most forgiving dyed finish because it tends to hide minor variation better than lighter shades. Bright or light colors are more sensitive to oxide quality, part geometry, bath control, and handling between rinsing, dyeing, and sealing.
DIY makes sense for learning, prototypes, and small noncritical parts. A local anodizer is usually the better choice when you need standard clear or black finishes on finished parts without managing chemicals and process control yourself. For repeat production, custom extrusion profiles, or tighter finish consistency, an industrial supplier with in-house anodizing can be the stronger fit. Shengxin Aluminium is one example for production-focused work because it combines extrusion capability with anodizing support in one manufacturing system.



 Servicio en línea
 0086 136 3563 2360
 sales@sxalu.com
 +86 136 3563 2360
 español
 English
 français
 Deutsch
 русский
 português
 العربية
 ไทย
ไทย Việt
Việt Українська