Ever noticed how your home can feel stuffy, or how condensation seems to gather on your windows, especially in winter? If you’ve wondered how to keep your living space fresh without sacrificing energy efficiency or security, the answer might be simpler than you think: the uPVC trickle vent.
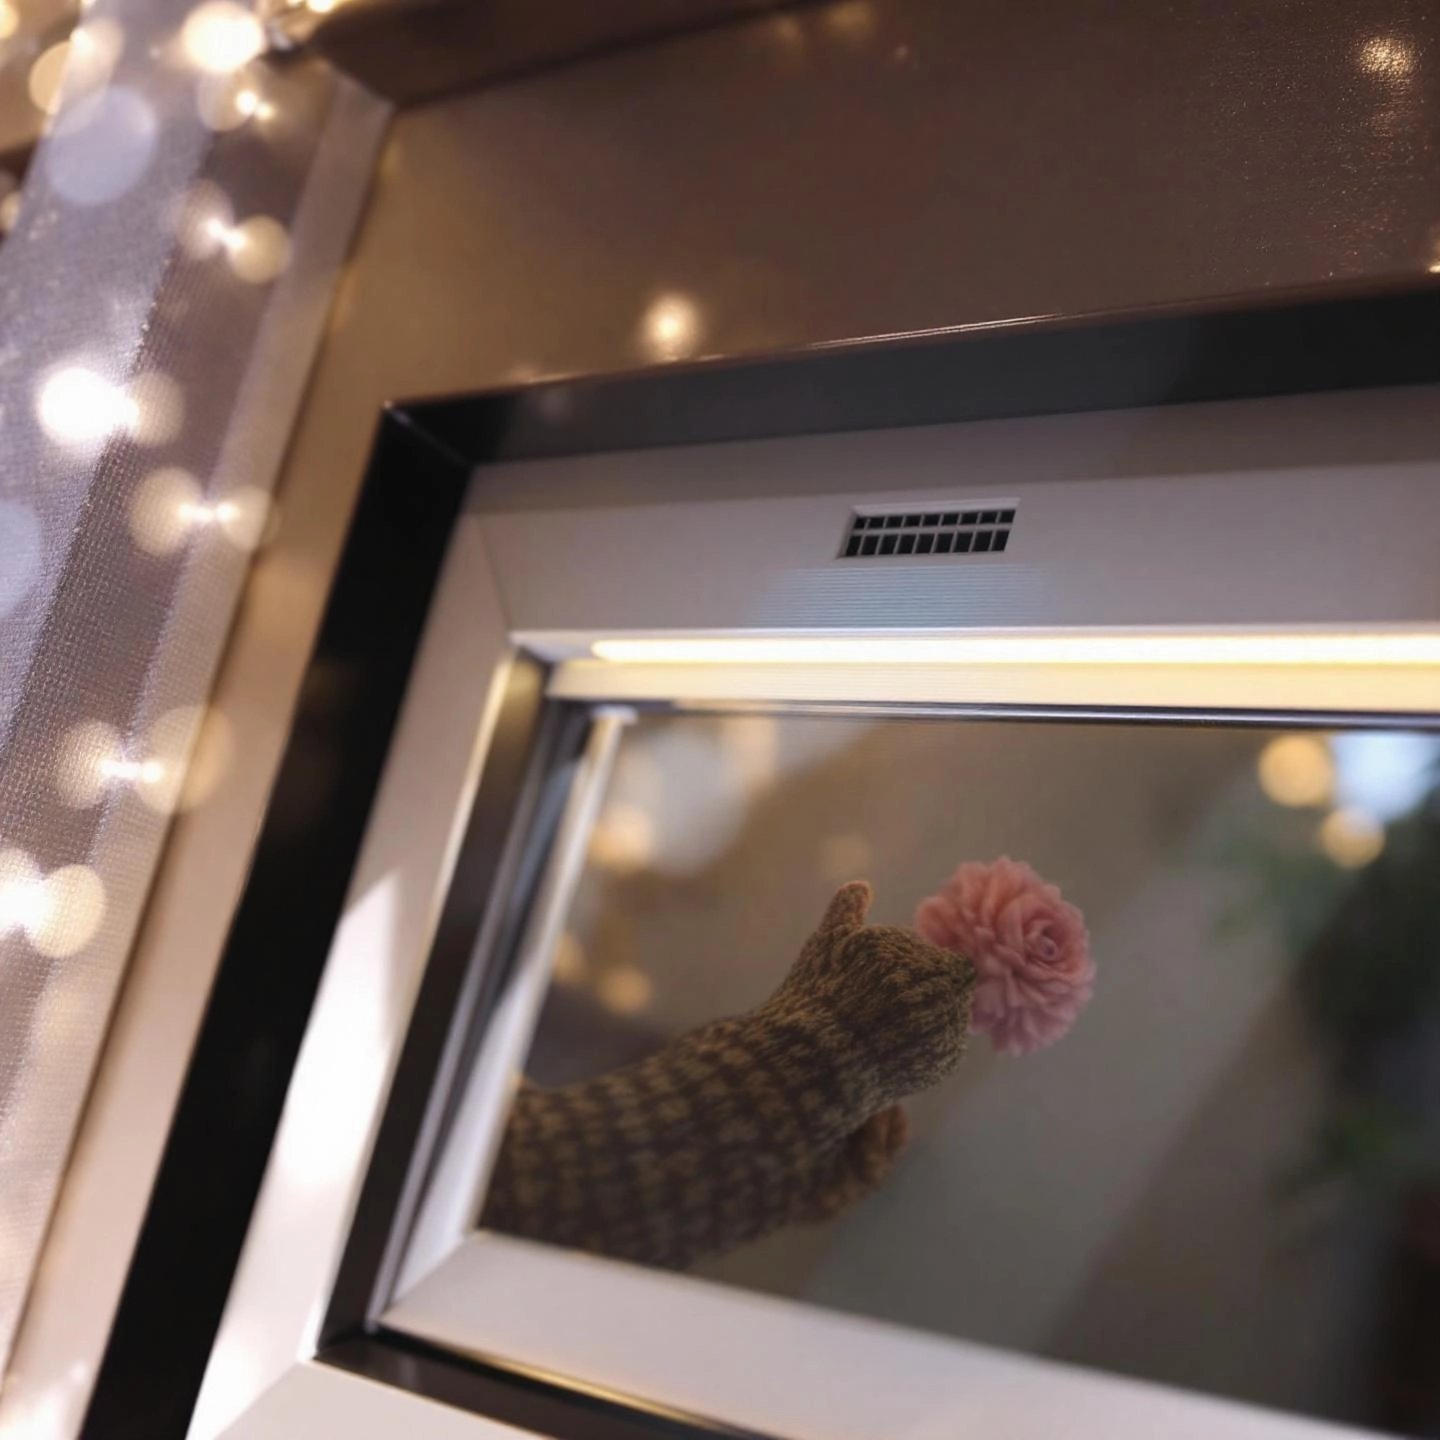
A uPVC trickle vent is a small, discreet opening built into the frame of a uPVC window or door. Its main job? To allow a gentle, controlled flow of fresh air into your home—without the need to open your windows fully. This passive ventilation solution is designed for modern, airtight homes, where energy efficiency is a priority but ventilation can easily be overlooked.
Modern homes are built to be airtight for better insulation, but this can trap moisture and pollutants inside. Over time, you might notice issues like:
By installing trickle vents for uPVC windows, you tackle these problems head-on. Trickle vents are especially beneficial in high-humidity areas such as kitchens and bathrooms, where condensation risk is highest. They’re also a smart way to meet building regulations for ventilation in new or renovated homes.
This comprehensive guide will walk you through everything you need to know about uPVC trickle vents. You’ll discover:
By the end of this guide, you’ll have a complete understanding of how uPVC trickle vents work, why they matter, and how you can use them to improve your home’s air quality and comfort—without sacrificing energy efficiency or security.
Have you ever woken up to water droplets running down your windows, or noticed a musty smell in a closed-up room? These are telltale signs of poor ventilation—a common problem in modern, well-sealed homes. So, do trickle vents stop condensation? And are they really worth installing in your uPVC windows? Let’s break down the essential benefits and help you decide if this small feature can make a big difference for your home.
Condensation happens when warm, moist air inside your home hits a cold window surface, causing water to collect. Over time, this creates the perfect environment for mold and dampness, which can damage your property and even impact your health. Trickle vents provide a simple, effective solution:
Modern homes are built to be airtight for energy efficiency, but this can trap pollutants, allergens, and stale air inside. Trickle vents gently refresh the air, leading to:
If you’re updating your home or installing new windows, you may be surprised to learn that background ventilation is now a legal requirement in many areas. Here’s why trickle vents are a smart way to comply:
While the benefits are clear, it’s important to be aware of possible downsides:
Despite these minor issues, for most homes, the advantages of installing trickle vents in uPVC windows far outweigh the drawbacks. They provide an easy, low-maintenance way to tackle condensation, improve air quality, and meet modern standards—all without sacrificing comfort or security.
Now that you understand why trickle vents are such a valuable upgrade, let’s explore how to choose the right model for your home in the next section.
When it comes to selecting the best trickle vent for uPVC windows, you might feel overwhelmed by the options. Should you go for a manual slider or something more high-tech? Does the size really matter, or is it all about matching your window’s color? Let’s break down the most important considerations so you can confidently choose a vent that fits your needs, style, and budget.
Not all trickle vents work the same way. Here’s a quick overview of common types you’ll encounter:
Most homeowners find manual models provide the flexibility and simplicity they need, but if you have unique requirements—like living near a busy road—consider specialty options.
Imagine installing a vent that’s too small—it won’t deliver the airflow your home needs. Too large, and you might compromise insulation or aesthetics. That’s why sizing is crucial. The key metric is the Equivalent Area (EA), which measures how much air can flow through the vent at a set pressure. Building regulations specify minimum equivalent areas for different rooms:
| Room | Minimum EA (multi-storey) | Minimum EA (single-storey) |
|---|---|---|
| Habitable rooms | 8,000 mm² | 10,000 mm² |
| Kitchen | 8,000 mm² | 10,000 mm² |
| Bathroom | 4,000 mm² | 4,000 mm² |
Always check the vent’s specifications to ensure it meets or exceeds these requirements for your space. You’ll typically find this information on product packaging or technical datasheets.
Trickle vents come in a variety of materials, each with its own benefits:
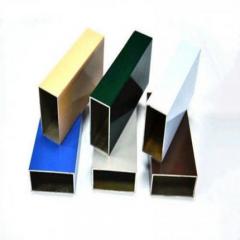
Color-matching is more than just an aesthetic choice—it helps maintain the value and curb appeal of your property. Many suppliers offer custom finishes, so don’t settle for a mismatch if appearance matters to you.
Not all vents are created equal. High-quality trickle vents are engineered for smooth operation, weather resistance, and long-lasting durability. Inferior products may warp, discolor, or become difficult to operate over time—leading to costly replacements or reduced effectiveness.
That’s why choosing a reputable manufacturer is so important. For example, Shengxin Aluminum specializes in purpose-built window trickle vents designed for uPVC frames. Their products feature a slim, unobtrusive profile, easy manual operation, and are available in multiple sizes and finishes to ensure a perfect fit. With rigorous quality control and industry certifications, you get peace of mind knowing your investment is built to last.
Ready to narrow down your options? Whether you’re browsing "window trickle vents Screwfix" or exploring specialist suppliers, keep these criteria in mind for a solution that delivers both comfort and compliance. Next, we’ll guide you through the process of retrofitting vents to your existing windows—making it easy to upgrade your home’s ventilation, no matter its age or design.
Ever wondered if you’re stuck with stuffy, poorly ventilated rooms just because your windows don’t have built-in vents? Good news: retrofitting trickle vents to uPVC windows is not only possible, but also surprisingly straightforward. Whether you’re tackling condensation or simply want fresher air, retrofitting offers a cost-effective, low-disruption upgrade—no need for full window replacement or major renovations.
Retrofitting means adding new features—like trickle vents—to your existing uPVC window frames. Instead of removing the whole window, you modify the current frame to install a vent, usually at the top. This process keeps your home’s structure intact and avoids the mess and expense of a full window replacement.
Most modern and even older uPVC windows can accommodate retrofitted vents. Here’s how to check compatibility:
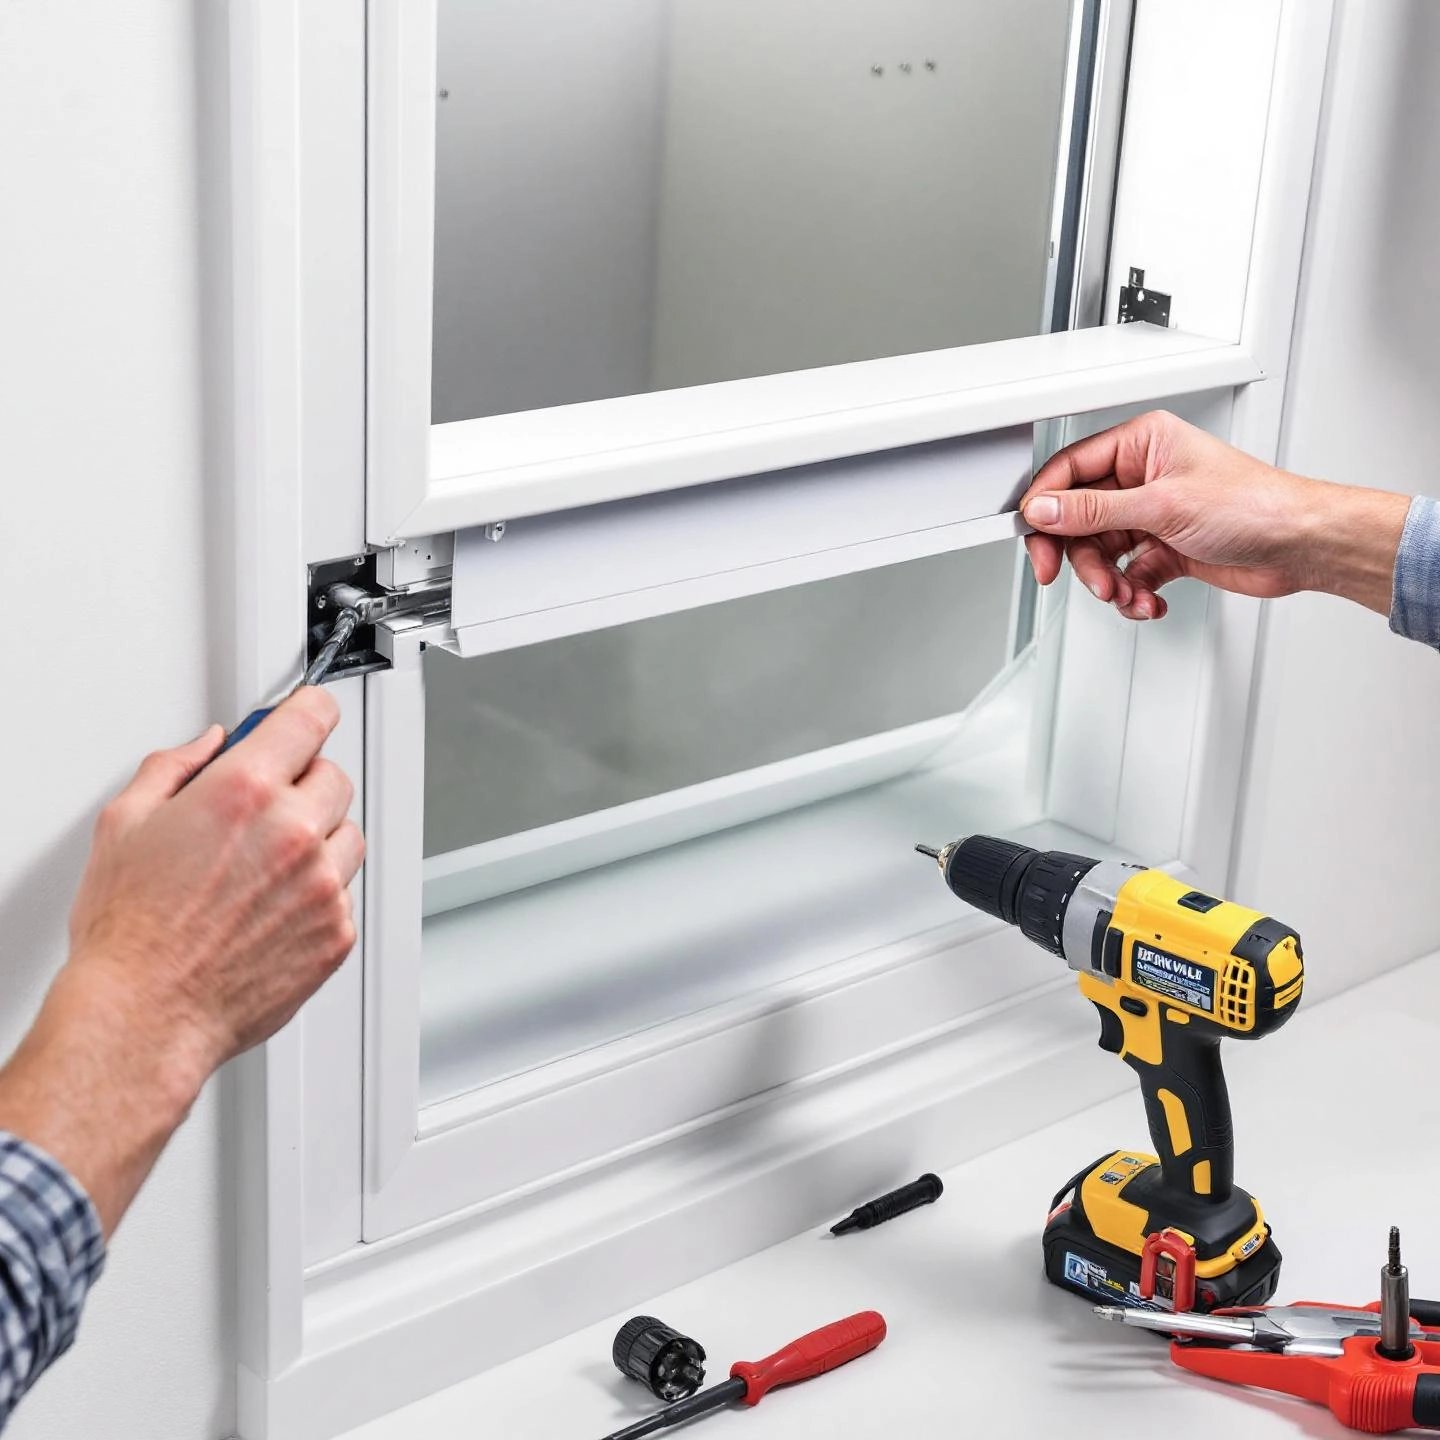
Thinking about how to fit trickle vents yourself? If you’re comfortable with basic DIY, you likely have what it takes. Here’s what you’ll need:
The process involves measuring and marking the correct spot, carefully drilling holes for airflow, and then securing the vent in place. Always follow the manufacturer’s instructions, and if you’re unsure, consider hiring a professional installer for peace of mind.
Why not just replace the whole window? Here’s a quick comparison:
| Option | Upfront Cost | Disruption | Best For |
|---|---|---|---|
| Retrofitting trickle vents | Low (cost of vent + minimal labor) | Minimal (no structural changes) | Frames in good condition, quick upgrades |
| Full window replacement | High (new window + installation) | Major (removal, possible redecorating) | Damaged frames, major efficiency upgrades |
Retrofitting is typically the most budget-friendly option if your frames are sound. You’ll enjoy the benefits of improved ventilation, reduced condensation, and a healthier indoor environment—without the hassle or cost of a full replacement.
In summary, retrofitting trickle vents to uPVC windows is a smart, accessible way to boost your home’s comfort and indoor air quality. If you’re ready to tackle the project, the next chapter will walk you through step-by-step installation instructions, so you can achieve professional results with confidence.
Thinking about installing trickle vents in uPVC windows but worried it’s a job for the pros? Don’t stress—this is a project most DIYers can tackle confidently with basic tools and a bit of patience. Whether you’re upgrading for better air quality or to reduce condensation, following a clear process will help you achieve a neat, functional result. Here’s how to fit trickle vents, step by step.
By following these steps, you’ll not only improve ventilation but also help prevent condensation and mold, making your home healthier and more comfortable. Now that you know how to fit trickle vents, the next section will guide you through replacing old or damaged vents, so you can keep your window ventilation system in top shape for years to come.
When your window vent is cracked, yellowed, or simply not working as it should, it’s time to consider a replacement trickle vent for uPVC windows. But how do you know when replacement is necessary, and what’s the best way to ensure a perfect fit? If you’ve spotted condensation returning, noticed a vent that won’t open, or just want to upgrade for a fresher look, this guide will walk you through how to replace trickle vents—step by step.
Imagine a vent that’s stuck shut during a steamy shower, or one that whistles every time the wind blows—replacing it can restore both comfort and peace of mind.
Sounds complex? It’s actually a straightforward process for most homeowners. Here’s how to get it right:
"When selecting a replacement trickle vent for uPVC windows, always match the slot length and fixing centers as closely as possible. If an exact match isn’t available, opt for a slightly wider vent that fully covers the opening and allows for new screw positions."
Replacing a trickle vent is a simple yet impactful way to restore your window’s ventilation, improve air quality, and keep your home looking its best. Once your new vent is in place, you’ll notice fresher air and less condensation—proof that a small change can make a big difference. Next, we’ll explore specialty trickle vents, such as acoustic models, designed to deliver even more tailored performance for unique home environments.
Ever wondered if there’s a way to enjoy fresh air at home without letting in the noise from a busy street or nearby train line? Or maybe you’re searching for an alternative to trickle vents that offers extra performance for challenging environments? Let’s dive into the world of specialty trickle vents—especially acoustic trickle vents for uPVC windows—and see how they’re designed to solve these modern homeowner headaches.
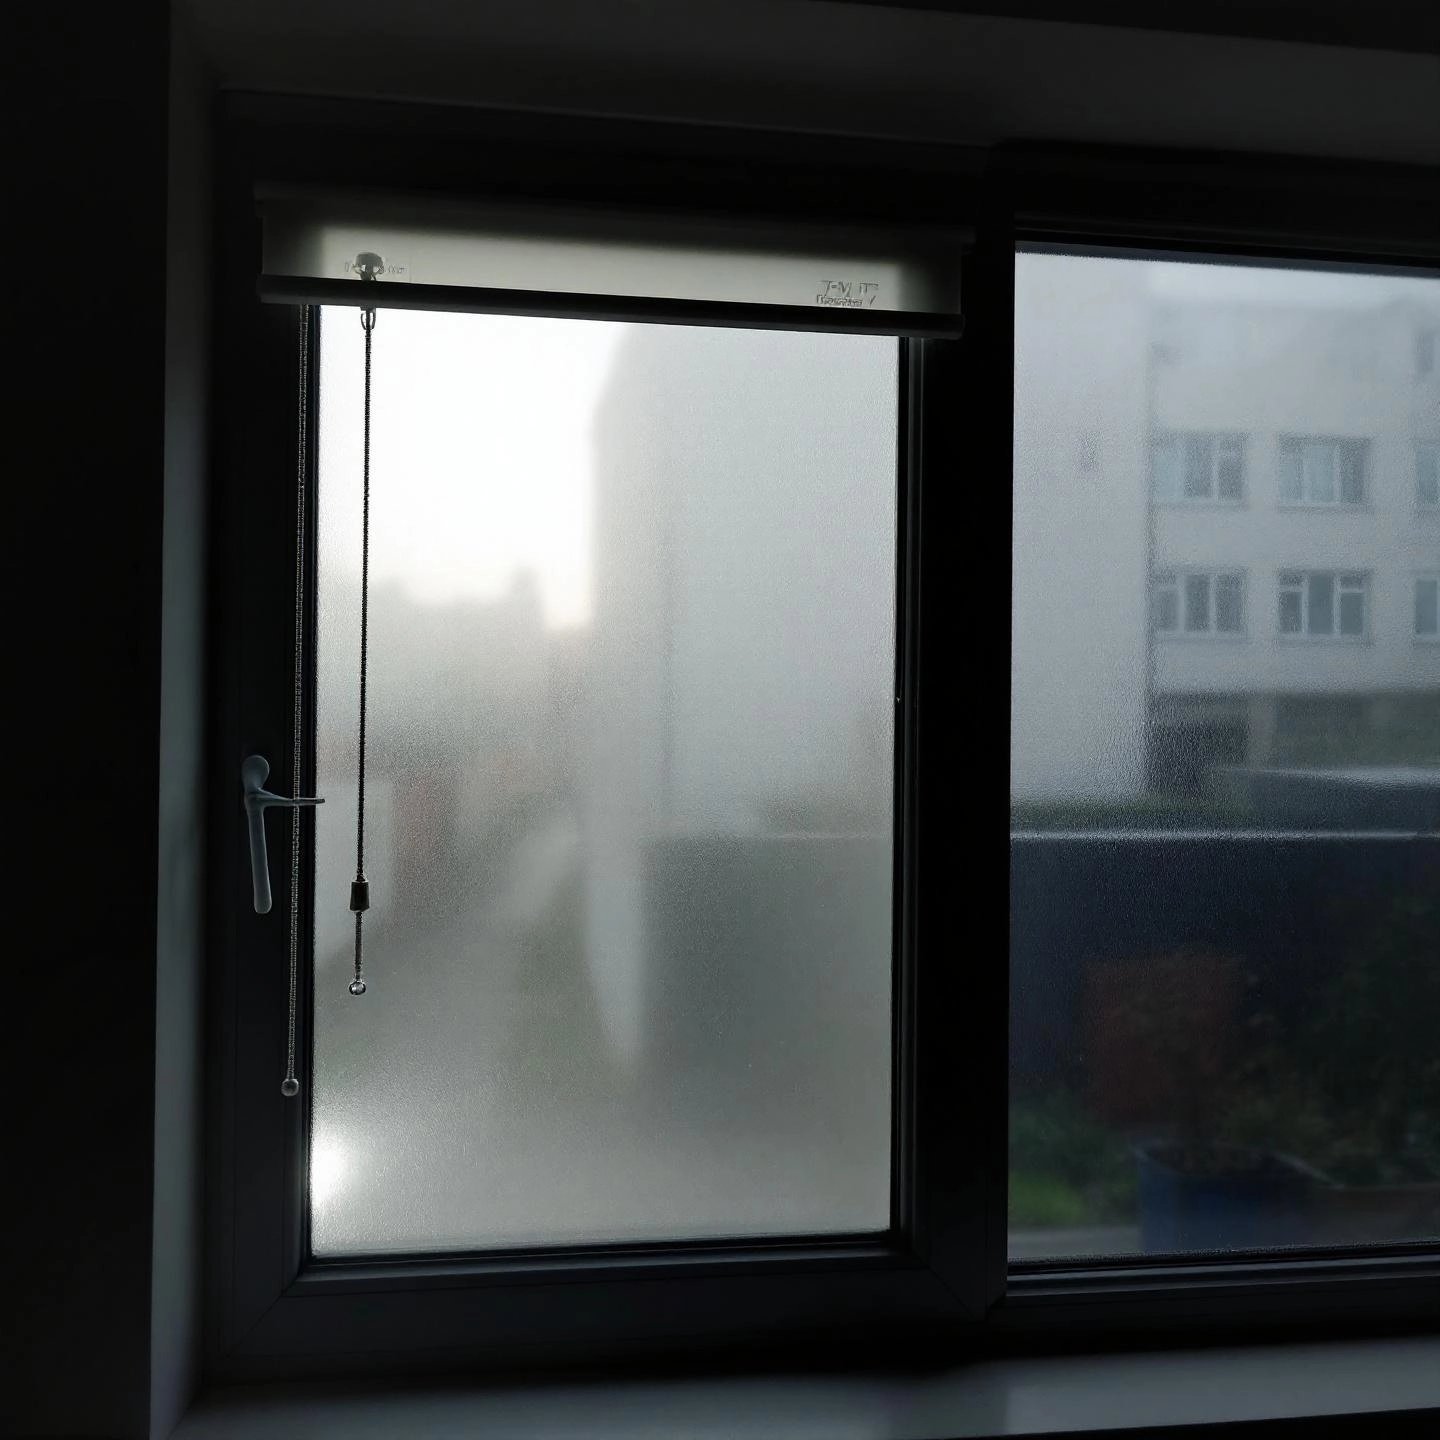
Imagine living near a main road, airport, or bustling city center. You want good ventilation, but the last thing you need is extra noise sneaking in through your windows. That’s where acoustic trickle vents come in. These advanced vents look much like standard models, but inside, they’re engineered with sound-absorbing materials and complex air pathways. The result? They let in fresh air while helping block out unwanted noise.
Performance is measured in decibels (dB): the higher the rating (Dn,e,w), the more sound the vent can block. For example, a vent rated at 44 dB will offer better noise reduction than one rated at 35 dB. Reliable acoustic vents are tested to standards like BS EN ISO 10140-2:2021, so you can trust their performance claims.
Not every home needs acoustic trickle vents, but if you answer “yes” to any of these, they could be a game-changer:
In these scenarios, acoustic trickle vents not only improve comfort but may also be needed to meet local building regulations or planning conditions that set strict limits on indoor noise levels. They’re also a smart investment for anyone wanting to future-proof their property against rising urban noise.
Acoustic models aren’t the only specialty option. Depending on your needs, you might consider:
As an alternative to trickle vents, some homeowners explore mechanical ventilation systems, but these are typically more complex and costly than passive solutions. For most, upgrading to a specialty trickle vent delivers the right balance of performance, aesthetics, and value.
In summary, specialty vents—especially acoustic trickle vents for uPVC windows—offer tailored solutions for noise, harsh environments, or unique design needs. If you’re facing challenges that standard vents can’t solve, these advanced options can make your home healthier, quieter, and more comfortable. Next, we’ll break down the costs involved so you can plan your upgrade with confidence.
Ever wondered, “How much will it really cost to add trickle vents to my uPVC windows?” You’re not alone—understanding the total trickle vents for uPVC windows cost is a crucial step before starting any home ventilation upgrade. Whether you’re considering a quick DIY project or hiring a professional, let’s break down the numbers so you know exactly what to expect—and where your money goes.
The price of a trickle vent varies based on its type, size, design, and the quality of materials used. Here’s what you can typically expect:
Keep in mind: Prices may fluctuate based on regional availability, supplier, and any current promotions or supply chain changes.
Should you fit the vents yourself or call in a pro? Here’s how the costs stack up:
| Installation Method | Estimated Cost per Window | What’s Included | Best For |
|---|---|---|---|
| DIY Installation | £15–£50 | Vent unit, basic tools (drill, screwdriver), your time | Confident DIYers, small projects |
| Professional Installation | £65–£90 | Vent unit, labor, expertise, compliance check | Complex jobs, large projects, or building regulation compliance |
For a single window, DIY can be very cost-effective if you already have the necessary tools. However, professional installation—typically adding £50 or more per window—brings peace of mind, especially when precise fitting and building regulation compliance are essential.
In summary, the cost of trickle vents for uPVC windows is modest compared to the long-term benefits of improved air quality, condensation control, and regulatory compliance. By understanding the price range and installation options, you’ll be well-equipped to make the best choice for your home and your budget. In the next section, we’ll show you where to find quality vents and trusted suppliers, so you can complete your project with confidence.
Ready to upgrade your home’s ventilation, but not sure where to buy trickle vents for uPVC windows? With so many options—big-box retailers, online stores, and specialist suppliers—it can be tricky to decide which source is best for your needs. Let’s break down where you can find window trickle vents, what to expect from each option, and why choosing a dedicated manufacturer is often the smartest move for quality and value.
Imagine you’re outfitting a whole house, managing a renovation, or you have unique requirements—like a specific color to match your frames, or enhanced airflow for a large room. This is where buying directly from a trusted manufacturer pays off. Here’s why:
If you’re tackling a small DIY project, local stores and online retailers can be a quick fix for standard needs. But when quality, customization, or larger quantities matter, it’s worth partnering with a manufacturer like Shengxin Aluminum. Their purpose-built window trickle vents are designed specifically for uPVC frames, offering reliable performance, easy installation, and a range of options to suit any home or project scale.
In summary, finding the right trickle vent is about more than just price—it’s about fit, function, and long-term value. By exploring your buying options and considering the benefits of specialist suppliers, you’ll ensure your home enjoys fresh air, reduced condensation, and lasting comfort. In the final section, we’ll recap the key takeaways and help you confidently move forward with your window ventilation upgrade.
Imagine waking up to clear windows, fresh air, and a healthier living space—without ever having to crack open a window on a chilly morning. That’s the everyday reality when you choose the right uPVC trickle vent solution for your home.
Take a moment to assess your current windows. Do you notice condensation, stuffy air, or outdated vents? If so, now’s the time to act:
For homeowners and professionals seeking proven reliability, Shengxin Aluminum stands out as a trusted partner. Their window trickle vents are purpose-built for uPVC frames, offering a blend of easy installation, robust quality, and tailored options for any project size. With certified manufacturing standards and a wide selection, you get peace of mind—and a healthier, more comfortable home environment.
In summary, investing in the right uPVC trickle vent isn’t just about compliance—it’s about creating a space where you and your family can breathe easy, every day. Ready to make your home fresher, drier, and more inviting? Explore your options, choose with confidence, and enjoy the lasting benefits of modern window trickle vents.
A uPVC trickle vent is a small device integrated into a uPVC window or door frame that allows controlled airflow into your home. It provides passive background ventilation, helping to reduce humidity, condensation, and indoor pollutants without sacrificing energy efficiency or security.
Yes, trickle vents help minimize condensation by allowing moist indoor air to escape and fresh air to enter. This continuous air exchange balances humidity, reducing the risk of water droplets forming on window panes and helping prevent mold growth.
Most uPVC windows can be retrofitted with trickle vents. The process involves carefully drilling into the window frame and fitting the vent, making it a cost-effective way to improve ventilation without replacing the entire window. Always check your frame's condition and compatibility before starting.
Acoustic trickle vents are designed with sound-absorbing features to reduce noise intrusion while maintaining airflow. They're ideal for homes near busy roads or urban areas, offering a quieter indoor environment without compromising ventilation.
For reliable performance and a perfect fit, purchasing from specialist suppliers or manufacturers is recommended. Companies like Shengxin Aluminum offer purpose-built, certified uPVC trickle vents in various sizes and finishes, ensuring quality and ease of installation for any project.


 Servicio en línea
 0086 136 3563 2360
 sales@sxalu.com
 +86 136 3563 2360
 español
 English
 français
 Deutsch
 русский
 português
 العربية
 ไทย
ไทย Việt
Việt Українська