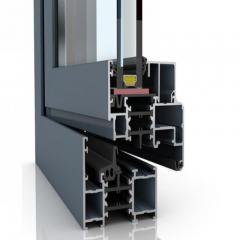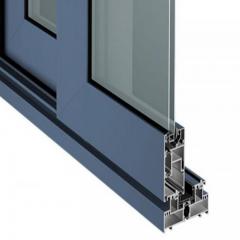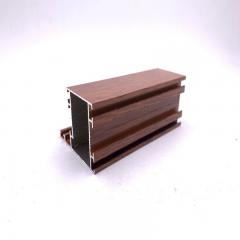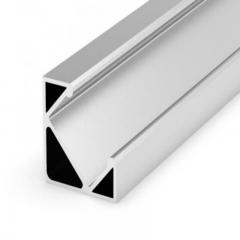
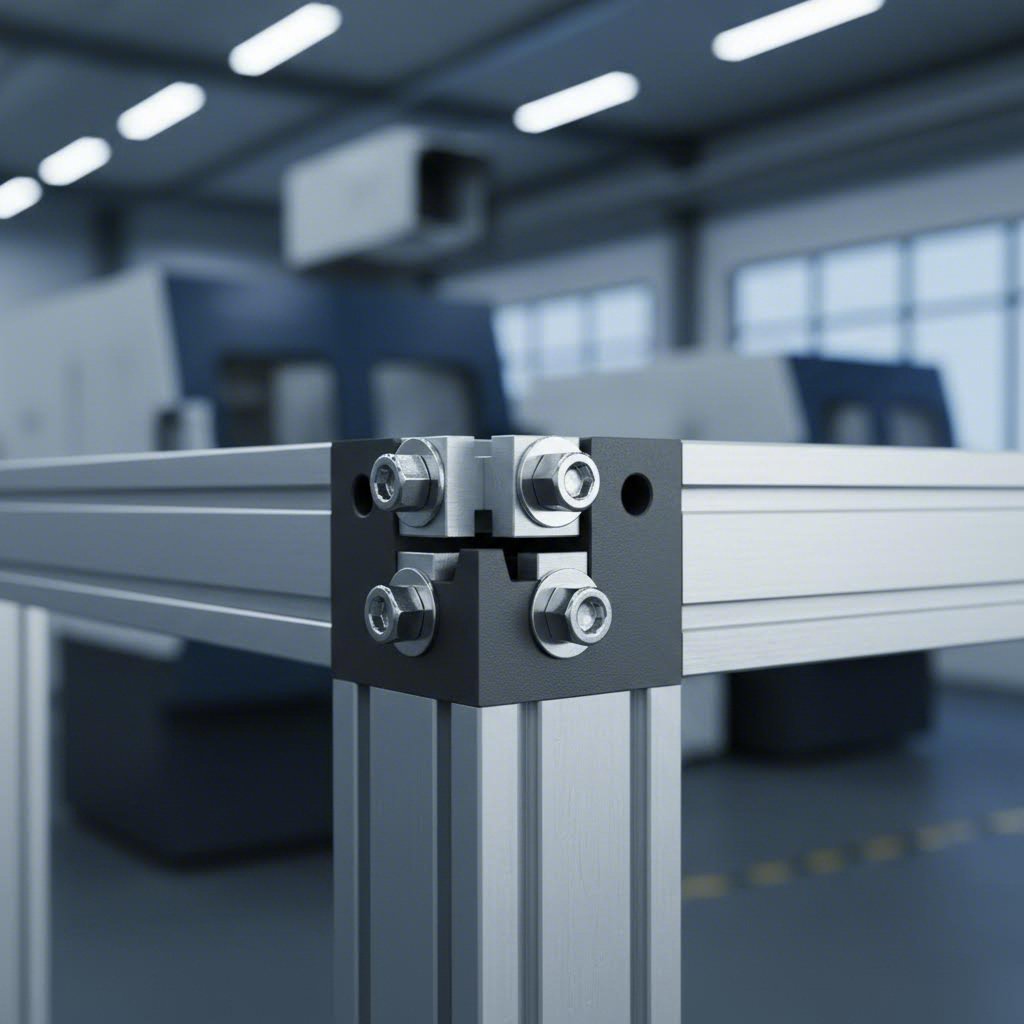
Have you ever wondered how makers build those sleek 3D printer frames or how factories construct modular workstations that can be reconfigured in minutes? The answer lies in a versatile construction system that has revolutionized both hobbyist projects and industrial applications alike.
Aluminum extrusion assembly is the process of connecting pre-formed aluminum profiles—typically featuring T-slot or V-slot channels—using specialized hardware to create rigid, modular structures without welding or permanent fastening.
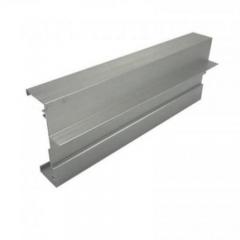
When you aluminum extrude a heated billet through a shaped die, you create uniform profiles with consistent cross-sections. These profiles become the building blocks for everything from simple shelving units to complex automation equipment. The beauty of this system lies in its simplicity: you're essentially working with industrial-grade building blocks that snap together with precision hardware.
Unlike traditional metal fabrication methods, aluminum extrusion offers something remarkable—the ability to build, modify, and rebuild structures without specialized welding skills or expensive equipment. Imagine constructing a sturdy workbench today and transforming it into a machine enclosure next month using the same components.
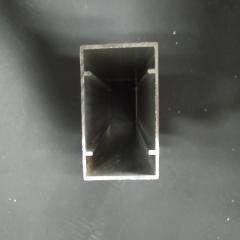
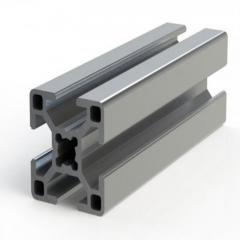
What is an aluminum extrusion exactly? It's a length of aluminum that has been pushed through a die to create a specific cross-sectional profile. The most common types feature T-shaped slots running along their length, allowing hardware to slide in at any point. This flexibility means you can position brackets, panels, and accessories exactly where you need them.
Aluminium extrusion systems excel in applications requiring:
Think of aluminum extrusion assembly as adult-sized construction toys with engineering-grade performance. Each profile serves as a standardized component that connects seamlessly with others in the same series. Whether you're building a compact 3D printer frame or an expansive industrial workstation, the fundamental assembly principles remain consistent.
This modular approach means you can start small and scale up. A hobbyist might begin with a simple frame for a CNC router, then expand the design as skills and requirements grow. Industrial users appreciate how quickly they can prototype equipment layouts or reconfigure production lines without scrapping existing components.
The versatility extends across countless applications—from custom furniture and display fixtures to protective machine guarding and laboratory equipment. Once you understand how these systems work, you'll start seeing possibilities everywhere.
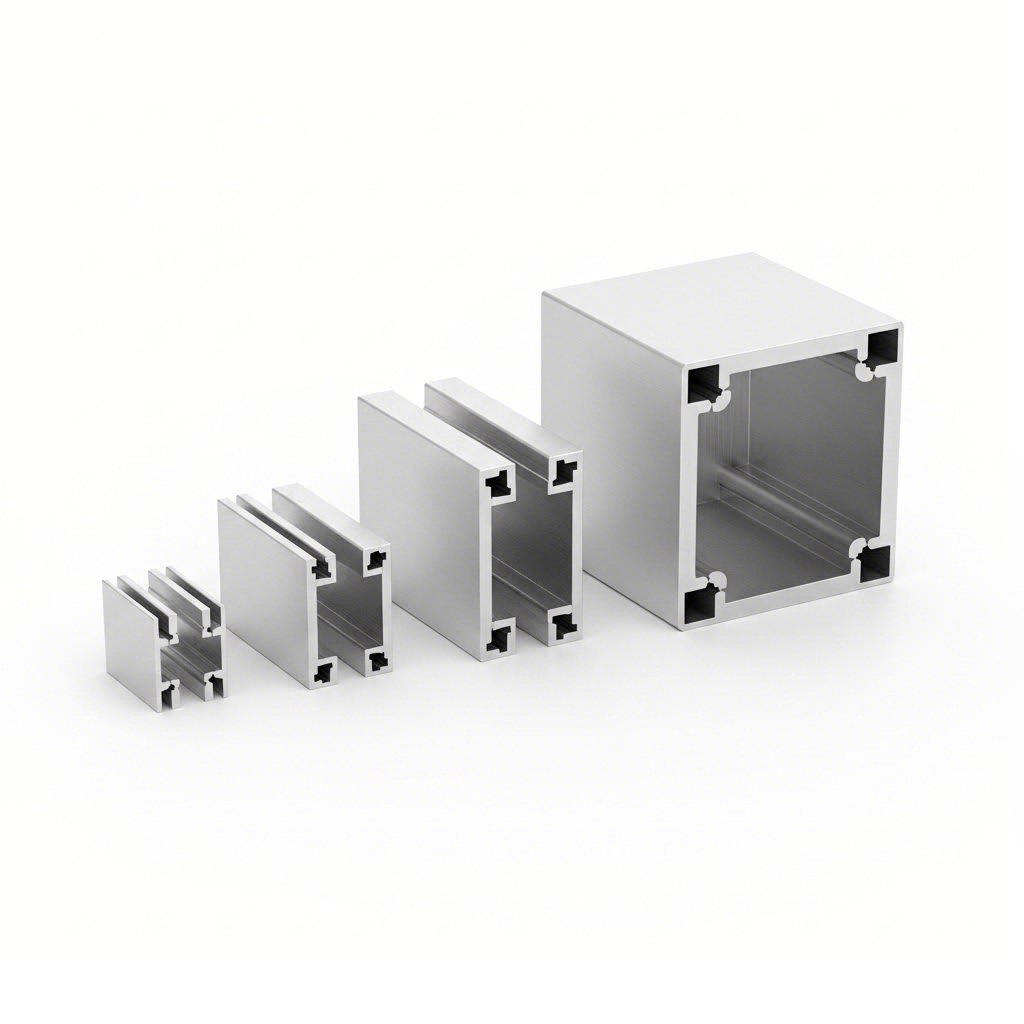
Now that you understand the fundamentals, here's the question every builder faces: which profile size should you actually use? Selecting the wrong alu extrusion profile can mean rebuilding your entire project—or worse, watching it fail under load. Let's break down the options so you can make a confident decision from the start.
The most common stock aluminum extrusion profiles fall into three main categories based on their cross-sectional dimensions. Each serves distinct purposes, and understanding their differences will save you time, money, and frustration.
When browsing an extruded aluminum shapes catalog, you'll immediately notice that 2020 extrusion and 4040 profiles dominate the listings. These numbers refer to the cross-sectional dimensions in millimeters—so a 2020 aluminium extrusion measures 20mm x 20mm, while a 4040 measures 40mm x 40mm.
The 20 x 20 extruded aluminum profile is the go-to choice for lightweight applications. With typical wall thickness between 1.5mm and 3mm, these compact profiles excel in situations where weight matters more than heavy-duty load capacity. Think 3D printer frames, small electronics enclosures, or prototyping projects where you need to validate a design quickly.
Step up to the 4040 series, and you're entering medium-duty territory. The larger cross-section dramatically increases rigidity and load-bearing capacity. According to industry specifications, the 4040 profile offers significantly enhanced resistance to bending and twisting compared to its smaller counterpart. This makes it ideal for workbenches, industrial automation frames, and equipment that needs to maintain precision under stress.
Here's a practical way to think about it: if your structure needs to support only its own weight plus light accessories, 2020 works beautifully. Once you're mounting motors, adding heavy panels, or expecting the frame to resist vibration, 4040 becomes the smarter investment.
Beyond the metric 2020 and 4040 options, you'll encounter the 80 20 15 series and similar inch-based profiles. These originated in North American industrial applications and use fractional inch measurements. The 15 series, for example, features 1.5-inch square profiles with corresponding slot dimensions.
Which system should you choose? Consider these factors:
The critical point to remember: components from different series are not cross-compatible. A T-nut designed for 2020 extrusion dimensions won't fit a 4040 slot, and inch-series hardware won't work with metric profiles. Planning your entire project within a single system prevents costly mistakes.
| Profile Series | Dimensions | Best Applications | Load Capacity | Cost Consideration |
|---|---|---|---|---|
| 2020 (Metric) | 20mm x 20mm | 3D printers, prototypes, light fixtures, DIY projects | Low to moderate | Most economical |
| 4040 (Metric) | 40mm x 40mm | Workbenches, automation equipment, machine enclosures | Moderate to high | Mid-range |
| 8020 (Metric) | 80mm x 80mm | Heavy machinery bases, large automation systems, structural supports | Very high | Premium |
| 15 Series (Inch) | 1.5" x 1.5" | Industrial workstations, US-based manufacturing integration | Moderate to high | Mid-range |
When making your selection, also consider future expansion needs. Starting with 2020 profiles might seem budget-friendly, but if your project grows in scope, you may find yourself wishing you'd invested in the structural headroom of 4040 from the beginning. Conversely, over-specifying with massive 8020 profiles for a simple display stand wastes both material and money.
The sweet spot for most builders? Match your profile choice to your most demanding load requirement, then add one size up if you anticipate modifications or heavier future use. With your profile selection locked in, the next step is gathering the right tools and hardware to bring your assembly together.
You've selected your profiles—now what? Before cutting a single piece of aluminum, you'll need the right tools and aluminum extrusion parts to ensure your assembly goes smoothly. Skipping this preparation step is where many first-time builders run into frustration. Let's walk through exactly what you need, from basic hand tools to specialized fasteners that make the difference between a wobbly frame and rock-solid construction.
The good news? Aluminum extrusion assembly doesn't require an expensive shop full of power equipment. You can complete most projects with basic hand tools, though some specialized items dramatically improve efficiency and precision.
Basic toolkit essentials:
Cutting and preparation tools:
For small aluminum extrusions like 2020 profiles, hand cutting with a hacksaw is possible but tedious. Power tools become practically necessary once you're working with 4040 or larger profiles, or when cutting multiple pieces to identical lengths.
Here's where aluminum extrusion assembly gets interesting. The T-slot design accepts multiple fastener types, each optimized for different situations. Choosing the right aluminium extrusion parts for connections determines both assembly speed and structural integrity.
Nut varieties for the T-slot:
Connection hardware categories:
Torque requirements matter: Under-tightened fasteners lead to loose, wobbly frames. Over-tightening strips threads or damages the profile's anodized finish. For reference, technical data from Faztek indicates anchor fasteners require 17-22 ft-lbs of torque, while economy T-nuts with 5/16-18 bolts need 15-20 ft-lbs. If you're working on precision equipment or load-bearing structures, a torque wrench becomes essential rather than optional.
When building your aluminum extrusion frame kits, start with a core set of hardware matching your profile series: preset nuts, corner brackets, and appropriate bolts. Add specialized connectors like screw connectors or anchor fasteners as your projects demand more sophisticated joinery. For most hobbyist builds using extruded aluminum strut, a selection of brackets and approximately 20-30 preset nuts will handle a typical small frame project.
With your toolkit assembled and fasteners sorted, you're ready to move from preparation into the actual build process—where planning, cutting, and systematic assembly transform raw materials into finished structures.
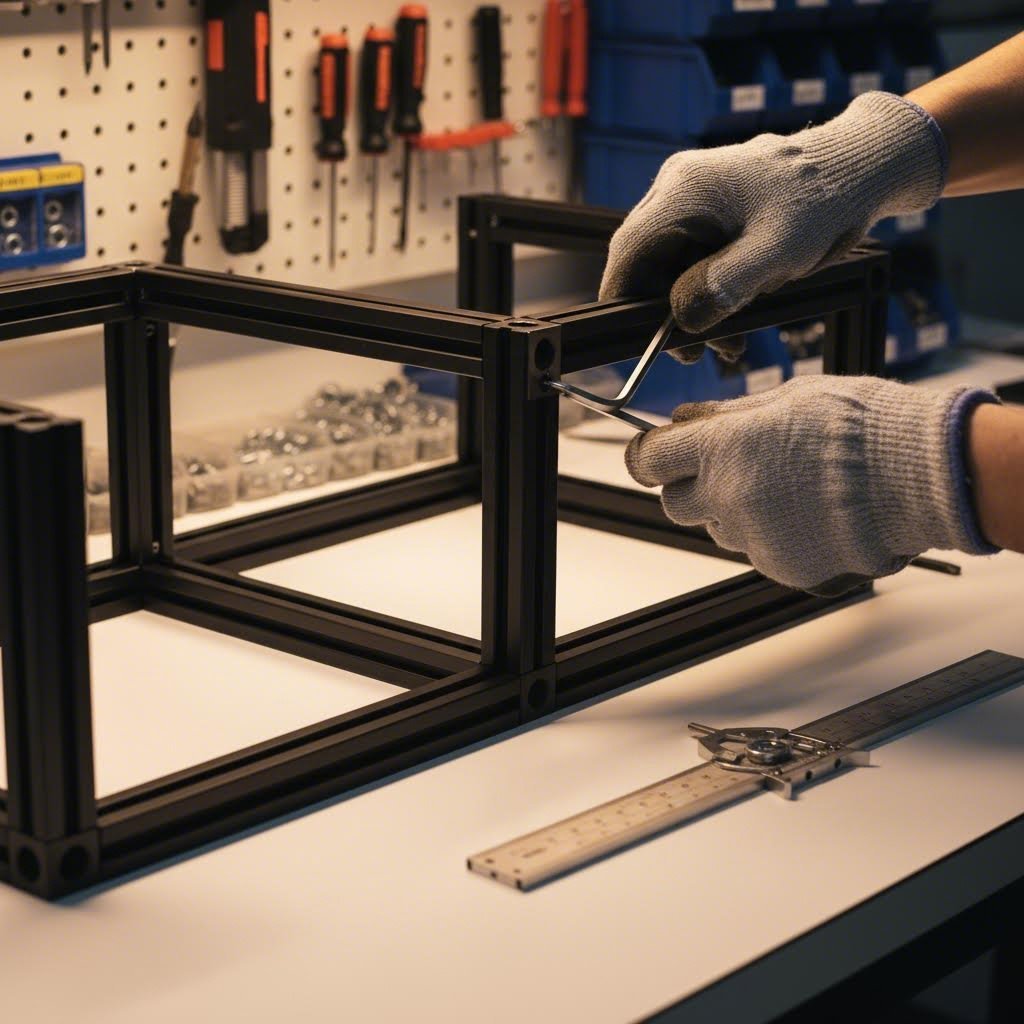
You've got your profiles selected and your toolkit ready—now comes the moment where planning transforms into physical structure. Whether you're a weekend hobbyist building with aluminum extrusion for the first time or a professional tackling industrial automation equipment, the assembly process follows the same fundamental framework. Master these steps, and you'll approach every extrusion frame project with confidence.
The complete assembly journey breaks down into three distinct phases, each building on the previous one. Rush through any stage, and you'll spend more time fixing problems than you saved by cutting corners.
Before you cut anything, invest time in thorough planning. This aluminum extrusion design phase determines whether your finished structure performs as intended or becomes a frustrating exercise in rework.
Time estimate: For a simple rectangular frame (like a basic enclosure), planning takes 30-60 minutes. Complex multi-level structures with integrated accessories may require several hours or multiple planning sessions.
With your aluminum extrusion design guide in hand, it's time to transform raw stock into precisely sized components. Accuracy here directly affects how well your joints align and how square your finished frame will be.
Time estimate: Cutting a small project (8-12 pieces) takes 45-90 minutes including setup and cleanup. Larger industrial frames with 30+ pieces may require half a day or more, especially when machining is involved.
Here's where your preparation pays off. Aluminum frame building follows a logical sequence that ensures accuracy and prevents the frustration of disassembling work to fix earlier mistakes.
Time estimate: A simple four-sided frame takes 15-30 minutes to assemble once all pieces are cut. A complete aluminum extrusion builder project like a 3D printer frame (typically 20-30 joints) requires 1-2 hours. Industrial workstations with integrated panels, doors, and accessories may take a full day or more.
The beauty of aluminum frame construction lies in its forgiving nature. Unlike welding, where mistakes become permanent, bolted extrusion connections can be loosened, adjusted, and re-tightened until everything aligns perfectly. This adjustability makes building with aluminum extrusion ideal for both beginners learning the process and professionals who need precision results.
With your frame assembled and squared, the next consideration becomes which joint connection methods provide the best performance for different structural requirements—a decision that impacts both strength and appearance.
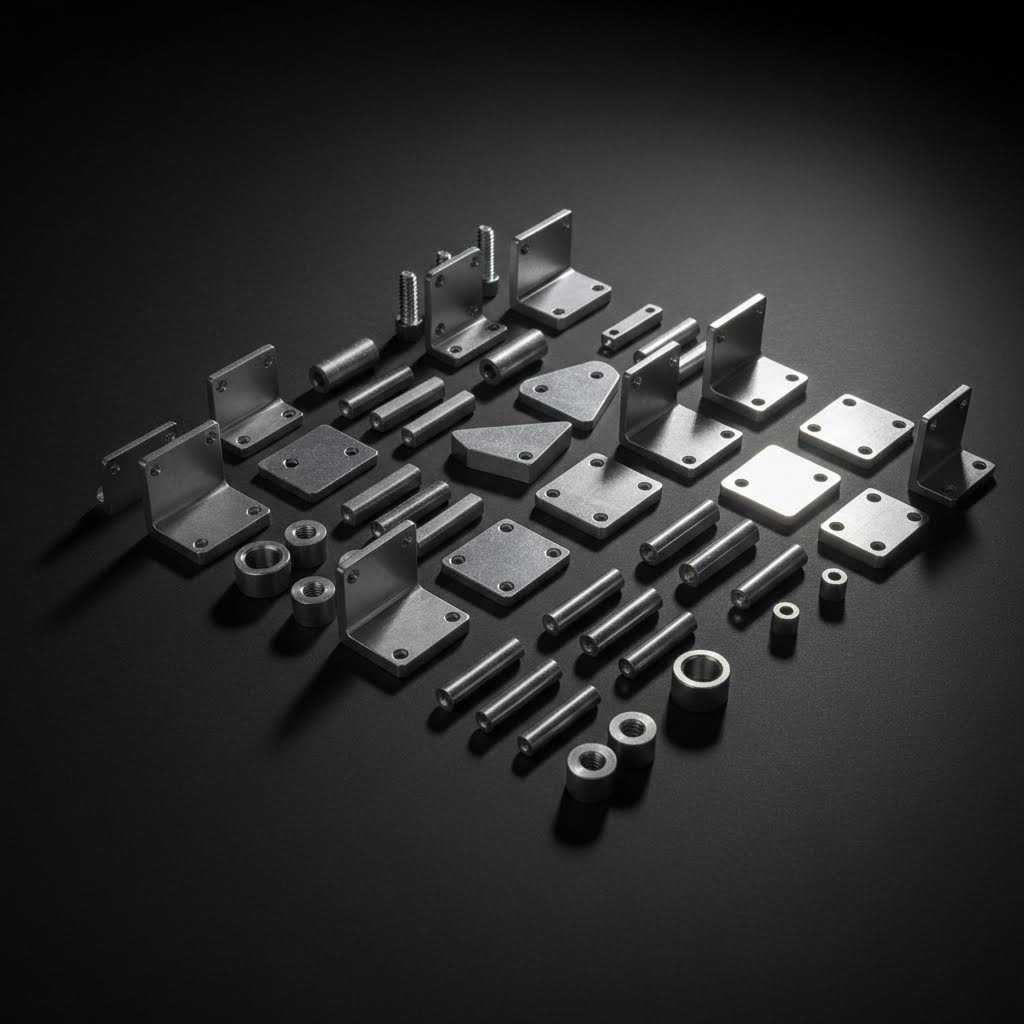
Your frame is taking shape—but here's the critical question that separates sturdy structures from wobbly disappointments: which connection method should you use at each joint? The answer isn't one-size-fits-all. Different joints face different stresses, visibility requirements, and adjustability needs. Understanding when to reach for corner brackets versus hidden connectors can mean the difference between a professional-grade aluminum frame structure and one that rattles apart under load.
When working with aluminum framing, you'll encounter two broad categories of fasteners: internal (hidden within the profiles) and external (mounted on the outside). According to 80/20's fastener guide, there's rarely one "right answer" when choosing connection methods—it depends on circumstance, design, purpose, and personal preference.
Let's start with the most fundamental decision in structural aluminum framing: do you connect profiles using hardware that threads directly into the T-slot, or do you reinforce joints with external brackets?
T-slot connections (internal fasteners) use the profile's built-in channels to create joints. Anchor fasteners, end fasteners, and inside corner connectors all fall into this category. These connections offer several advantages:
Corner brackets (external fasteners) mount directly to the outside of profiles, creating reinforced 90-degree connections. While they require slightly more assembly effort, they provide distinct benefits:
For aluminum structural framing applications where loads are significant—think workbenches, machine bases, or equipment supports—combining both methods often produces the strongest results. According to Gap Engineering's connection guide, projects involving movement or vibration benefit from using multiple connection methods together to maximize structural integrity.
Aesthetic requirements vary dramatically between projects. A machine enclosure hidden behind production equipment doesn't need the same visual refinement as a retail display or custom furniture piece. Understanding your options helps you balance appearance with performance.
Hidden connection options:
Visible connection options:
For framing extrusion projects where appearance matters, hidden connections deliver clean, professional results. When adjustability and ease of modification take priority—like prototyping or temporary installations—visible brackets allow faster changes without disassembling entire structures.
| Connection Type | Strength | Ease of Assembly | Adjustability | Ideal Applications |
|---|---|---|---|---|
| Anchor Fastener | Very High | Moderate (requires machining) | Limited once installed | Load-bearing structural joints, permanent frames |
| End Fastener | Moderate | Easy (no machining) | Limited | Hidden aesthetic connections, enclosures |
| Inside Corner Connector | High | Very Easy | Limited | Quick assembly, cost-sensitive projects |
| Hidden Corner Connector | Moderate-High | Easy | Good | Clean-look frames, furniture, displays |
| Die-Cast Bracket | Moderate | Very Easy | Excellent | Prototypes, adjustable systems, quick builds |
| Gusset Bracket | High | Easy | Excellent | High-stress corners, reinforcement applications |
| Flat Joining Plate | Moderate | Very Easy | Excellent | Panel mounting, load distribution, splice connections |
| 3-Way Corner Connector | High | Moderate | Limited | Box frame corners, enclosure vertices |
When selecting connections for aluminum framing extrusion projects, consider the specific demands at each joint. High-stress locations—like the base of vertical supports or points where heavy accessories mount—warrant stronger methods like anchor fasteners or gusset brackets. Secondary connections that primarily maintain alignment can use simpler brackets or inside corner connectors.
For structural aluminum extrusions carrying significant loads, Gap Engineering recommends thorough analysis of static, dynamic, and rotational forces before finalizing your connection strategy. This analysis ensures each joint receives appropriate reinforcement for the stresses it will actually experience.
Even the best connection methods can encounter problems during assembly or over time under load. Knowing how to identify and resolve common issues will keep your projects on track and your structures performing reliably.
So your aluminum build isn't coming together as planned? You're not alone. Even experienced builders encounter frustrating issues—frames that won't square up, fasteners that won't grip, or connections that loosen over time. The good news? Most problems have straightforward solutions once you understand what's causing them. Let's walk through the most common headaches and how to fix them before they derail your project.
Unlike welded structures where mistakes become permanent, the beauty of aluminum extrusion assembly lies in its adjustability. Almost every issue can be corrected without scrapping parts—if you know what to look for and how to address it.
Nothing frustrates builders more than a frame that looks crooked no matter how many times you adjust it. Misalignment issues typically stem from a few predictable causes, and each has a specific remedy.
Out-of-square frames:
Profiles not sitting flush:
Twisted or racked frames:
The extruded aluminum process creates precisely dimensioned slots, but hardware problems can still undermine even the best profiles. Here's how to diagnose and resolve the most frequent fastener failures.
Loose connections that won't stay tight:
Stripped threads in profiles:
T-nuts that won't lock:
Connections that feel solid but allow movement:
Most assembly problems share a common theme: they're easier to prevent than to fix. Taking time during cutting to ensure square ends, keeping hardware organized and matched to profile series, and following systematic assembly sequences will eliminate the majority of issues before they occur. When problems do arise, remember that the modular nature of extrusion systems means you can almost always disassemble, correct, and rebuild without permanent damage to your components.
With troubleshooting knowledge in hand, you're equipped to tackle projects confidently—but what kinds of projects actually benefit from aluminum extrusion construction? The answer spans from hobbyist workshops to industrial production floors.
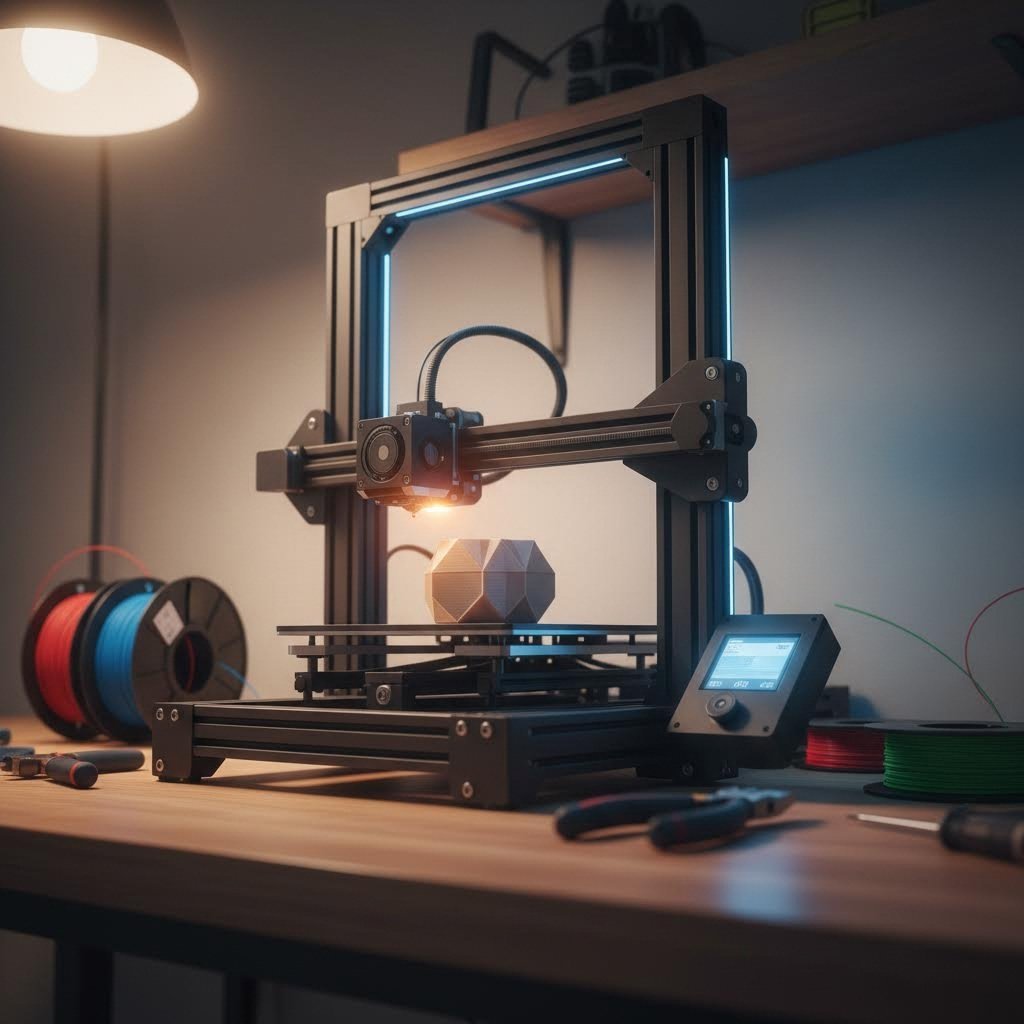
Now that you've mastered the assembly techniques, here's the exciting part—what can you actually build? The versatility of aluminum extrusion assembly means your only real limitation is imagination. From weekend hobbyists crafting custom 3D printer frames to industrial engineers designing complex automation systems, these modular profiles adapt to virtually any construction challenge. Let's explore the most popular applications across different skill levels and industries.
According to CanArt's industry analysis, T-slot aluminum extrusions have radically changed how both industries and hobbyists approach construction and design. Their modular nature allows quick assembly and rearrangement, making them ideal for applications ranging from heavy-duty industrial structures to simple DIY solutions.
Professional environments demand structures that combine strength, precision, and adaptability. Aluminum extrusion systems deliver on all three requirements, which explains their widespread adoption across manufacturing, automation, and commercial settings.
Custom workbenches and workstations:
Conveyor and material handling systems:
Safety barriers and machine guarding:
Robotics and automation frames:
An aluminum extrusion desk or workstation in professional settings often includes integrated cable management, monitor arms, and task lighting—all mounted directly to the T-slots without drilling or permanent modification.
The maker community has embraced aluminum extrusion projects with remarkable creativity. What was once specialized industrial hardware now forms the backbone of countless hobbyist builds, from precision machines to functional furniture.
3D printer frames:
CNC machines and laser cutters:
Understanding how to build an enclosure with extruded aluminum frame:
Aluminum extrusion furniture and home projects:
Prototyping and product development:
What makes these aluminum extrusion projects so appealing? The same frame you build for a prototype today can become a production fixture tomorrow—or be disassembled entirely and reconfigured for a completely different purpose. According to experienced builders, once you understand how these systems work, you'll start seeing possibilities everywhere—from custom workbenches and light fixtures to picture frames and beyond.
Whether you're designing industrial automation equipment or crafting a weekend project, the same fundamental profiles and connection methods apply. The difference lies primarily in scale, load requirements, and the level of precision your application demands. A hobbyist 3D printer frame and a factory automation system share DNA—they're both modular, adjustable, and built from the same versatile aluminum profiles.
Of course, building a great structure is only half the equation. Keeping it performing reliably over months and years requires understanding proper maintenance practices—something many builders overlook until problems emerge.
You've built a sturdy frame—but will it stay that way? Many builders assume aluminum's natural durability means maintenance is optional. That assumption leads to preventable failures. According to industry maintenance guidelines, aluminum extrusions need regular care to stay effective, and neglecting even these low-maintenance systems can lead to serious problems over time.
The good news? Aluminum extrusion systems require far less upkeep than steel or wood alternatives. With a simple routine, your extruded aluminum sections will deliver reliable performance for decades. Indoor assemblies typically last 20 to 40 years, while outdoor structures with proper surface treatment perform well for 15 to 20 years or more.
Vibration, temperature changes, and regular use gradually affect even properly assembled joints. A systematic inspection routine catches small issues before they become structural problems.
Recommended inspection frequency:
What to check during inspections:
For aluminum frame system installations in production environments, document your inspections. Tracking which connections require frequent re-tightening helps identify design issues or hardware that may need upgrading to higher-strength alternatives.
Aluminum doesn't rust like steel, but it's not immune to environmental damage. Understanding how different conditions affect your assembly helps you implement appropriate protective measures.
Cleaning recommendations:
Surface treatment considerations:
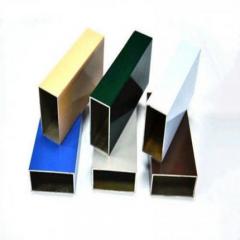
The finish on your aluminum extrusion kit significantly impacts long-term durability and maintenance requirements. Anodized profiles create a protective oxide layer that resists corrosion and weathering. Powder-coated surfaces add color while providing excellent protection. PVDF coatings offer superior UV and stain resistance for demanding outdoor applications.
Raw, unfinished aluminum requires the most frequent attention. Without protective treatment, it develops surface oxidation and is more susceptible to staining from environmental contaminants.
Signs that indicate component replacement:
For aluminum extrusion systems exposed to dissimilar metals—like steel fasteners or mounting to concrete—watch for galvanic corrosion at contact points. Using appropriate washers or isolating materials prevents this electrochemical reaction from degrading your profiles.
The minimal maintenance these systems require is part of their appeal. A few hours of inspection and cleaning annually keeps your aluminum extrusion assembly performing reliably for decades. With your structure properly maintained, the final consideration becomes sourcing quality materials for future projects or expansions.
Ready to turn your aluminum extrusion assembly plans into reality? Your supplier choice matters as much as your design. A quality aluminum frame extrusion starts with quality raw materials and precision manufacturing—and not all suppliers deliver equally. Whether you're sourcing stock profiles for a hobbyist build or commissioning custom extruded aluminum frame components for industrial equipment, understanding how aluminum extrusion is made and what separates capable manufacturers from basic resellers will protect your investment and your project timeline.
According to industry procurement experts, evaluating aluminum extrusion supplier capability requires more than a cost comparison. By analyzing die design, process control, machining integration, and quality systems, you can choose suppliers that deliver consistent results, lower rework rates, and predictable lead times.
Imagine ordering profiles for a critical project only to discover they arrive with dimensional inconsistencies, surface defects, or weeks behind schedule. These problems trace back to supplier capabilities—or lack thereof. Here's what separates professional aluminum extrusion manufacturing partners from vendors who create headaches.
Key supplier evaluation criteria:
When evaluating potential partners, ask specific questions: What's your typical lead time for die manufacturing? Can you provide process data for quality audits? Do you offer design-for-manufacturability feedback on drawings? Professional suppliers answer these questions confidently and proactively suggest improvements.
Raw extrusions rarely meet final project requirements without additional processing. The difference between a basic supplier and a full-service partner often comes down to integrated machining and finishing capabilities.
Essential processing services to look for:
Surface treatment options that enhance durability:
The advantage of working with integrated suppliers becomes clear when you consider logistics. A supplier who handles extrusion, machining, and surface finishing under one roof—like Shengxin Aluminium—ensures batch consistency in both dimensions and appearance while eliminating transportation between subcontractors that can cause damage and delays.
Practical sourcing approach:
For your first project, start by requesting quotes from suppliers who meet the evaluation criteria above. Provide detailed drawings following aluminum extrusion design guidelines, including dimensional tolerances, surface finish requirements, and quantity needs. Quality suppliers will offer design-for-manufacturability feedback and suggest cost optimization opportunities before production begins.
According to typical production benchmarks, expect these lead times for standard projects: die manufacturing takes 10-20 days, extrusion production requires 7-15 days, and surface finishing adds 5-10 days—totaling 4-6 weeks for complete delivery. Suppliers with ERP-based production systems generally deliver more consistently, especially during peak demand periods.
Whether you're building a single prototype or scaling to production quantities, the supplier relationship you establish now will shape every project going forward. Take time to evaluate capabilities thoroughly, request samples when possible, and prioritize partners who demonstrate technical expertise alongside competitive pricing. Your aluminum extrusion assembly deserves components manufactured to the same standards you'll apply during construction.
Common aluminum extrusion issues include dimensional inaccuracies from irregular cooling or worn dies, surface defects like scratch marks from improper lubrication, and assembly problems such as loose connections or out-of-square frames. Stripped threads from over-torquing and T-nuts that won't lock properly are also frequent challenges. Most problems can be prevented through proper cutting techniques, correct hardware selection for your profile series, and systematic assembly procedures with appropriate torque settings.
Aluminum extrusions connect using several methods depending on your needs. T-slot connections use anchor fasteners, end fasteners, or inside corner connectors that thread into the profile channels for hidden joints. External corner brackets and gussets mount to the outside for visible, easily adjustable connections. Quick connectors offer superior fastening by drilling an access hole to receive a barrel connector. For permanent installations, screw connectors require tapping one profile and drilling through another but create exceptionally strong hidden joints.
The company 80/20 named their product line after Pareto's Law, developed by Italian economist Vilfredo Pareto (1843-1923). This principle states that 80% of your results come from 20% of your efforts. The naming reflects how their modular T-slot aluminum extrusion system allows users to achieve significant construction results with relatively minimal effort compared to traditional fabrication methods like welding or custom machining.
Profile selection depends on your load requirements and application. The 2020 series (20mm x 20mm) works best for lightweight projects like 3D printer frames, small enclosures, and prototypes. The 4040 series (40mm x 40mm) suits medium-duty applications including workbenches, automation equipment, and machine enclosures with significantly enhanced rigidity. For heavy machinery bases and large structural supports, consider 8020 series (80mm x 80mm). Match your choice to your most demanding load requirement, then size up if you anticipate future modifications.
Maintain aluminum extrusion assemblies through regular inspections—monthly for high-vibration environments, quarterly for standard industrial use, and semi-annually for light-duty projects. Check fastener tightness with an Allen wrench, verify visual alignment, and inspect surface conditions. Clean indoor assemblies with mild soap and water every 6-12 months, and outdoor structures twice yearly. Avoid ammonia-based cleaners that damage anodized surfaces. With proper care, indoor assemblies last 20-40 years while outdoor structures with appropriate surface treatments perform well for 15-20 years.



 Servicio en línea
 0086 136 3563 2360
 sales@sxalu.com
 +86 136 3563 2360
 español
 English
 français
 Deutsch
 русский
 português
 العربية
 ไทย
ไทย Việt
Việt Українська