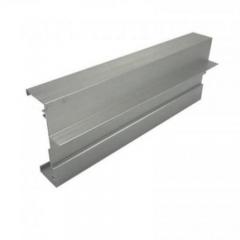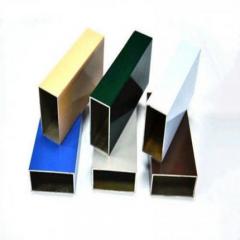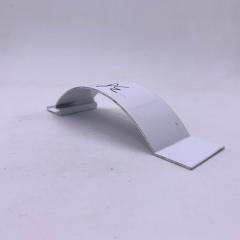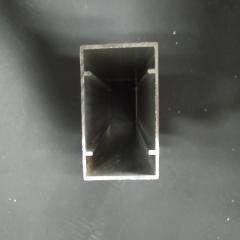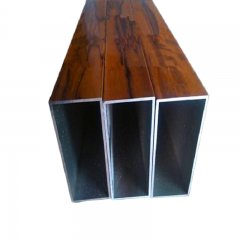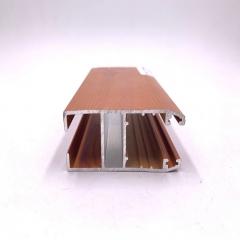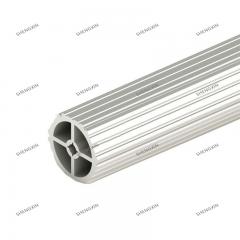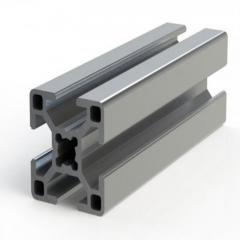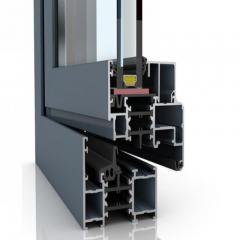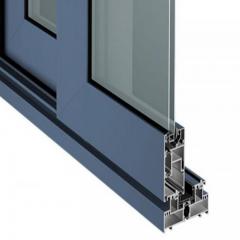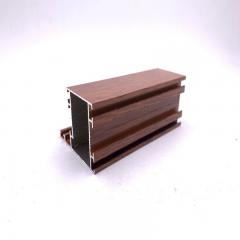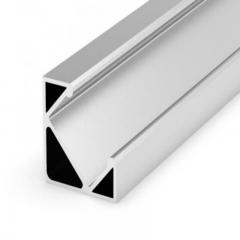
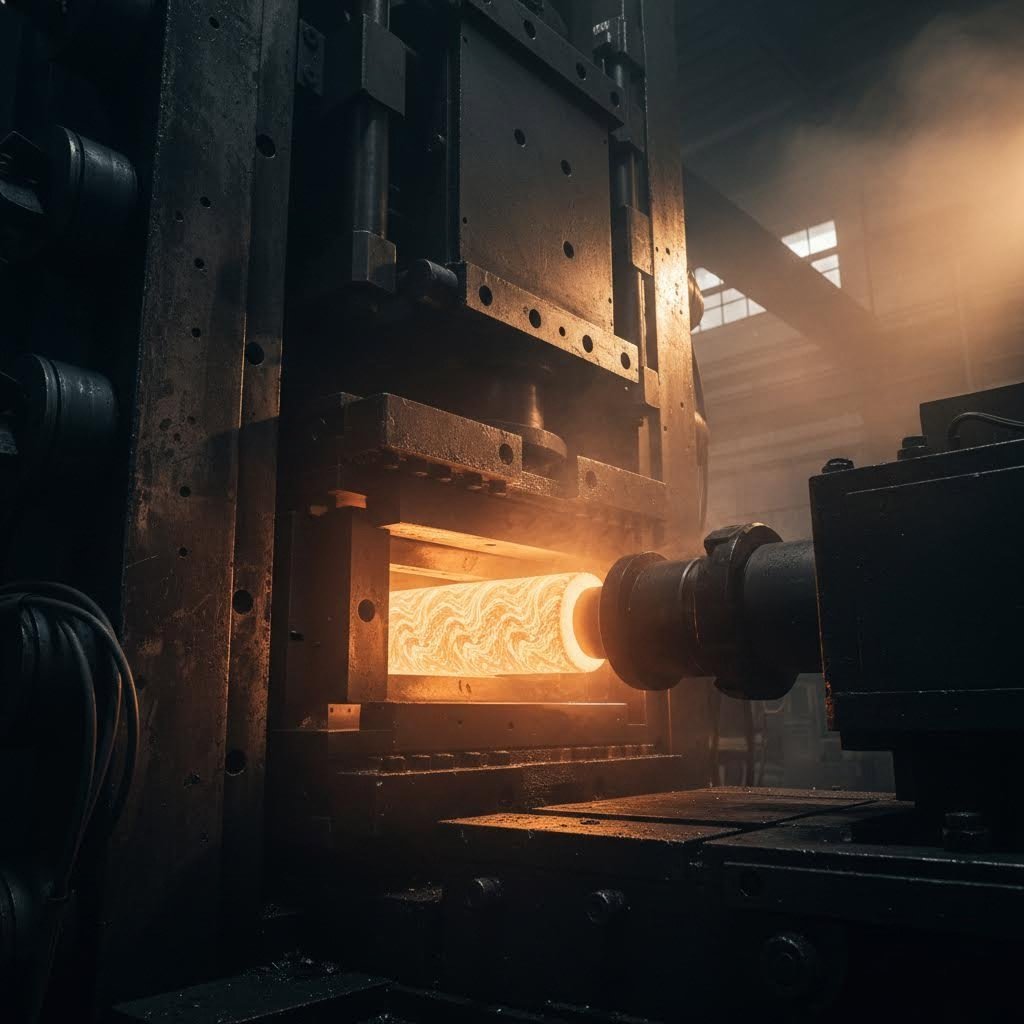
Imagine squeezing toothpaste from a tube. The paste emerges in the exact shape of the opening. Now picture that same principle applied to heated aluminum forced through a precision-engineered steel die under immense hydraulic pressure. That's essentially how custom aluminum extrusions come to life.
Aluminum extrusion prototyping is the process of creating sample cross-sectional profiles by pushing heated aluminum alloy through a custom die, allowing engineers to test and validate designs before committing to full-scale production.
This manufacturing method enables you to produce prototype aluminum extrusions with complex geometries that would be difficult or impossible to achieve through other fabrication methods. The result? Physical parts you can hold, test, and refine before investing in large production runs.
The process begins with aluminum billets heated to approximately 750 to 925°F, transforming the metal into a soft but solid state. A hydraulic press then forces this material through a die, which acts as a template for your desired shape. According to Hydro's technical resources, these presses can exert anywhere from 100 tons to 15,000 tons of pressure.
Custom extruded profiles can be solid, hollow, or semi-hollow. Simple shapes might emerge at speeds up to 200 feet per minute, while intricate custom aluminum extrusion profiles may extrude as slowly as one foot per minute. This flexibility allows aluminum extrusion services to accommodate virtually any cross-sectional design you can envision.
You wouldn't build a house without reviewing the blueprints first. The same logic applies to manufacturing. Prototyping with bespoke aluminium profiles lets you physically verify that your design performs as intended before committing significant resources to mass production.
For engineers and product designers, this validation phase answers critical questions: Does the profile fit with mating components? Will it handle the required structural loads? Does the surface finish meet aesthetic standards? By addressing these concerns early, you avoid costly tooling modifications and production delays down the line.
This guide walks you through every aspect of the prototyping journey, from alloy selection and process steps to cost considerations and partner evaluation, giving you the knowledge to move confidently from concept to finished part.
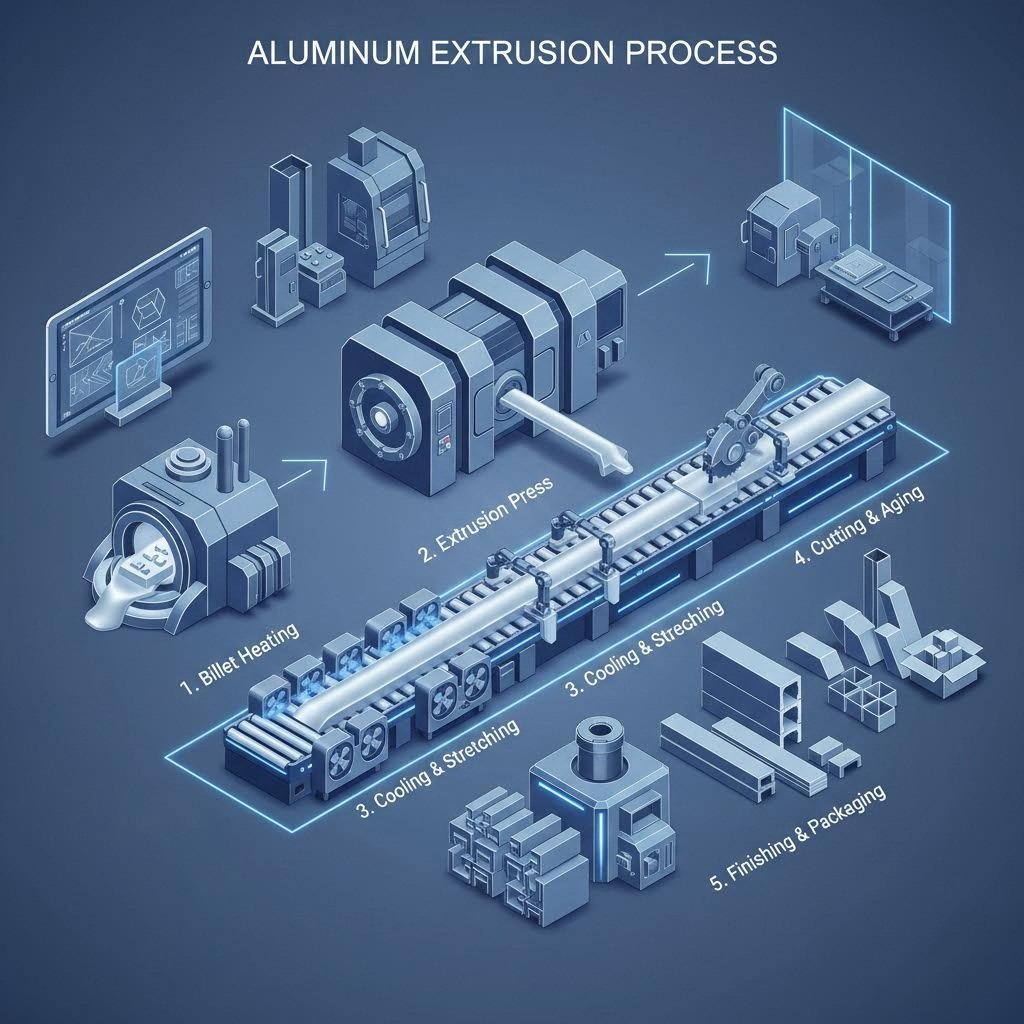
So you've got a design concept ready. What happens next? Understanding each phase of the aluminum extrusion fabrication process helps you set realistic expectations and prepare the right documentation from the start. Unlike vague manufacturer descriptions, here's exactly what occurs at every stage.
The journey begins when you submit design files, typically in formats like AutoCAD or SolidWorks. According to Star Extruded Shapes, these digital models enable faster and more precise quoting, streamlined prototyping, and reduced time to market.
During the design review phase, engineers evaluate your custom extrusion for manufacturability. They'll examine wall thickness consistency, corner radii, and tolerance requirements. Here's what you should know about design-for-extrusion principles:
Die creation follows design approval. The die is preheated to approximately 450-500°C before use, which ensures even metal flow and maximizes die lifespan. For custom profile extrusion, die development typically takes one to three weeks depending on complexity.
Once the die is ready, the actual extrusion begins. A cylindrical billet is cut from an elongated log of aluminum and heated in a furnace to 400-500°C. This temperature makes the material malleable without melting it completely. The heated billet then transfers to the extrusion press, where hydraulic rams capable of generating up to 15,000 tons of pressure force the aluminum through the die opening.
As your aluminum extrusion parts emerge from the die, they're immediately quenched using air, mist, or a water bath. This rapid cooling maintains structural integrity and locks in the desired mechanical properties. The continuous profile is then sheared into manageable lengths using a hot saw.
What about those twists and distortions you might notice? That's normal. Extrusion services include a stretching step where profiles are mechanically gripped at both ends and pulled until perfectly straight. This also work-hardens the material for improved strength.
Secondary operations transform raw extrusions into finished prototypes. CNC machining adds holes, slots, and complex features. Surface treatments like anodizing, powder coating, or raw finishing enhance appearance and corrosion resistance. Finally, rigorous quality control verifies that every dimension and surface condition meets your specifications.
Timeline expectations vary based on complexity. Simple profiles might move from design to finished extrusion parts in two to three weeks. More complex projects with extensive secondary operations could extend to four to six weeks. Communicating your deadline requirements upfront helps your manufacturing partner prioritize accordingly.
With the process fundamentals covered, the next critical decision involves selecting the right aluminum alloy for your specific application requirements.
You've nailed down your profile design and understand the extrusion process. Now comes a decision that fundamentally shapes your prototype's performance: which aluminum alloy should you specify? This choice affects everything from structural integrity to surface finish quality, and surprisingly few resources explain the practical differences for prototyping applications.
Pure aluminum lacks the mechanical properties needed for industrial use. When alloyed with elements like magnesium and silicon, however, it becomes incredibly versatile. According to Tri-State Aluminum's alloy selection guide, the 6000 series alloys are particularly popular for custom aluminum extrusion because they offer excellent machinability, formability, and weldability while maintaining a high strength-to-weight ratio.
But here's where it gets interesting. Even within the same alloy series, subtle compositional differences dramatically impact how your aluminium extrusion parts will perform. Let's break down the three alloys you'll encounter most often.
| Property | 6063 | 6061 | 7075 |
|---|---|---|---|
| Mechanical Strength | Fair | Great | Excellent |
| Surface Finish | Great | Fair | Fair |
| Extrudability | Great | Good | Limited |
| Corrosion Resistance | Great | Good | Moderate |
| Best Applications | Architectural, decorative, window frames | Structural, aerospace, marine | Aerospace, military, high-stress components |
When you're creating custom extruded aluminum profiles, the 6063 versus 6061 question comes up constantly. Both share the same alloying elements, but the proportions differ significantly. According to Triad Products, aluminum 6061 can contain up to double the iron content and usually includes significantly more silicon, copper, and chromium compared to 6063.
What does this mean for your prototype? Think of it this way:
Here's a practical consideration: 6063 aluminum tends to be less expensive. However, as Triad Products notes, choosing solely based on cost can backfire. If your prototype needs to withstand significant mechanical stress, spending more on 6061 prevents failures during testing and saves you from costly redesigns.
Sounds complex? Let's simplify the decision with a few guiding questions:
What about 7075? This aerospace-grade alloy offers exceptional strength, making it a favorite for military and aviation applications according to Chalco Aluminum. However, its limited extrudability and higher cost typically reserve it for high-performance prototypes where maximum strength-to-weight ratio is non-negotiable.
With your alloy selected, you're ready to evaluate how extrusion stacks up against alternative manufacturing methods for your specific prototype requirements.
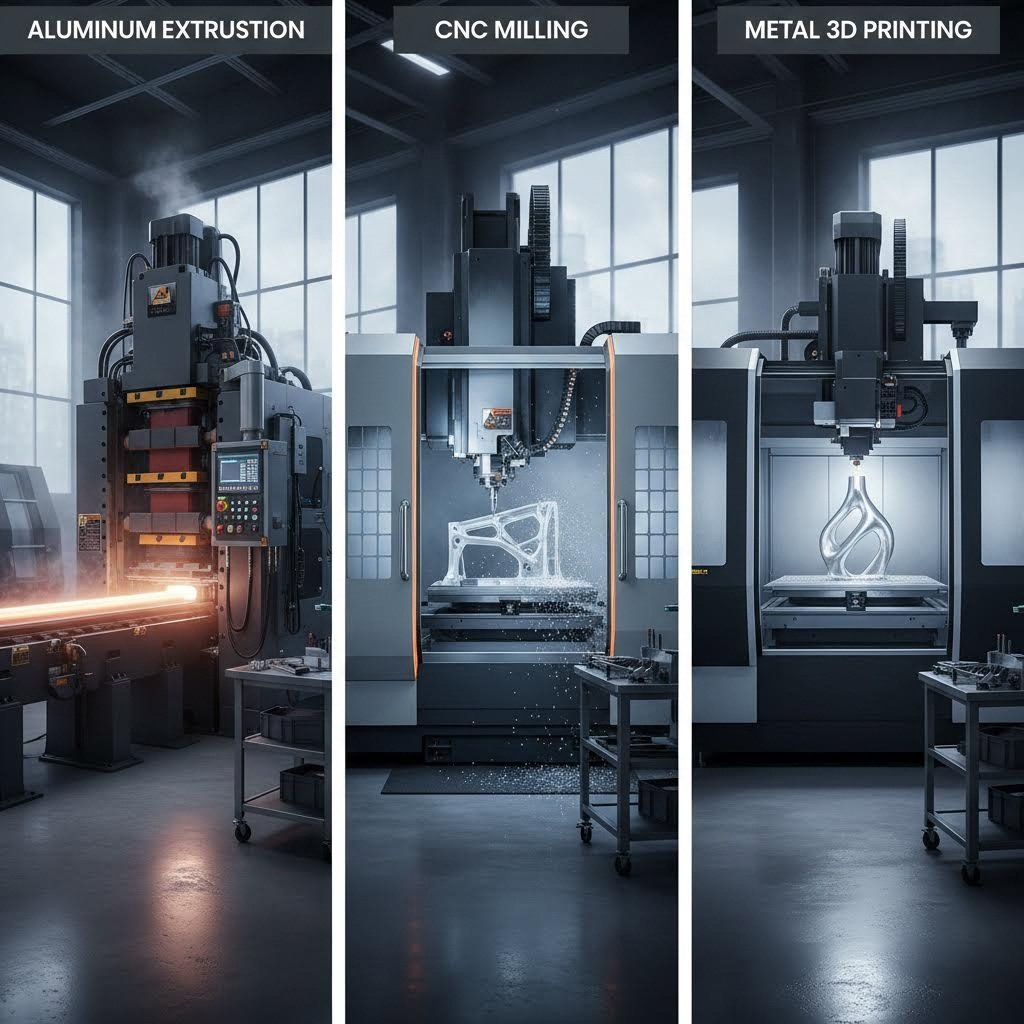
You've selected your alloy and understand the process. But here's a question that trips up even experienced engineers: is extrusion actually the right approach for your aluminum prototype? The honest answer depends on several factors that manufacturers rarely discuss openly.
Let's cut through the marketing fog and compare extrusion prototyping against the alternatives you're probably considering. This isn't about declaring a winner. It's about matching the method to your specific project requirements.
| Criteria | Aluminum Extrusion | CNC Machining | 3D Printing (Metal) | Die Casting |
|---|---|---|---|---|
| Cost Per Unit (Low Volume) | Moderate | High | Very High | Very High |
| Cost Per Unit (High Volume) | Very Low | High | Very High | Low |
| Tooling Investment | $500–$2,000 | None | None | $10,000–$100,000+ |
| Lead Time | 2–4 weeks | Days to 2 weeks | Days to 1 week | 8–16 weeks |
| Geometric Complexity | 2D profiles only | Full 3D capability | Full 3D capability | Full 3D capability |
| Surface Finish Quality | Excellent | Excellent | Requires post-processing | Good |
| Production Scalability | Excellent | Poor | Poor | Excellent |
At first glance, a CNC aluminum prototype seems like the obvious choice for prototyping. No tooling costs. Fast turnaround. Complete geometric freedom. So why would anyone choose extrusion instead?
Consider the economics more carefully. According to American Douglas Metals, while casting tools can exceed $30,000, custom extrusion dies often cost under $1,000. That modest die investment pays dividends quickly when you need multiple pieces or plan to scale to production.
Here's when extrusion prototyping makes more sense than machined aluminum extrusion from billet:
That said, extrusion isn't always the answer. For highly complex three-dimensional geometries, CNC aluminium extrusion machining from solid stock remains faster and more practical. When you need just one or two pieces immediately, the die lead time makes extrusion impractical.
What about 3D printing? Metal additive manufacturing has revolutionized prototyping, enabling geometries that neither extrusion nor machining can achieve. Internal lattice structures, organic shapes, and consolidated assemblies become possible.
However, practical considerations often favor traditional methods:
So when should you choose each approach? Think about it this way:
Automated extrusion processes also offer repeatability advantages. Once your die is proven, every subsequent piece emerges virtually identical, making it ideal for testing that requires multiple consistent samples.
The bottom line? Don't default to any single method. Match your manufacturing approach to what you're actually trying to learn from the prototype. Sometimes that means extrusion. Sometimes it means accepting higher per-piece costs for faster delivery or geometric freedom.
Understanding these tradeoffs positions you to make informed decisions. Next, let's examine the specific cost factors you'll need to budget for when pursuing extrusion prototyping.
So you're ready to move forward with your prototype. But before you request quotes, understanding exactly what drives aluminum extrusion cost helps you budget accurately and identify opportunities to save money without compromising quality.
Unlike vague statements about "competitive pricing," here's a transparent breakdown of what you'll actually pay for:
The die represents your largest upfront expense, but here's what most manufacturers don't tell you: custom aluminum extrusion cost for tooling varies dramatically based on profile geometry, not just size.
According to Ya Ji Aluminum's cost analysis, die type fundamentally determines your investment:
| Die Type | Structure | Typical Cost | Example Applications |
|---|---|---|---|
| Solid Die | One-piece, no bridge or mandrel | $300–$800 | Angles, channels, flat bars |
| Semi-Hollow Die | Narrow openings, partial bridge | $800–$1,500 | Mounting brackets, tracks |
| Hollow Die | Mandrel and bridge assembly | $1,000–$3,000 | Tubes, square hollow sections |
| Multi-Cavity Die | Multiple cavities in one die | $1,500–$5,000+ | LED housings, fins, rail clips |
What drives complexity costs higher? Several factors compound quickly:
Here's encouraging news for prototyping: the Aluminum Extruders Council notes that extrusion tooling with 7 to 10-inch circle size often costs between $1,000 and $2,000 for solid shapes and $1,200 to $4,000 for hollows, with typical lead times of just 2 to 3 weeks. Compare that to rolled steel tooling exceeding $30,000 with 3-month lead times.
This relatively low tooling cost means you can afford to iterate. Need to adjust your design after initial testing? A revised die won't break your budget like retooling for other manufacturing processes would.
You've probably heard that extrusion becomes cheaper at higher volumes. But at what quantities do the economics actually shift in your favor?
Most extruders maintain minimum order quantities, typically 1,000 to 2,000 pounds per shape according to the Aluminum Extruders Council. However, short run aluminum extrusions are increasingly available through low volume manufacturing services that cater specifically to prototype and small-batch needs.
Consider die amortization to understand true per-unit economics:
For prototyping quantities of 50-100 pounds, that same $2,000 die adds $40-$80 per pound to your prototype cost. At production volumes of 10,000 pounds, it drops to just $0.20 per pound. This explains why some manufacturers suggest producing slightly more prototypes than you think you need—the marginal cost of additional pieces is primarily material.
Want to find cheap aluminium extrusion without sacrificing quality? Several strategies help:
Raw material costs add another variable. Aluminum pricing fluctuates based on global demand, with LME valuations ranging from $1,500 to $3,500 per metric ton in recent years according to Gabrian International. For ongoing production needs, locking in rates through advance metal purchases can stabilize your budget.
The bottom line? Prototyping with extrusion requires balancing upfront tooling investment against per-unit material and processing costs. For designs you're confident will move to production, that die investment pays dividends quickly. For experimental concepts you're still validating, starting with the simplest possible profile keeps costs manageable while you refine your approach.
With budget considerations mapped out, let's explore how secondary operations and surface treatments transform raw extrusions into finished, production-ready prototypes.
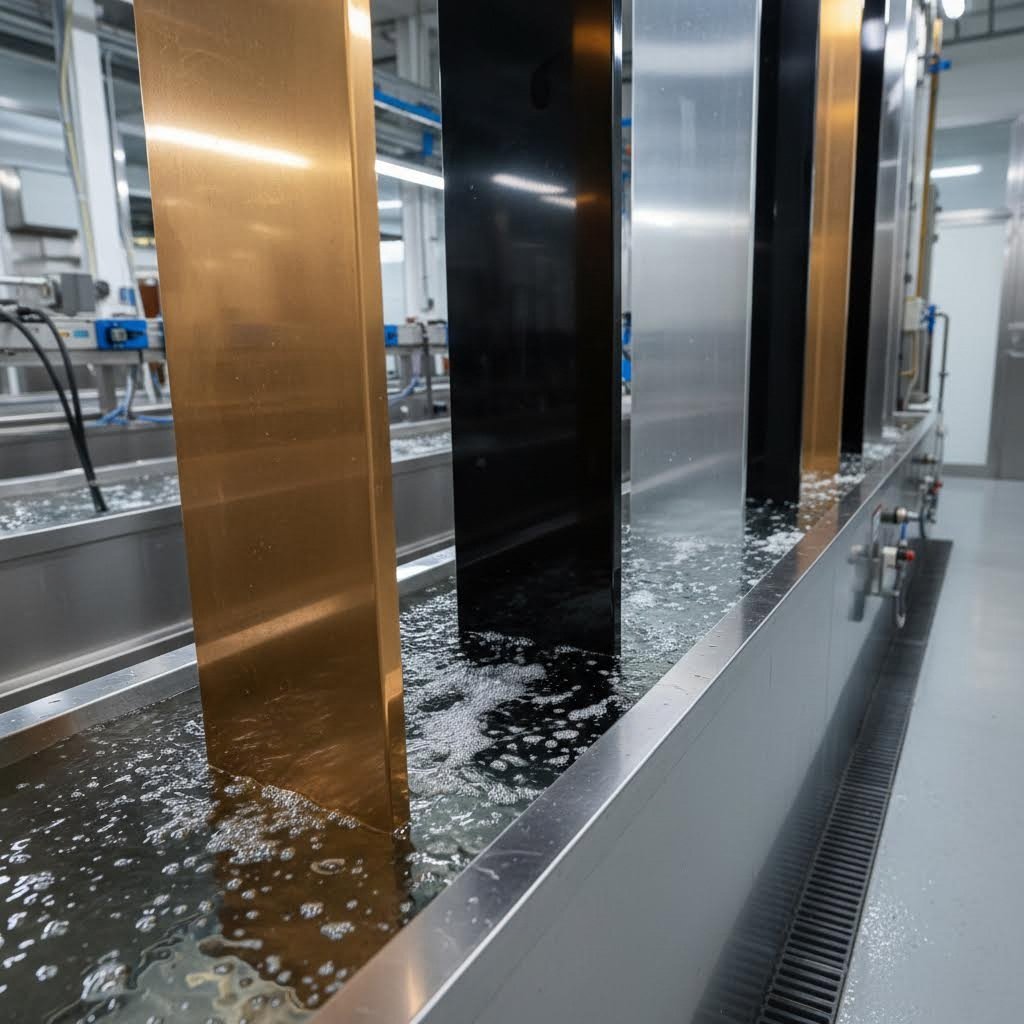
Your raw extrusion emerges from the press looking nothing like a finished prototype. It's a continuous length of aluminum with the right cross-section but missing the holes, slots, surface treatments, and assembly features that make it functional. This is where secondary operations transform custom extruded aluminum from raw material into production-ready components.
Think of the extrusion process as creating the foundation. Secondary operations build everything on top of that foundation. According to Mechanical Power Inc., aluminum extrusion fabrication includes precision cutting, CNC machining, mitering, punching, notching, drilling, and high-speed cutting. Each operation adds specific features your prototype needs for testing and validation.
Let's break down exactly what happens during this transformation phase.
Raw extrusions arrive at the fabrication department in long lengths, typically 20 to 24 feet based on press capacity. From here, custom extrusions undergo a series of operations tailored to your specific requirements:
What about tolerance capabilities? Standard machining tolerances for custom metal extrusion services typically fall within ±0.005" to ±0.010" for most features. Tighter tolerances are achievable but add cost due to additional setup time and inspection requirements.
Here's a practical example: imagine prototyping a solar panel mounting structure. The extruded rails need precisely positioned slots at regular intervals for panel attachment hardware. CNC machining creates these slots with repeatable accuracy across dozens of test samples, ensuring your prototype behaves exactly as the production version will.
Even miniature extrusions benefit from secondary machining. Small profiles used in electronics or medical devices often require micro-drilling and precision end-finishing that transform simple shapes into functional components ready for assembly testing.
Surface treatment does more than make your prototype look good. It provides critical protection against corrosion, enhances mechanical properties, and allows you to evaluate how the finished product will actually perform. According to BRT Extrusions, selecting the right finish is essential to ensure the desired aesthetic appeal, durability, and performance of extruded components.
Your primary surface treatment options include:
How do you choose between anodizing and powder coating? Consider these factors:
| Consideration | Anodizing | Powder Coating |
|---|---|---|
| Corrosion Resistance | Superior for harsh environments | Excellent general protection |
| Color Options | Limited to metallic tones | Virtually unlimited |
| Thickness | 0.0002" to 0.001" | 0.002" to 0.006" |
| Complex Geometries | Better penetration into details | May build up in corners |
| Electrical Conductivity | Insulating | Insulating |
| Best For | Outdoor, architectural, intricate shapes | Industrial, furniture, custom colors |
For prototypes, surface treatment serves a dual purpose. First, it lets you evaluate aesthetics and confirm the finish meets design intent. Second, it protects test samples during extended evaluation periods. A prototype outdoor fixture tested for six months in weathering conditions needs proper surface treatment to generate meaningful performance data.
Assembly services round out the secondary operations picture. Rather than receiving individual machined and finished components, aluminum parts assembly service providers can deliver complete sub-assemblies ready for integration testing. This might include hardware insertion, joining multiple extrusions into frames, or integrating gaskets and seals.
The combination of precision machining and appropriate surface treatment transforms your custom extrusions from raw profiles into functional prototypes that accurately represent production intent. With these finishing capabilities understood, you're ready to explore how different industries apply extrusion prototyping to solve real engineering challenges.
You've learned the process, selected your alloy, and understand what finishing options are available. But how do these capabilities translate into actual products? Seeing how other engineers and designers apply aluminum extrusion prototyping across different sectors helps you identify whether your own project aligns with this manufacturing approach.
The versatility of aluminum profile extrusions makes them surprisingly ubiquitous. According to Gabrian International, the global aluminum extrusion market had a projected value exceeding $90 billion in 2022, with strong growth projections over the next decade. That scale reflects just how many industries depend on extruded aluminum solutions.
Let's explore the applications most relevant to prototyping decisions, organized by industry sector.
The building and construction industry currently utilizes the largest share of extruded aluminum products. When you're prototyping for this sector, aesthetics and durability carry equal weight with structural performance.
Remember the alloy discussion from earlier? Architectural prototypes typically specify 6063 aluminum for its superior surface finish after anodizing. The smooth, attractive appearance matters when clients are evaluating visual design alongside structural function.
Moving beyond aesthetics, industrial applications prioritize mechanical performance and system integration. Custom aluminium extrusions in this sector often serve as the structural skeleton for larger assemblies.
Industrial prototypes typically favor 6061 aluminum for its superior tensile strength. The surface finish matters less when profiles are hidden inside machine housings or receive industrial coatings anyway.
Aluminum's excellent thermal conductivity makes it invaluable for electronics applications. According to Gabrian's electronics industry guide, extrusion is one of the most common methods of heatsink manufacturing.
For electronics prototypes, secondary machining often transforms basic extrusions into complex assemblies. As Gabrian notes, CNC milling can turn heat sink fins into pins or achieve other design goals that optimize thermal performance beyond what extrusion alone provides.
Weight reduction drives aluminum adoption across transportation sectors. Every pound saved translates directly into improved fuel efficiency or extended range for electric vehicles.
The renewable energy sector increasingly relies on aluminum extrusion projects for durable, weather-resistant structural systems.
These applications connect directly to earlier decisions about alloy selection and surface treatment. Solar mounting structures exposed to decades of outdoor weathering need appropriate corrosion protection. Prototype testing with production-intent finishes validates long-term durability expectations.
Whether your project involves aesthetic architectural elements, heavy-duty industrial frames, precision electronics enclosures, or renewable energy infrastructure, aluminum extrusion prototyping offers a path from concept to validated design. The key is matching your specific requirements to the capabilities each application demands.
With a clear picture of what's possible across industries, the next step involves finding a manufacturing partner with the right combination of equipment, experience, and technical support to execute your project successfully.
You've designed your profile, selected your alloy, and mapped out secondary operations. Now comes a decision that can make or break your entire project: choosing the right custom aluminum extrusion manufacturer to bring your prototype to life. The wrong partner means delays, quality issues, and frustrating communication gaps. The right one becomes an extension of your engineering team.
So how do you separate capable extruded aluminum manufacturers from those who simply talk a good game? According to JM Aluminium's partner selection guide, the manufacturer's capability, expertise, and practice are crucial in delivering high-quality extruded profiles, regardless of the complexity of a particular industry or custom-designed components.
Here's a systematic framework for evaluating potential partners:
When you're evaluating custom aluminum extrusion suppliers, equipment tells you what's actually possible. A manufacturer's press lineup determines the size, complexity, and volume of profiles they can produce.
According to industry analysis from Metal Exchange Corporation, press lines can cost $12-25 million depending on size, automation, and end use. This investment level separates serious manufacturers from smaller job shops with limited capabilities.
Here's what to look for when assessing equipment:
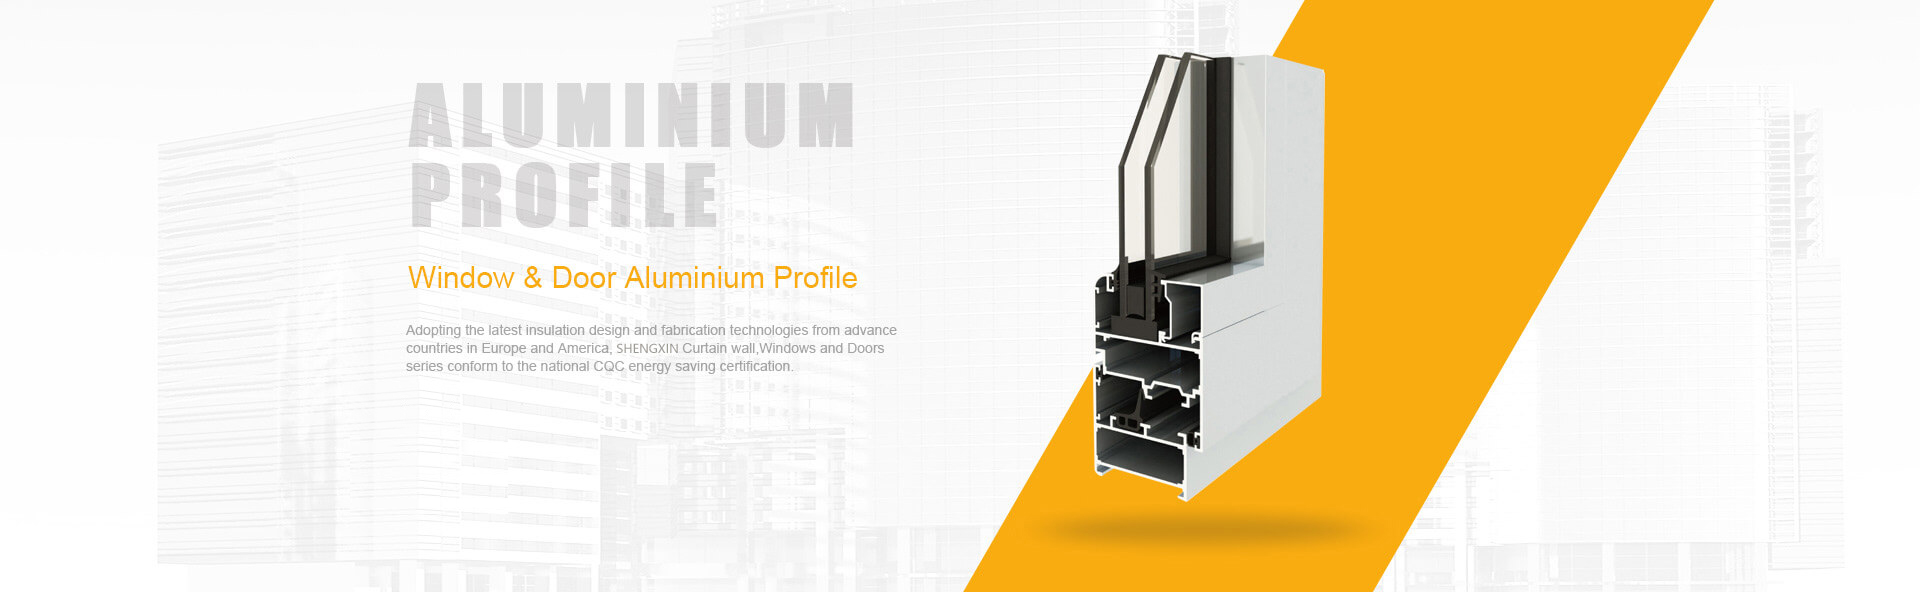
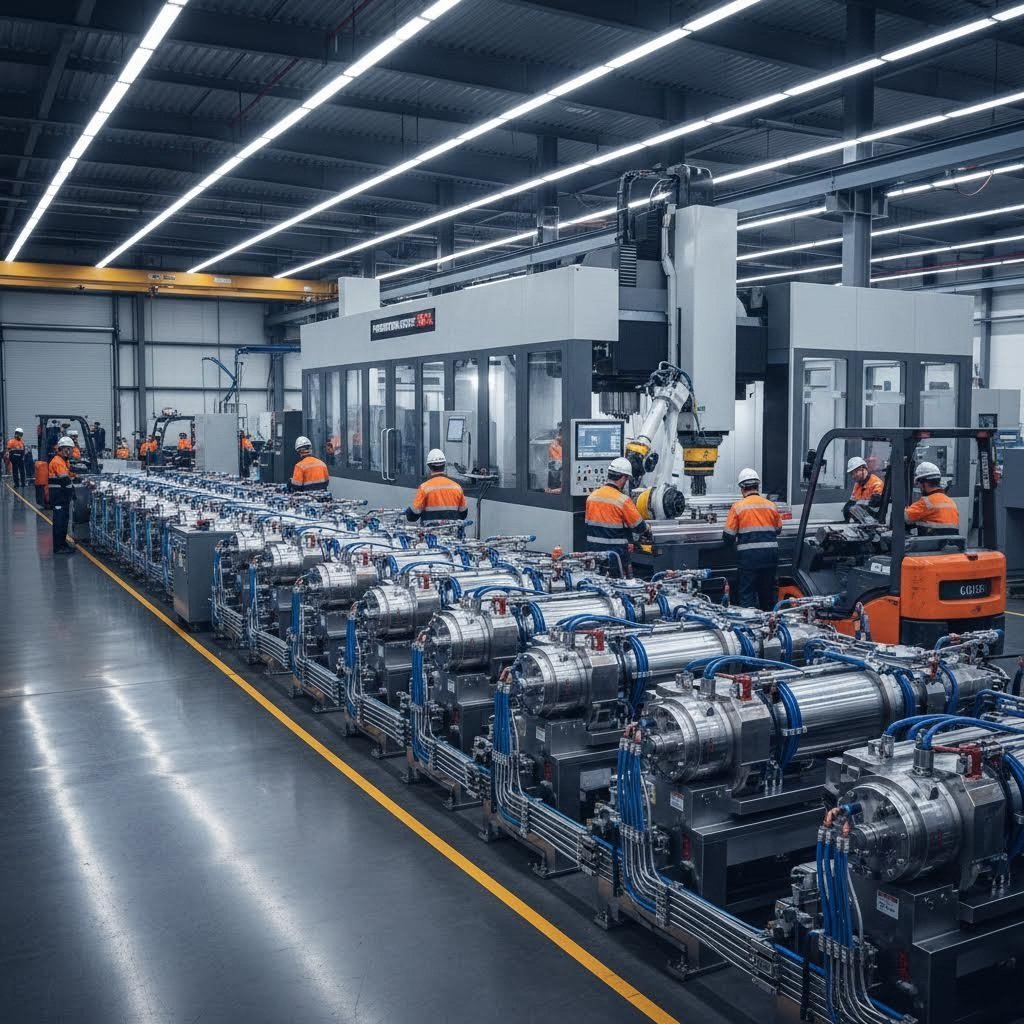
Consider a manufacturer like Shengxin Aluminium as an example of comprehensive equipment capabilities. Their facility houses 35 extrusion presses ranging from 600T to 5500T, covering everything from miniature profiles to large structural sections. This breadth means they can handle diverse prototyping requirements without capacity constraints.
Beyond extrusion presses, look for integrated CNC machining centers capable of precise cutting, drilling, and bending. When these capabilities exist under one roof, your prototype moves seamlessly from extrusion to finished part without logistical complications.
Equipment alone doesn't guarantee success. The human element—technical expertise, communication quality, and problem-solving ability—often determines whether your prototype arrives on time and meets specifications.
According to sourcing guidance from industry experts, gathering comprehensive information from multiple fronts helps you make informed decisions. Key questions to ask potential partners include:
Surface treatment capabilities deserve special attention. When you partner with aluminum extrusion suppliers, verify they offer the finishes your prototype requires. Comprehensive surface treatment options include:
Shengxin Aluminium exemplifies this integrated approach, offering all these surface treatments in-house alongside their extrusion and machining capabilities. This end-to-end model means your prototype doesn't bounce between multiple vendors, each adding lead time and potential miscommunication.
Experience matters too. JM Aluminium emphasizes checking whether the manufacturer has experience serving your industry or similar applications. Different industries have specific requirements or regulations, and a manufacturer familiar with your sector will be better equipped to meet your needs.
Finally, consider the value of established relationships. Extruded aluminium suppliers with decades of industry presence have weathered economic cycles and continuously refined their processes. Shengxin Aluminium's 30+ years of experience, for instance, represents accumulated knowledge that benefits every prototyping project they undertake.
A transparent pricing structure rounds out your evaluation criteria. As sourcing experts note, ensure that the manufacturer provides a clear breakdown of costs, including any additional charges for tooling, surface treatments, packaging, or shipping. Factory-direct pricing models often deliver better value than operations with multiple intermediaries.
Armed with these evaluation criteria, you're ready to request quotes, compare capabilities, and select a partner who can transform your design files into physical prototypes efficiently. The final step? Preparing your project documentation and setting realistic timeline expectations for moving forward.
You've absorbed the process details, alloy considerations, cost factors, and partner evaluation criteria. Now it's time to translate that knowledge into action. Moving from concept to physical aluminium prototypes requires systematic preparation that streamlines the entire engagement process.
Here's your roadmap for initiating a successful prototyping project:
The quality of your documentation directly impacts quote accuracy and turnaround speed. According to Profile Precision Extrusions, the time it takes to complete a quote depends on design complexity and the amount of detail provided initially. Simple designs can receive responses within 24 hours, while complex extrusions may take up to 72 hours.
What should your submission package include? Here's a comprehensive checklist:
According to industry guidance from Momentum Manufacturing Group, consistency in dimensioning and tolerancing methods is critical. Avoid cluttering drawings with excessive dimensions. Instead, use only the dimensions needed to properly illustrate features, and apply Geometric Dimensioning and Tolerancing (GDT) callouts using standard conventions.
Here's a practical tip: don't tolerance anything that doesn't absolutely require it. Standard Aluminum Association tolerances apply wherever tolerances aren't specified. Focus your precision requirements on Critical to Function (CTF) features like mating surfaces and hardware mounting locations. This approach keeps aluminum extrusion custom projects cost-effective while ensuring critical features meet your specifications.
What if you don't have complete documentation yet? Don't let that stop you. As Profile Precision Extrusions notes, even a sketch on a napkin can start the conversation. Qualified manufacturers will work with you to develop the information needed for accurate quoting.
Understanding typical lead times helps you plan your development schedule accurately. Based on project complexity, here's what to expect:
| Project Phase | Simple Profiles | Complex Profiles |
|---|---|---|
| Design Review & Quote | 1-3 days | 3-5 days |
| Die Development | 1-2 weeks | 2-3 weeks |
| Extrusion Run | 1-2 days | 2-3 days |
| Secondary Operations | 3-5 days | 1-2 weeks |
| Surface Treatment | 3-5 days | 5-7 days |
| Total Lead Time | 2-3 weeks | 4-6 weeks |
Planning for iteration is equally important. According to UPTIVE Advanced Manufacturing, even the best products face design challenges—the first iPhone went through dozens of iterations before launch. Build testing and refinement cycles into your schedule rather than expecting perfection from the first prototype.
A practical approach involves ordering slightly more prototype samples than you think you need. The marginal cost of additional pieces is primarily material once the die exists. Having extra samples allows destructive testing, distribution to multiple stakeholders, and backup inventory for extended evaluation periods.
For custom extrusion aluminum projects requiring the full range of capabilities, partnering with a vertically integrated manufacturer streamlines the entire process. Shengxin Aluminium exemplifies this approach with end-to-end support spanning die development through mass production. Their 30+ years of experience and factory-direct pricing model deliver both technical expertise and cost efficiency for bespoke aluminium extrusion projects.
When you're ready to request quotes, custom aluminum extruders will typically need 24-72 hours to review your submission and prepare pricing. Use this window to compile questions about lead times, minimum quantities, and any design modifications that might improve manufacturability or reduce costs.
The bottom line? Prototyping exists to validate your design before significant production investment. Use this phase to confirm dimensional accuracy, evaluate surface finish quality, test mechanical performance, and verify assembly fit. The insights gained from physical prototypes prevent costly surprises during full-scale manufacturing and ensure your product meets both functional requirements and market expectations.
Your next step is straightforward: gather your design documentation, identify a qualified manufacturing partner, and take that first concrete step toward transforming your concept into reality. The investment in proper prototyping pays dividends through reduced risk, validated performance, and confidence when you're ready to scale to production volumes.
Custom aluminum extrusion costs depend on several factors: die tooling ranges from $300-$5,000+ based on profile complexity, material costs run $1,500-$3,500 per metric ton, and surface treatments add $1,200-$1,400 per metric ton. For prototyping, expect to pay more per unit due to die amortization across smaller quantities. Simple solid profiles typically require dies costing $300-$800, while hollow or multi-cavity dies can reach $1,500-$5,000+.
Common aluminum extrusion challenges include dimensional inaccuracies from irregular cooling or worn dies, surface defects like scratch marks or die lines from improper lubrication, and poor assembly fit from incorrect extrusion speeds. Design-related issues such as inconsistent wall thickness create uneven metal flow, causing surface defects. These problems can be minimized through proper design-for-extrusion principles: maintaining uniform wall thickness, using adequate corner radii (0.5mm-1mm minimum), and working with experienced manufacturers who maintain strict quality control.
Aluminum extrusion involves six key phases: design review and optimization, die creation, material selection, extrusion, secondary operations, and quality inspection. Aluminum billets are heated to 750-925°F, then a hydraulic press (100-15,000 tons of pressure) forces the material through a custom die. The emerging profile is quenched for cooling, stretched for straightening, and cut to length. Secondary operations like CNC machining and surface treatments transform raw extrusions into finished parts.
Prototype lead times vary by complexity. Simple profiles typically take 2-3 weeks total: 1-3 days for design review, 1-2 weeks for die development, and 3-5 days each for extrusion, secondary operations, and surface treatment. Complex profiles with extensive machining may require 4-6 weeks. Die development represents the longest phase, while actual extrusion runs complete in 1-3 days. Working with manufacturers offering in-house secondary processing and surface treatment capabilities helps minimize overall lead time.
The best alloy depends on your application. 6063 aluminum suits architectural and aesthetic prototypes due to superior surface finish and excellent anodizing response. 6061 aluminum offers greater tensile strength for structural and load-bearing applications. 7075 provides maximum strength for aerospace and military use but has limited extrudability and higher cost. For most prototyping projects, 6063 or 6061 in T5 or T6 temper delivers the optimal balance of performance, cost, and manufacturability.



 Servicio en línea
 0086 136 3563 2360
 sales@sxalu.com
 +86 136 3563 2360
 español
 English
 français
 Deutsch
 русский
 português
 العربية
 ไทย
ไทย Việt
Việt Українська